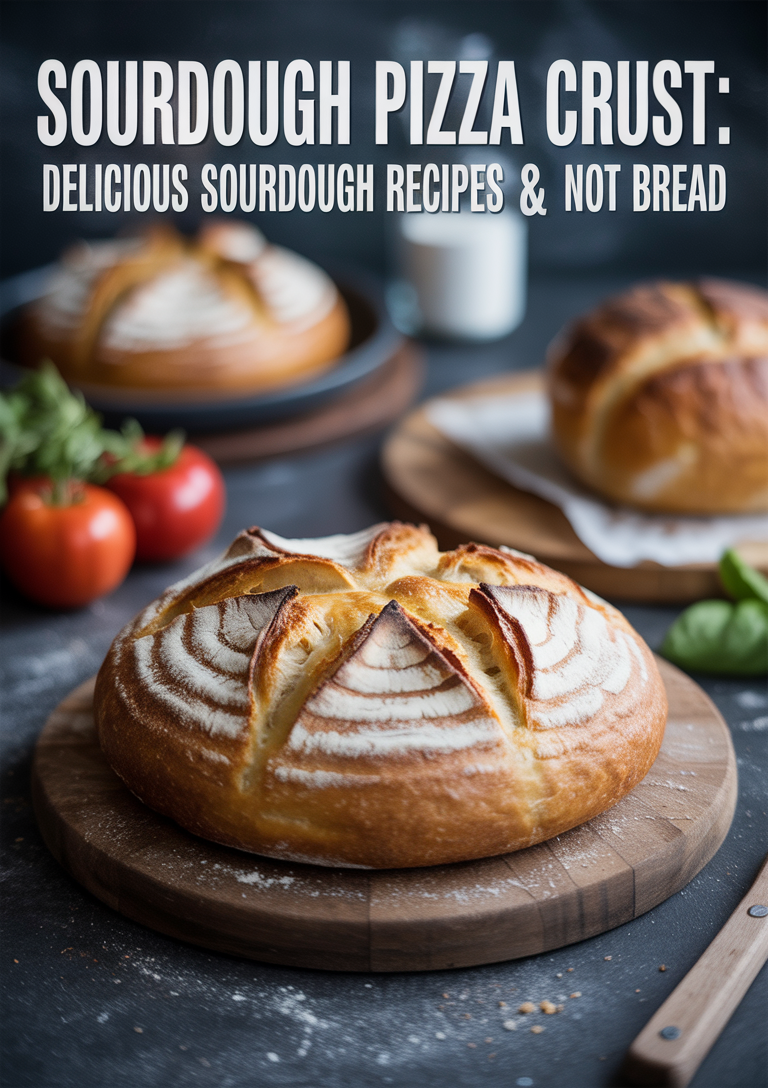
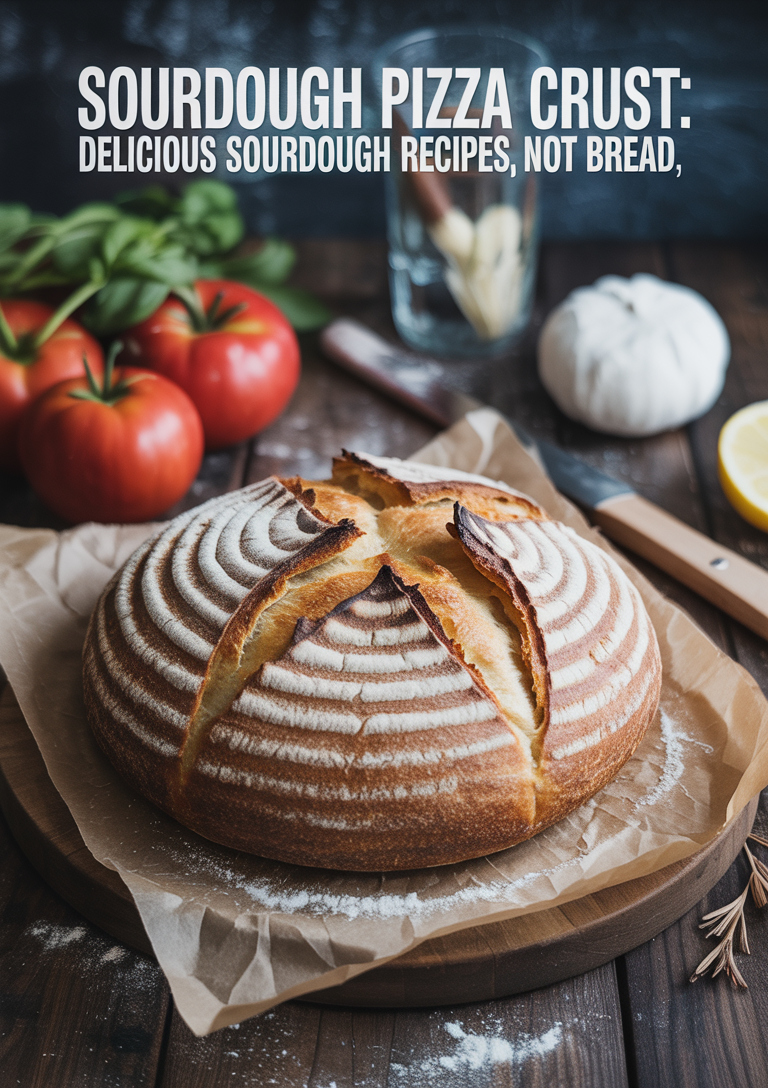
If you’re looking for creative sourdough recipes not bread, you’ve come to the right place! While sourdough bread gets all the glory, your bubbling starter can be the foundation for many other delicious creations. Today, we’re exploring a fantastic sourdough pizza crust recipe that will transform your homemade pizza nights. This recipe is perfect for using up excess starter and creates a wonderfully tangy, chewy crust with those signature air pockets that sourdough is famous for. The sourdough fermentation process not only adds complex flavor but also makes the crust more digestible than standard pizza dough. Let’s dive into this simple yet impressive recipe that will become a staple in your sourdough repertoire!
Sourdough Pizza Crust Recipe
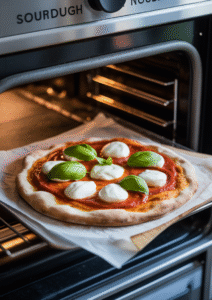
This sourdough pizza crust is the perfect way to use your sourdough starter for something other than traditional bread. The long fermentation process creates a delightfully tangy flavor and chewy texture that elevates homemade pizza to restaurant quality.
Recipe Overview
- Prep Time: 30 minutes (plus 4-24 hours fermentation time)
- Cook Time: 8-10 minutes
- Servings: 2 medium pizzas (12-inch) or 1 large pizza (16-inch)
- Difficulty: Medium
Understanding Sourdough Starter Consistency
Before diving into the recipe, let’s talk about sourdough starter consistency. For this pizza crust, your starter should be at its peak activity – bubbly, doubled in size, and with a consistency similar to thick pancake batter. This is often referred to as a 100% hydration starter, meaning equal parts flour and water by weight. If your starter is thicker or thinner, you may need to adjust the flour or water in the recipe accordingly.
Ingredients
- 1 cup (240g) active sourdough starter (100% hydration)
- 2½ cups (300g) bread flour (plus extra for dusting)
- 1 teaspoon salt
- 1 tablespoon olive oil (plus extra for coating)
- ½ cup (120ml) warm water
- 1 teaspoon honey or sugar (optional, helps with browning)
Equipment Needed
- Large mixing bowl
- Kitchen scale (recommended for accuracy)
- Plastic wrap or damp kitchen towel
- Pizza stone or baking sheet
- Parchment paper
- Pizza peel or flat baking sheet (for transferring)
- Rolling pin (optional)
Instructions
Step 1
In a large mixing bowl, combine the active sourdough starter with warm water and olive oil. The water should be lukewarm to the touch—too hot will kill the beneficial bacteria in your starter, while too cold will slow down the fermentation process.
If using honey or sugar for added flavor and to help with browning, add it now and stir until well combined. The sweetener will also provide extra food for the yeast during the rising process.
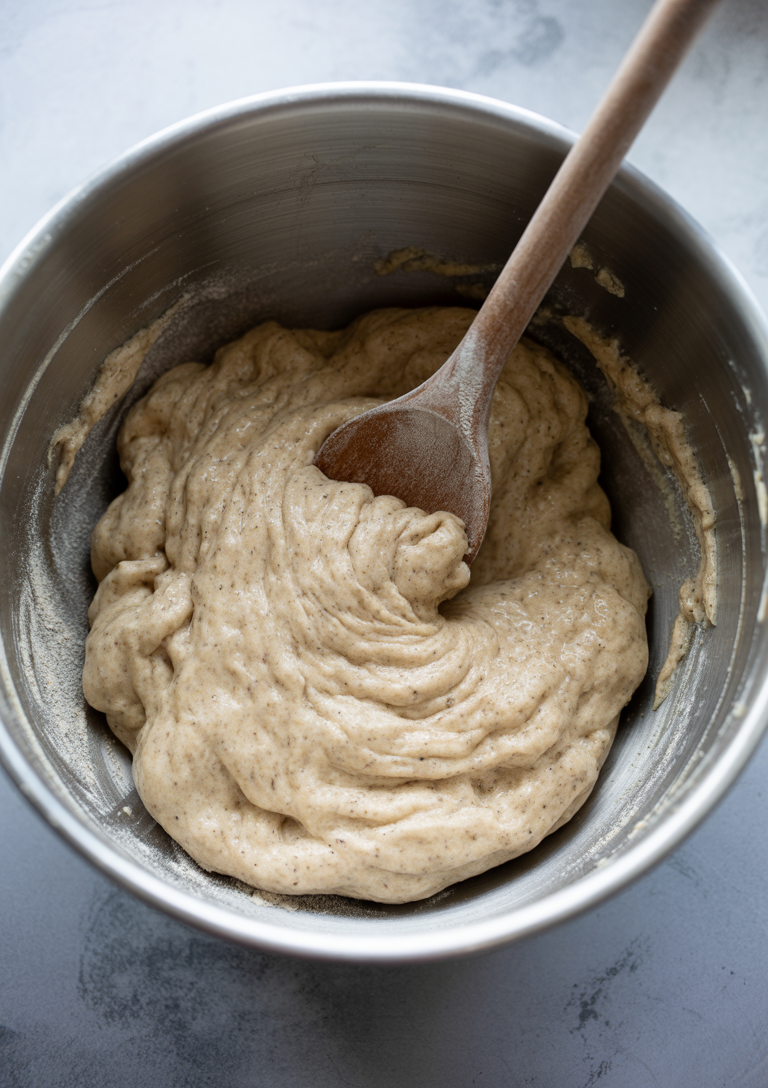
Next, add the salt and 2 cups of flour, mixing until a shaggy dough forms. The mixture will look rough and uneven at this stage, which is perfectly normal. Gradually incorporate the remaining flour, adding it in small increments while mixing, until the dough begins to pull away from the sides of the bowl.
The finished dough should be slightly tacky but not overly sticky. If it sticks aggressively to your hands, add a bit more flour. If it feels too dry and doesn’t hold together well, add water one tablespoon at a time.
Step 2
Turn the dough out onto a lightly floured surface and knead for 5-8 minutes until it becomes smooth and elastic. As you work the dough, you’ll notice it transforming from a shaggy, sticky mass into a supple, cohesive ball.
To test if your dough is properly developed, perform the windowpane test: pinch off a small piece of dough and gently stretch it between your fingers. When ready, the dough should stretch thin enough to see light through it without tearing. If it breaks easily, continue kneading for another minute or two.
Once the dough passes this test, form it into a smooth ball by tucking the edges underneath. Place the dough ball in a lightly oiled bowl, turning it once to coat all sides with oil. This prevents the surface from drying out during fermentation.
Cover the bowl with plastic wrap or a damp kitchen towel to maintain moisture and prepare for the bulk fermentation phase.
Step 3
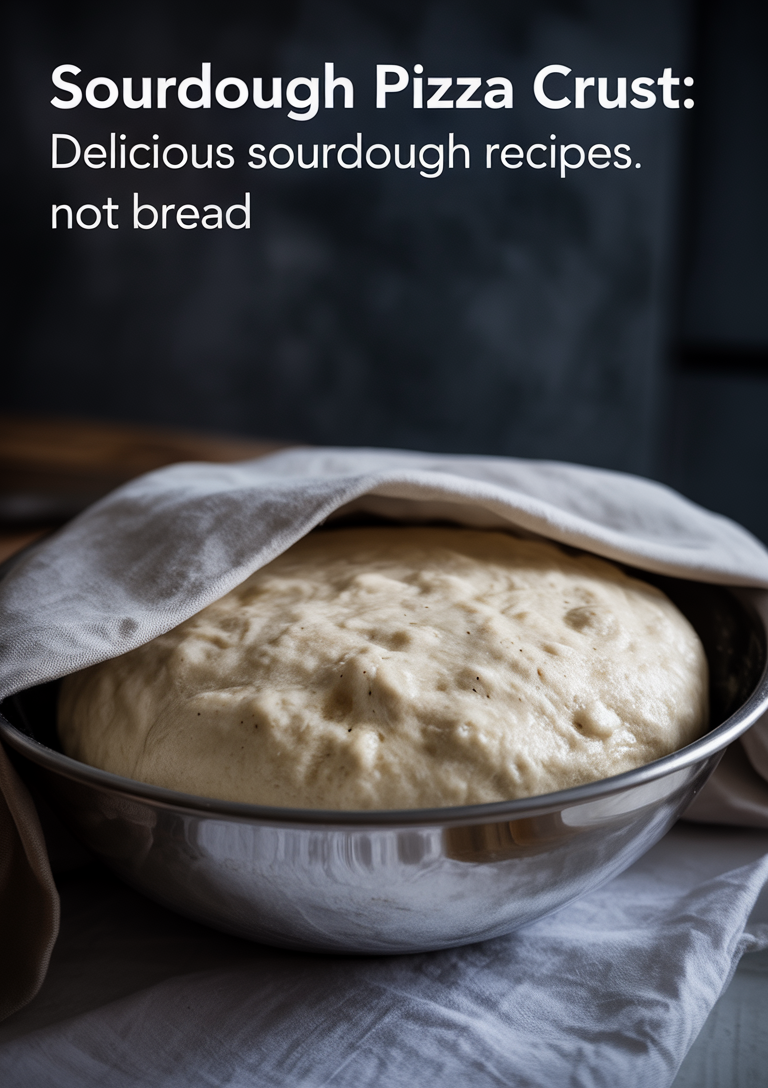
Allow the Dough to Ferment
Place your covered dough in a location with consistent room temperature between 65-75°F (18-24°C) and let it ferment for 4-6 hours, or until it has nearly doubled in size. The dough should feel slightly jiggly and show visible bubbles on the surface when ready.
For Enhanced Flavor Development
For a more complex, tangy flavor profile that showcases the sourdough character, consider a cold fermentation method:
- Transfer the dough to the refrigerator immediately after mixing
- Allow it to ferment slowly for 12-24 hours
- The extended fermentation time develops deeper flavors and improves digestibility
- Remove from refrigerator 30 minutes before shaping to bring to workable temperature
Pro tip: The longer fermentation creates a more pronounced sourdough tang and develops better texture in the final crust. Plan accordingly based on your desired flavor intensity and schedule.
Step 4
After fermentation, gently deflate the dough by pressing down with your fingertips to release the built-up gases. The dough should feel softer and more pliable than when you started. Divide the dough into two equal portions for medium-sized pizzas, or keep it whole if you prefer one large pizza.
To shape each portion into a ball, gather the edges of the dough and pull them underneath toward the center, creating surface tension on top. This technique helps develop the gluten structure and makes the dough easier to stretch later. Place the shaped dough balls on a lightly floured surface, seam-side down.
Cover with a damp kitchen towel and let rest for 30 minutes. This resting period allows the gluten to relax, making the dough much more manageable when you’re ready to stretch it into pizza rounds.
Step 5
Preheat your oven to its highest setting (usually 500-550°F/260-290°C) with a pizza stone or inverted baking sheet inside for at least 45 minutes. This extended preheating time ensures your cooking surface reaches the optimal temperature for a crispy crust.
While the oven heats, prepare your workspace. On a lightly floured surface or directly on parchment paper, gently stretch or roll each dough ball into a 12-inch circle (or 16-inch if making one large pizza).
Key technique: Use your fingertips to press from the center outward, leaving a slightly thicker edge for the crust. This creates the classic pizza shape while maintaining the sourdough’s airy texture. Avoid overworking the dough, as this can deflate the bubbles that developed during fermentation.
If the dough springs back while stretching, let it rest for 10-15 minutes before continuing. The sourdough should stretch easily without tearing when properly relaxed.
Step 6
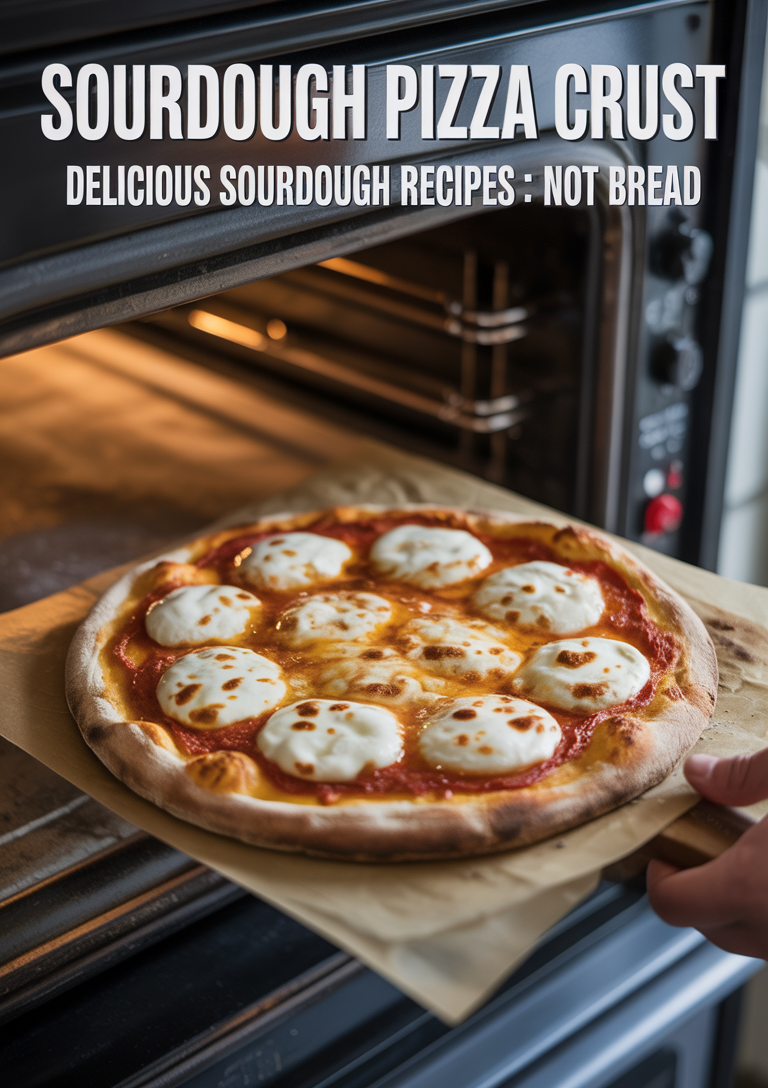
Top and Bake Your Sourdough Pizza
Now comes the exciting part – adding your toppings and baking your creation. Start by spreading your chosen sauce evenly across the surface, leaving about a ½-inch border for the crust. Remember: less is more when it comes to toppings. Overloading your pizza can create excess moisture that prevents the crust from achieving that perfect crispy texture.
Arrange your toppings thoughtfully:
- Cheese: Distribute evenly but don’t pile it on
- Vegetables: Pat dry any wet ingredients like tomatoes or mushrooms
- Proteins: Pre-cook items like sausage or chicken
- Herbs: Save delicate fresh herbs to add after baking
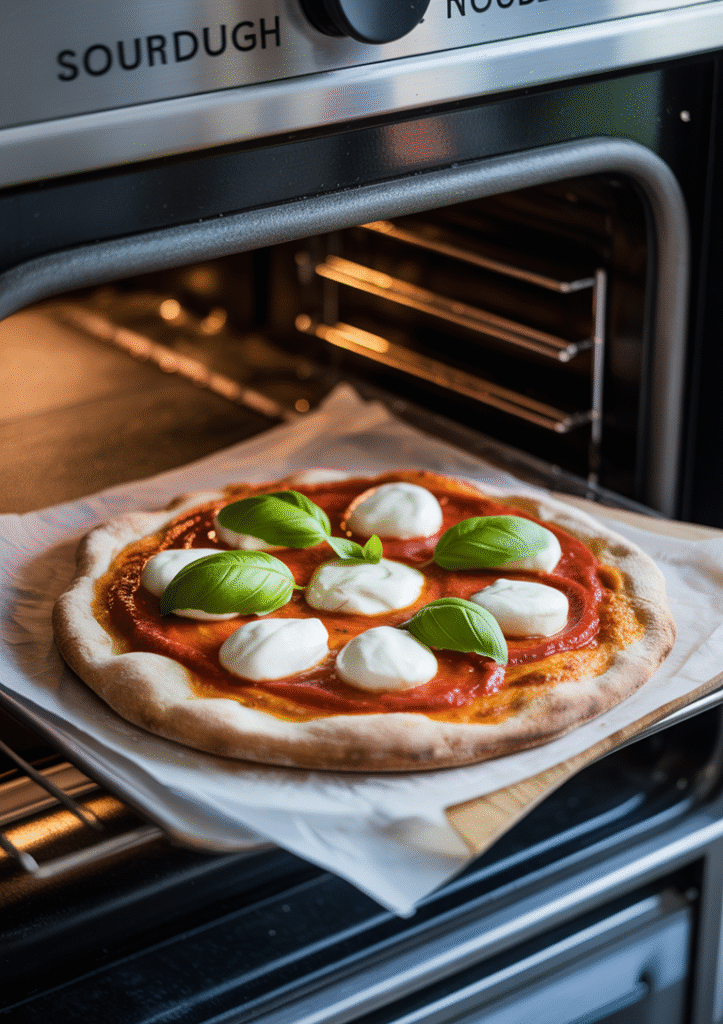
Carefully transfer your topped pizza to the preheated pizza stone or baking sheet. If you’re using parchment paper, slide the entire sheet onto the stone – the high heat will safely brown the paper without burning.
Bake for 8-10 minutes, watching for these visual cues:
- Crust edges turn golden brown
- Cheese bubbles and develops light browning spots
- Bottom of crust sounds hollow when tapped (check with a spatula)
The sourdough’s natural fermentation creates a crust that crisps beautifully while maintaining a tender interior – you’ll know it’s perfect when the bottom feels firm and sounds crisp.
Step 7
Remove your sourdough pizza from the oven and resist the urge to cut immediately. Allow it to cool for 1-2 minutes on the baking surface or transfer to a cutting board. This brief resting period is crucial – it gives the melted cheese time to set slightly and prevents it from sliding off when you slice.
Pro tip: Use a sharp pizza wheel or large chef’s knife to cut clean slices. Start from the center and work outward in smooth, decisive motions.
Your homemade sourdough pizza is now ready to enjoy! The tangy sourdough crust provides the perfect foundation for your chosen toppings, creating a restaurant-quality pizza right in your own kitchen.
Tips for Perfect Sourdough Pizza Crust
The Importance of Sourdough Starter Consistency
The consistency of your sourdough starter plays a crucial role in the success of your pizza crust. For best results, use your starter when it has reached peak activity – usually 4-8 hours after feeding, when it has doubled in volume and is full of bubbles. This ensures proper fermentation and the development of that distinctive sourdough flavor.
If your starter is too runny, your dough will be stickier and might require more flour. If it’s too thick, you may need to add more water to achieve the right dough consistency. A healthy, active starter will give your pizza crust better rise, texture, and flavor.
Make-Ahead Options
One of the advantages of sourdough pizza crust is that you can prepare it in advance. After the bulk fermentation:
- Same-day use: Follow the recipe as directed.
- Next-day use: After shaping the dough balls, place them in the refrigerator overnight (up to 48 hours). This slow, cold fermentation enhances flavor development. Remove from the refrigerator about 1-2 hours before you plan to bake.
- Freezer option: Wrap dough balls tightly in plastic wrap and freeze for up to 3 months. Thaw overnight in the refrigerator, then let come to room temperature before shaping.
If you’re looking for more ways to use your sourdough starter, check out our sourdough banana bread recipe for another delicious option beyond traditional bread.