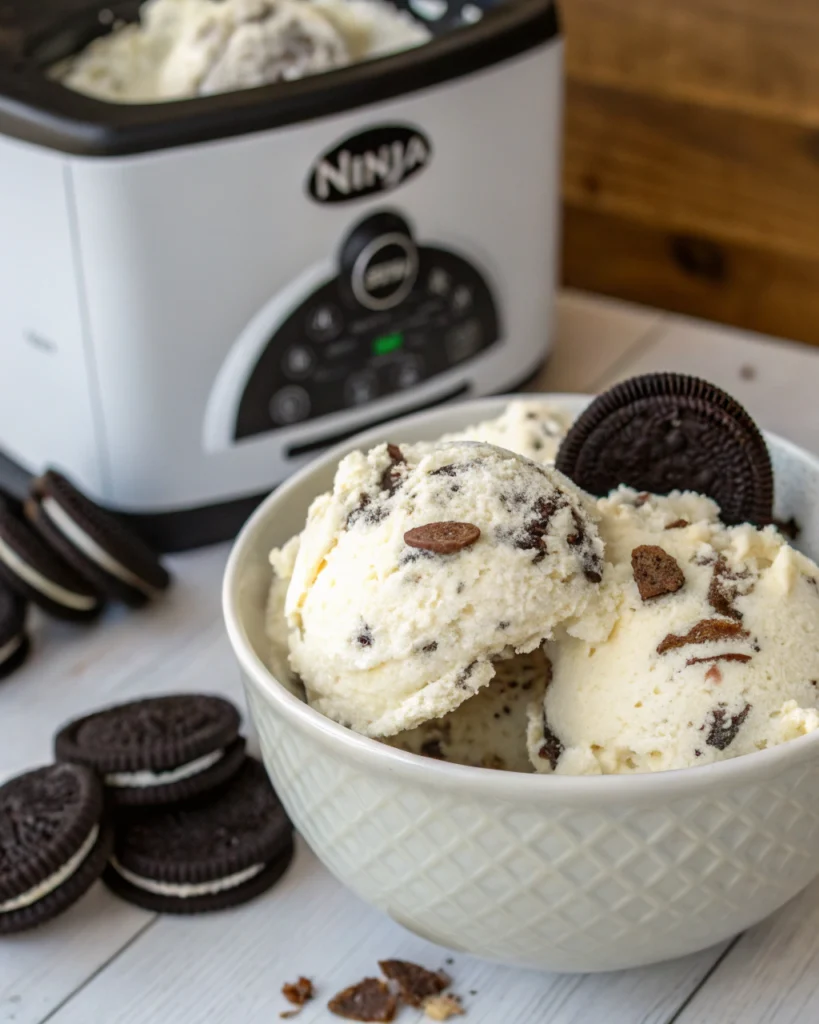
Creating the perfect cookies and cream ice cream at home has never been easier than with the Ninja Creami. This revolutionary kitchen appliance transforms simple ingredients into smooth, creamy ice cream that rivals your favorite ice cream shop. In this recipe, I’ll guide you through making a delicious cookies and cream Ninja Creami dessert using Oreo cookies that will satisfy your sweet tooth and impress your family and friends. The Ninja Creami produces a texture that’s impossibly smooth and perfectly scoopable, making this homemade treat absolutely irresistible.
Why You’ll Love This Cookies and Cream Ninja Creami Recipe
If you’re a fan of cookies and cream ice cream, this Ninja Creami version will become your new favorite dessert. Here’s why this recipe stands out:
- Better than Store-Bought: The freshness and quality of homemade ice cream is unmatched
- Customizable: Adjust the sweetness and cookie amount to your preference
- No Artificial Ingredients: You control exactly what goes into your dessert
- Perfect Texture: The Ninja Creami creates incredibly smooth ice cream with ideal consistency
- Impressive Results: Wow your guests with professional-quality ice cream made at home
Recipe Overview
- Prep Time: 10 minutes
- Freeze Time: 24 hours
- Processing Time: 5 minutes
- Total Time: 24 hours 15 minutes
- Servings: 4
- Difficulty: Easy
Ingredients for Ninja Creami Oreo Ice Cream
- 1½ cups heavy whipping cream
- ½ cup whole milk
- ⅓ cup granulated sugar
- 1 tablespoon vanilla extract
- ¼ teaspoon salt
- 10-12 Oreo cookies, crushed (plus extra for garnish)
Equipment Needed
- Ninja Creami ice cream maker
- Ninja Creami pint container with lid
- Measuring cups and spoons
- Mixing bowl
- Whisk
- Zip-top bag and rolling pin (for crushing cookies)
Instructions
Step 1
Preparing the Base Mixture
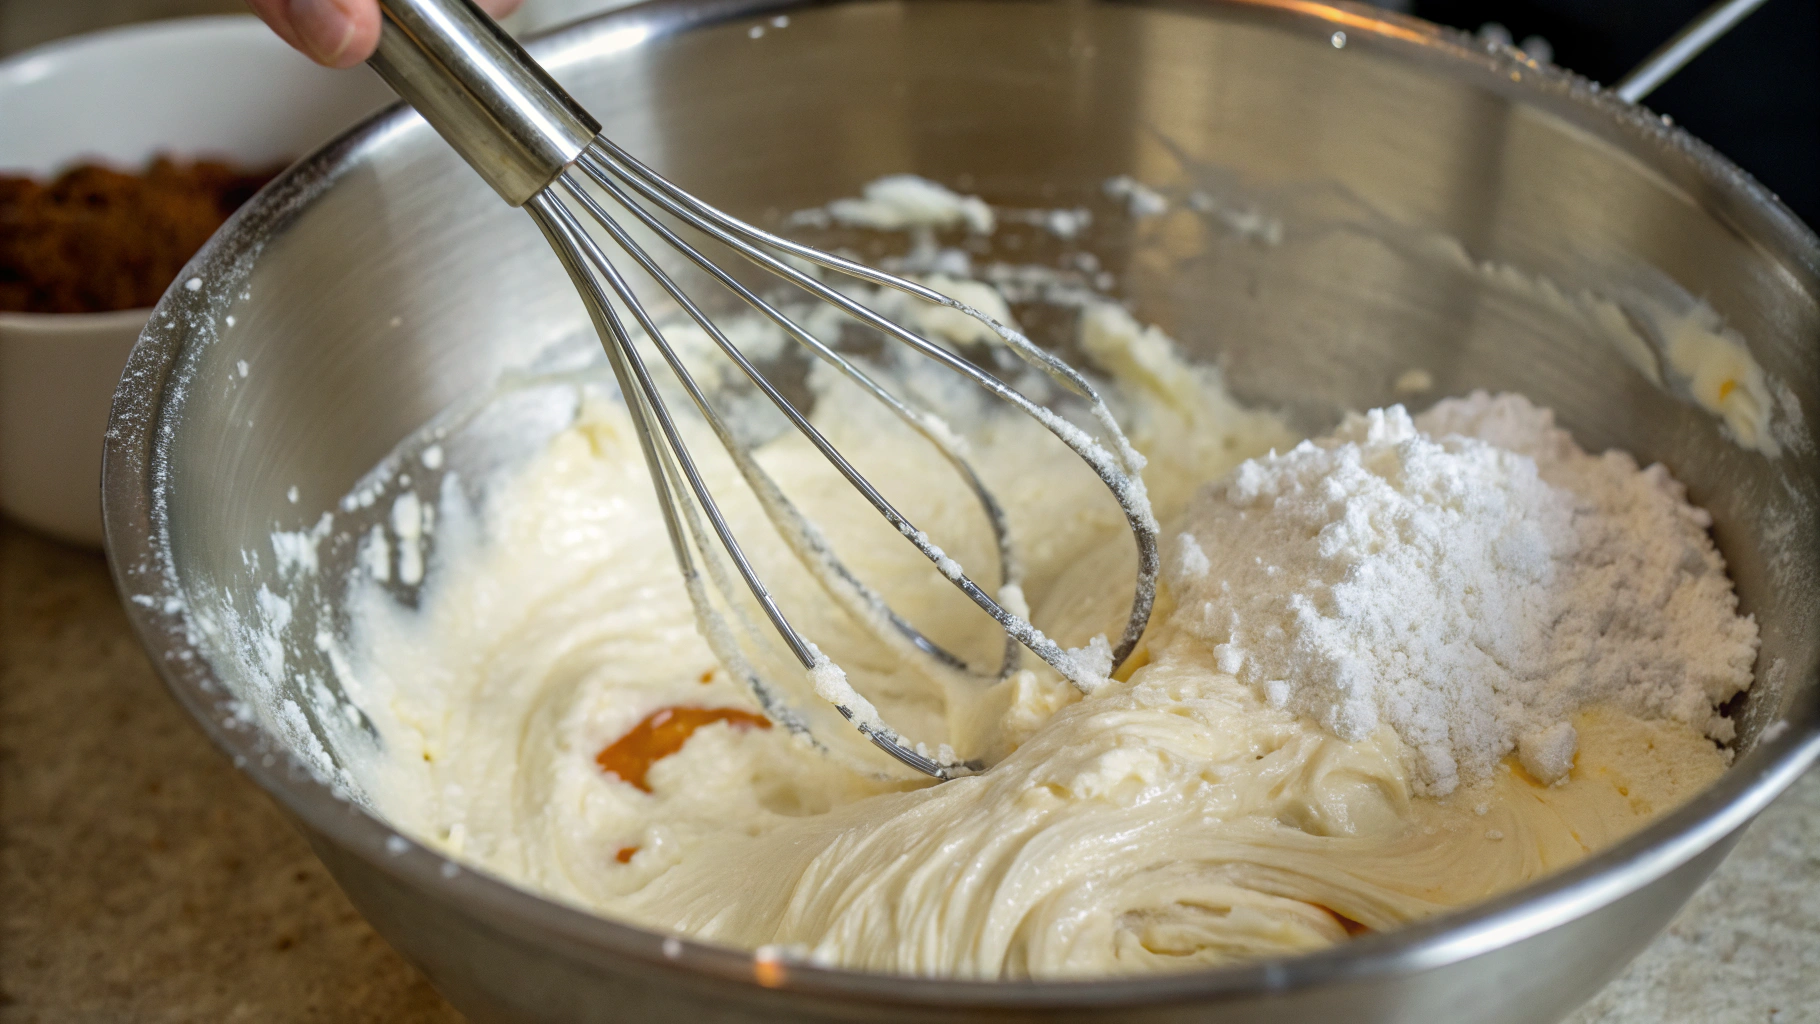
To begin your Homemade Cookies and Cream Ninja Creami Ice Cream, you’ll need to create a smooth, well-incorporated base mixture. In a medium mixing bowl, whisk together the heavy cream, milk, granulated sugar, vanilla extract, and salt. Whisk continuously for about 2-3 minutes until the sugar completely dissolves into the liquid ingredients.
Important tips:
- Use a whisk rather than a spoon to ensure proper incorporation of ingredients
- Test the mixture by rubbing a small amount between your fingers – you shouldn’t feel any sugar granules
- The mixture should appear smooth and slightly thickened with no visible graininess
- Whisk in one direction to minimize air incorporation which could affect the final texture
This perfectly dissolved base will ensure your ice cream freezes with a creamy consistency rather than developing ice crystals from undissolved sugar.
Step 2
Preparing the Cookies
Now it’s time to prepare the star ingredient that gives this ice cream its name – the cookies!
- Take your Oreo cookies (or similar sandwich cookies) and place them in a sturdy zip-top bag.
- Using a rolling pin, gently crush the cookies by applying even pressure and rolling over the bag.
- Texture tip: Aim for a mixture of small crumbs and some slightly larger pieces – this creates the perfect cookies and cream texture with bits you can bite into.
- If you prefer a more uniform mixture, you can pulse the cookies briefly in a food processor instead. Just be careful not to over-process them into powder.
- Set aside your crushed cookies while you prepare the remaining ingredients.

The variation in cookie piece sizes is what makes homemade cookies and cream ice cream superior to store-bought versions – you control the chunk size for the perfect bite!
Step 3
Prepare the Ninja Creami Container
With your cream mixture ready, it’s time to properly transfer it to the Ninja Creami pint container:
-
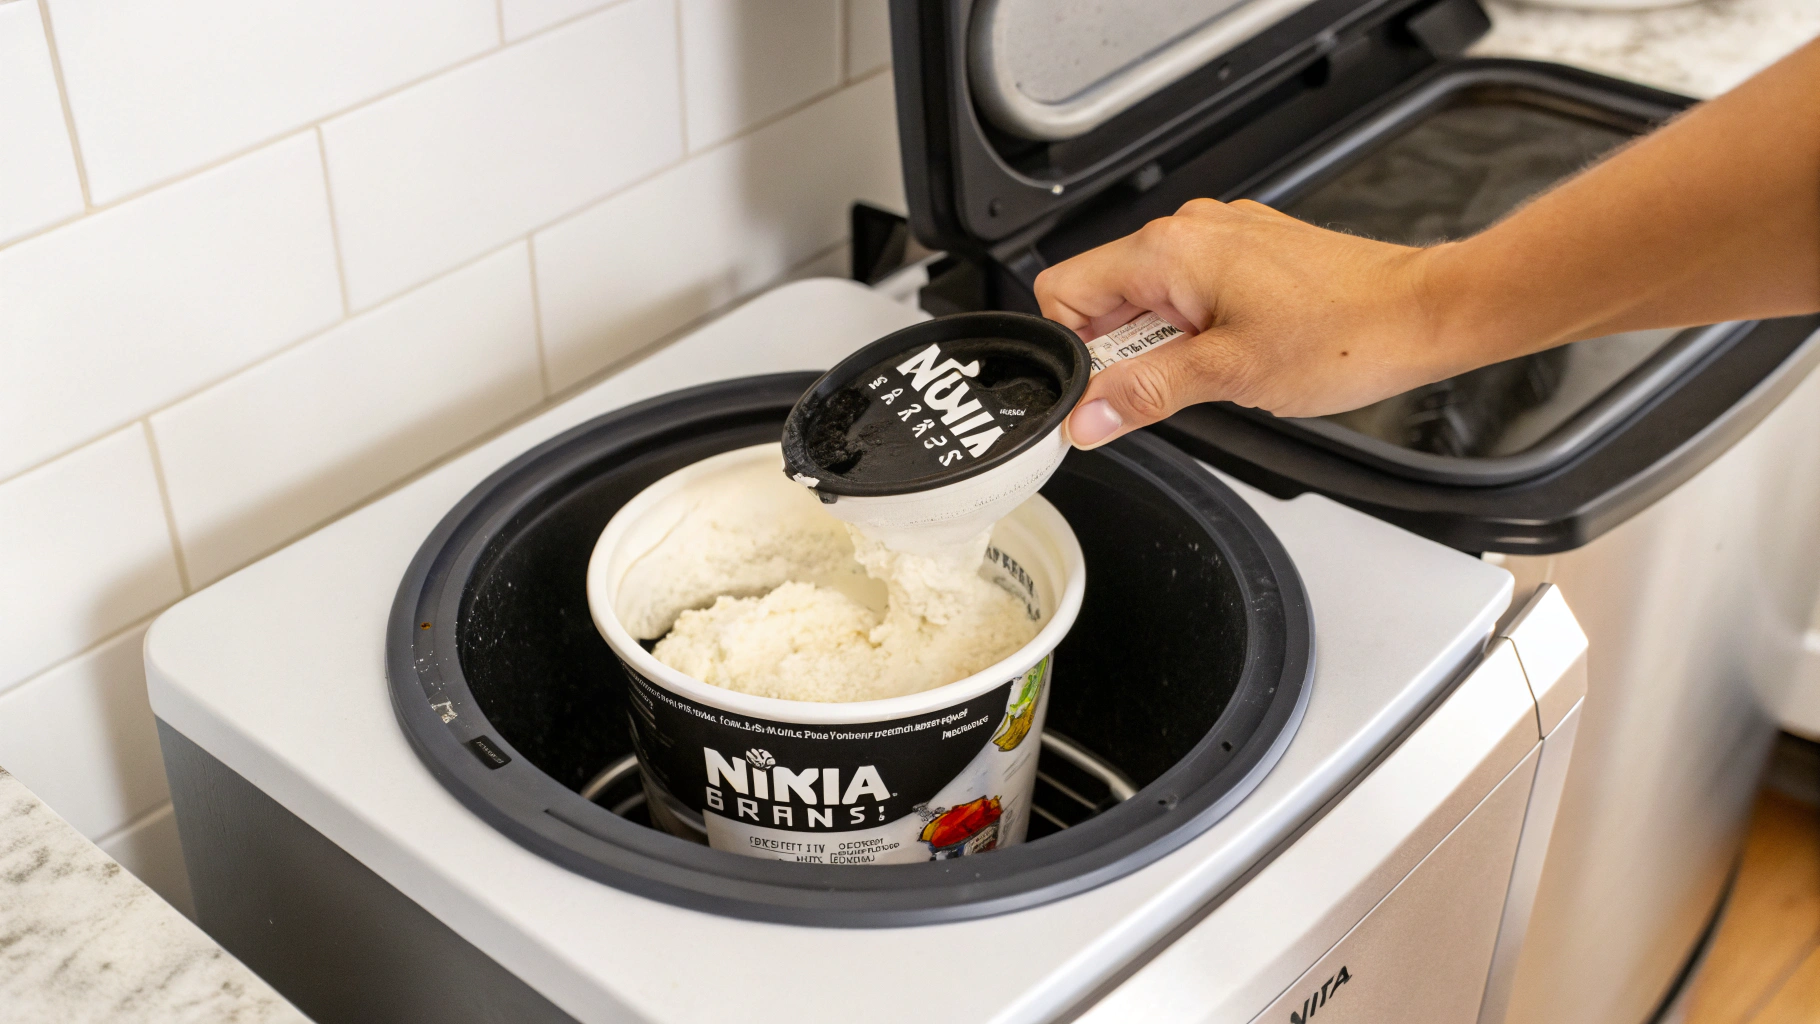
Transfer carefully: Using a funnel or measuring cup with a spout, pour the cream mixture slowly into a clean Ninja Creami pint container.
-
Leave expansion space: Be sure to leave approximately ½ inch of space at the top of the container. This empty headspace is crucial as it allows the mixture to expand during the freezing and processing phases without overflowing.
-
Secure properly: Place the lid firmly on the container and ensure it’s properly sealed. A good seal prevents freezer burn and preserves the quality of your ice cream.
-
Check for leaks: Gently tilt the container to ensure the lid is secure and there are no leaks before placing it in the freezer.
Pro tip: Mark the container with the date and contents using a piece of masking tape or removable label—especially helpful if you’re making multiple flavors!
Step 4
Freezing Your Mixture
Once your Cookies and Cream mixture is prepared, it’s time to freeze it properly for the Ninja Creami to work its magic:
-
Transfer to freezing container: Pour your mixture into the Ninja Creami pint container, leaving about ½ inch of space at the top to allow for expansion.
-
Seal properly: Secure the lid tightly to prevent freezer burn and absorption of other freezer odors.
-
Position upright: Place the pint in your freezer in an upright position to ensure even freezing throughout.
-
Optimal freezing time: Allow the mixture to freeze completely for at least 24 hours. This waiting period is crucial for achieving the perfect ice cream texture.
-
Temperature check: Verify your freezer is set to 0°F (-18°C) or below. A properly cold freezer ensures your mixture freezes solid enough for the Ninja Creami to process correctly.
Pro tip: For best results, place the container toward the back of your freezer where temperatures are most consistent and avoid opening the freezer frequently during the freezing period.
Step 5
Preparing Your Ice Cream for Processing
After the mixture has thoroughly frozen for 24 hours, it’s time to prepare it for the Ninja Creami processor.
-
Remove the pint from the freezer – Take your frozen pint container out, being careful to handle it with a kitchen towel if it’s very cold.
-
Remove the lid – Unscrew or pop off the lid from your frozen pint container. You might notice the mixture appears completely solid at this point—that’s exactly what you want!
-
Insert the pint into the Ninja Creami outer bowl – Place your lidless pint container directly into the Ninja Creami’s outer processing bowl. Make sure it’s seated properly and sits flush with the base of the outer bowl.
-
Secure the bowl – Ensure the pint is properly aligned and secured within the outer bowl before proceeding to the next processing step.
Pro Tip: If your pint container is difficult to remove from the freezer or extremely frozen, let it sit at room temperature for about 1-2 minutes—just enough to release it easily without beginning to thaw the contents.
Step 6
Processing Your Ice Cream
Now it’s time to transform your frozen mixture into creamy, delicious ice cream:
-
Secure the container: Remove the outer bowl from the freezer and lock it firmly into the Ninja Creami base. Ensure it clicks into place for safe operation.
-
Select proper setting: On the control panel, locate and press the ‘Ice Cream’ function button.
-
Start processing: Press the start button to begin the churning process. The powerful dasher will work through your frozen mixture, creating the perfect creamy texture.
-
Allow full cycle: Let the machine complete its entire processing cycle without interruption. This typically takes approximately 2-3 minutes. You’ll hear the machine change sounds as it works through different phases of processing.
Tip: During processing, the Ninja Creami may seem loud—this is normal as it breaks down the frozen mixture into a smooth consistency. Avoid opening the lid during processing for optimal results.
Step 7
Harvesting Your Frozen Creation
Once the ice cream cycle is complete, you’ll hear the Ninja Creami signal that your dessert is ready for enjoyment. Follow these steps to retrieve your cookies and cream masterpiece:
-
Unlock the outer bowl by turning it counterclockwise until it releases from the base.
-
Carefully lift out the pint container from the outer bowl. The container might feel very cold, so consider using a kitchen towel for better grip.
-
Remove the Ninja Creami paddle by gently pulling it straight up and out of the ice cream. If it feels stuck, give it a slight twist while pulling upward.
-
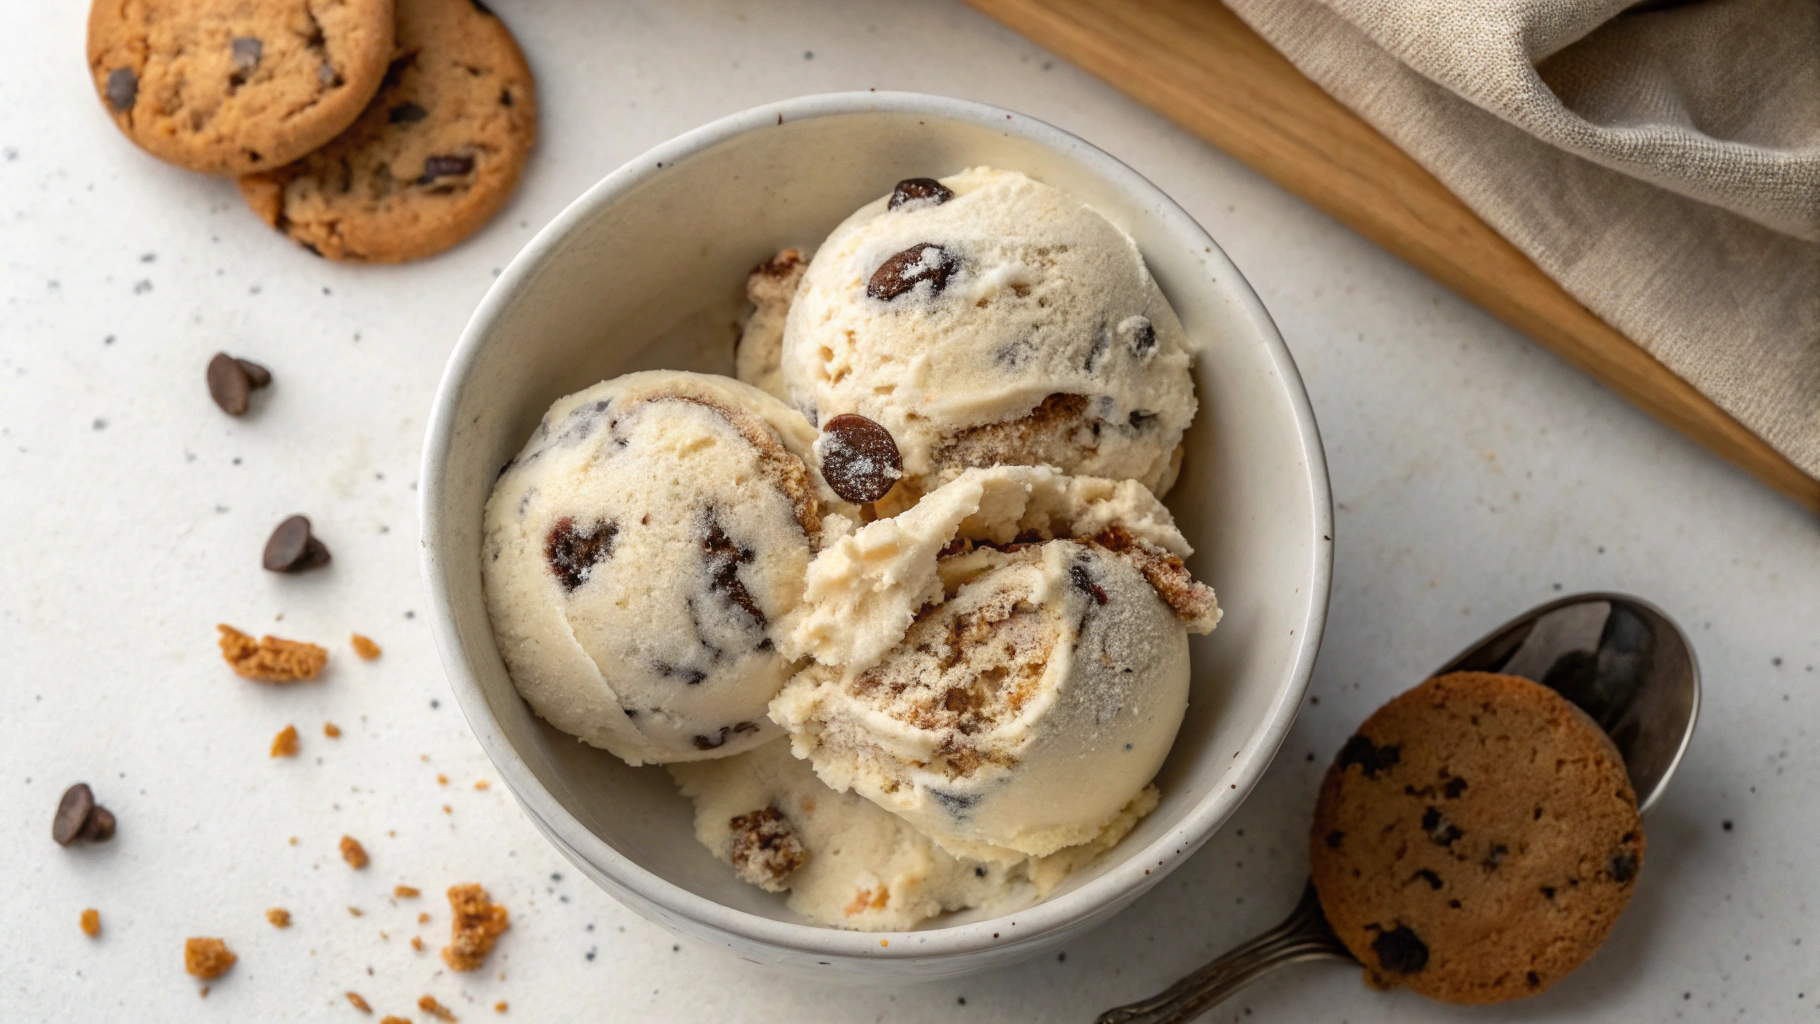
Inspect your creation – at this stage, your cookies and cream ice cream should have a smooth, creamy consistency with visible cookie pieces distributed throughout.
The ice cream might appear slightly soft immediately after processing. If you prefer a firmer texture, you can return it to the freezer for 20-30 minutes before serving.
Step 8
Incorporate the Oreo Cookies
Now comes the moment that transforms your ice cream into a true cookies and cream delight! Take your crushed Oreo cookies and gently sprinkle them over the processed ice cream base. Make sure the cookies are broken into small pieces but not completely pulverized—you want those delicious cookie chunks to be noticeable in each bite.
Return the pint to the outer bowl and secure it firmly in place. Lock the container into your Ninja Creami machine, ensuring it’s properly seated. Select the ‘Mix-in’ function on the control panel and press start. The machine will work its magic, incorporating the cookie pieces throughout the ice cream with just the right amount of pressure to distribute them evenly without over-processing.
The Mix-in cycle typically takes about 30 seconds to complete. During this time, the specialized paddle will fold the Oreo pieces into the ice cream base, creating that perfect balance of creamy vanilla base and chocolatey cookie chunks that makes cookies and cream so irresistible.
Step 9
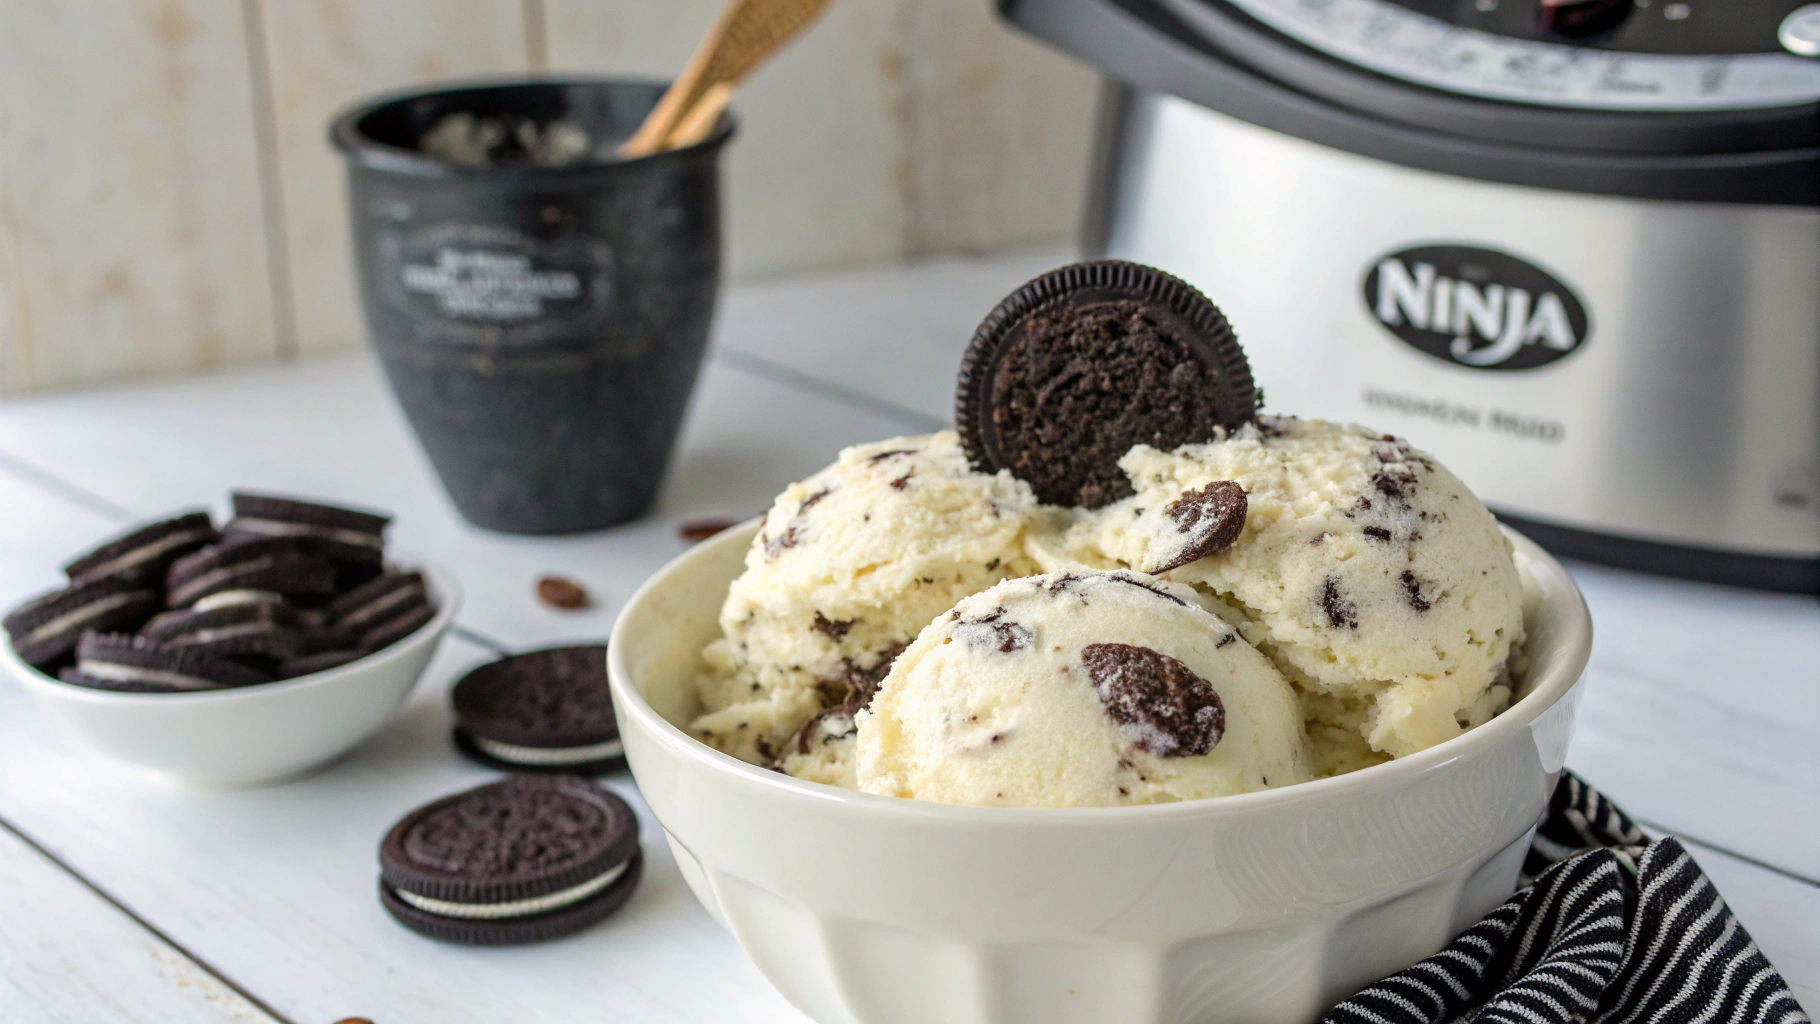
Serving Your Homemade Cookies and Cream Ice Cream
Once the mix-in cycle has completed, your Ninja Creami will beep to signal that your cookies and cream ice cream is ready to enjoy! Here’s how to serve your creamy creation:
-
Remove the pint container from the Ninja Creami base and twist off the lid.
-
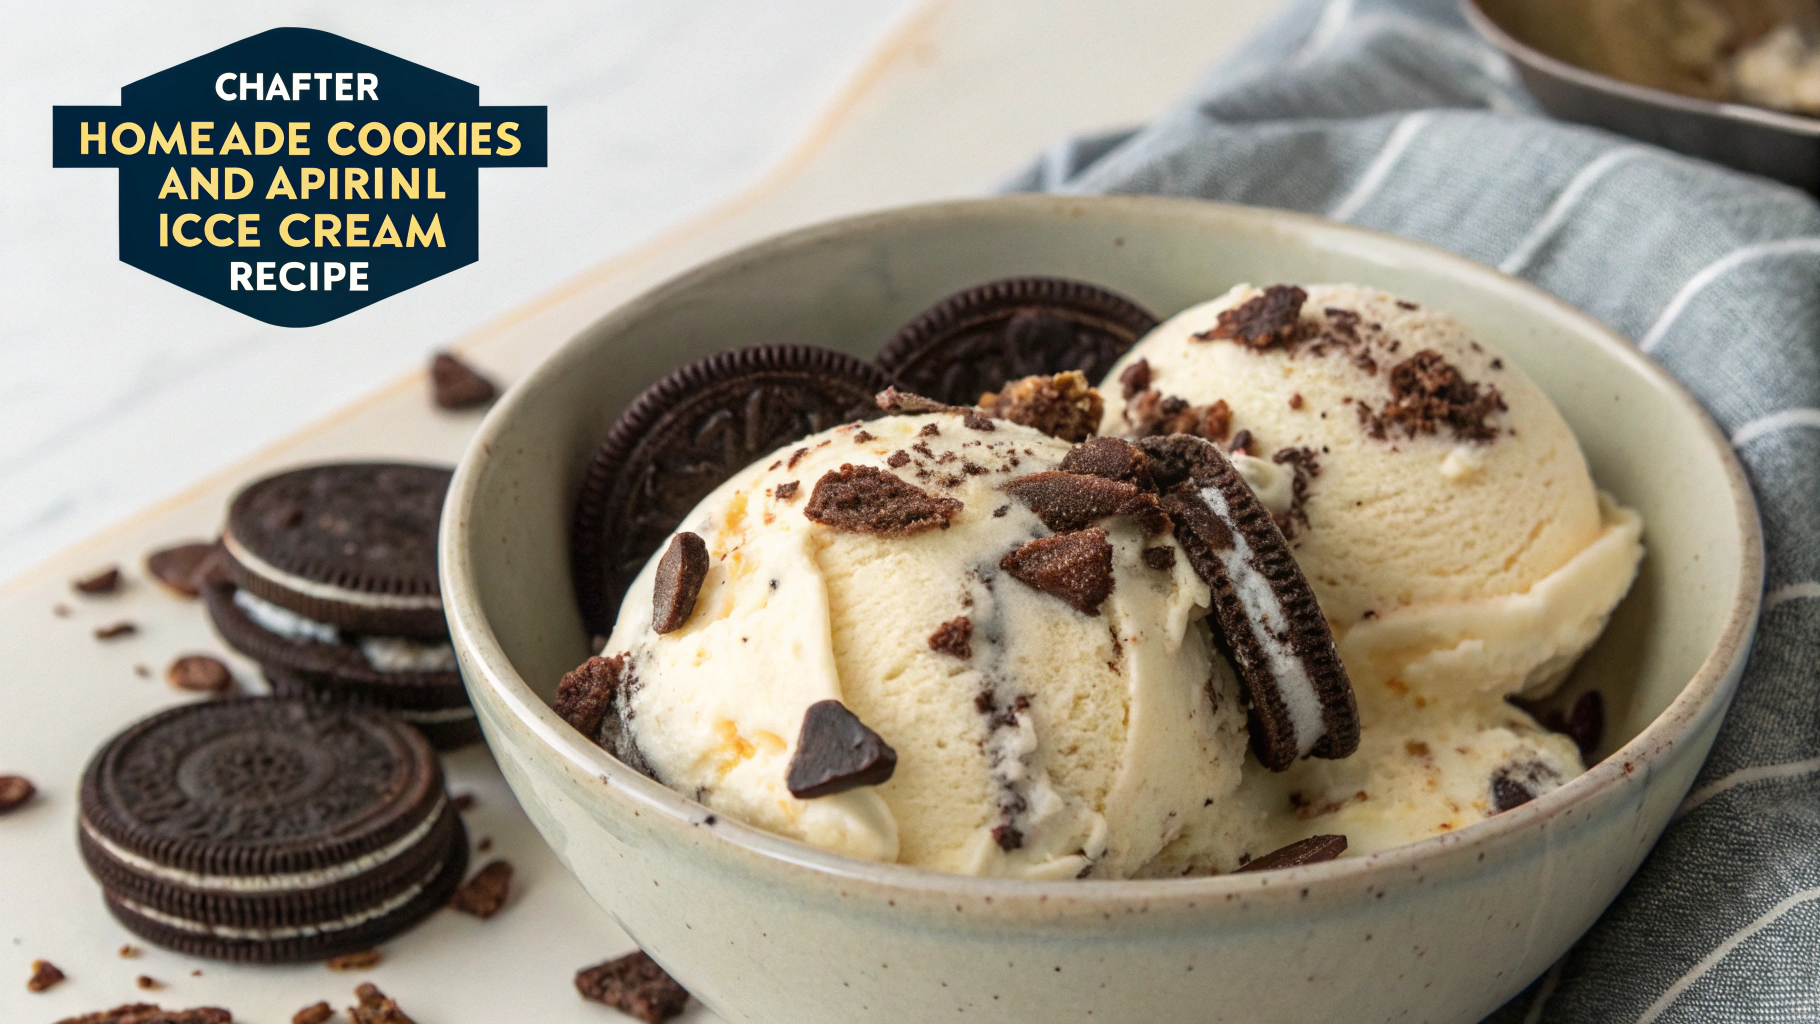
Admire your creation – you should see a perfectly incorporated mixture with visible cookie pieces distributed throughout the creamy base.
-
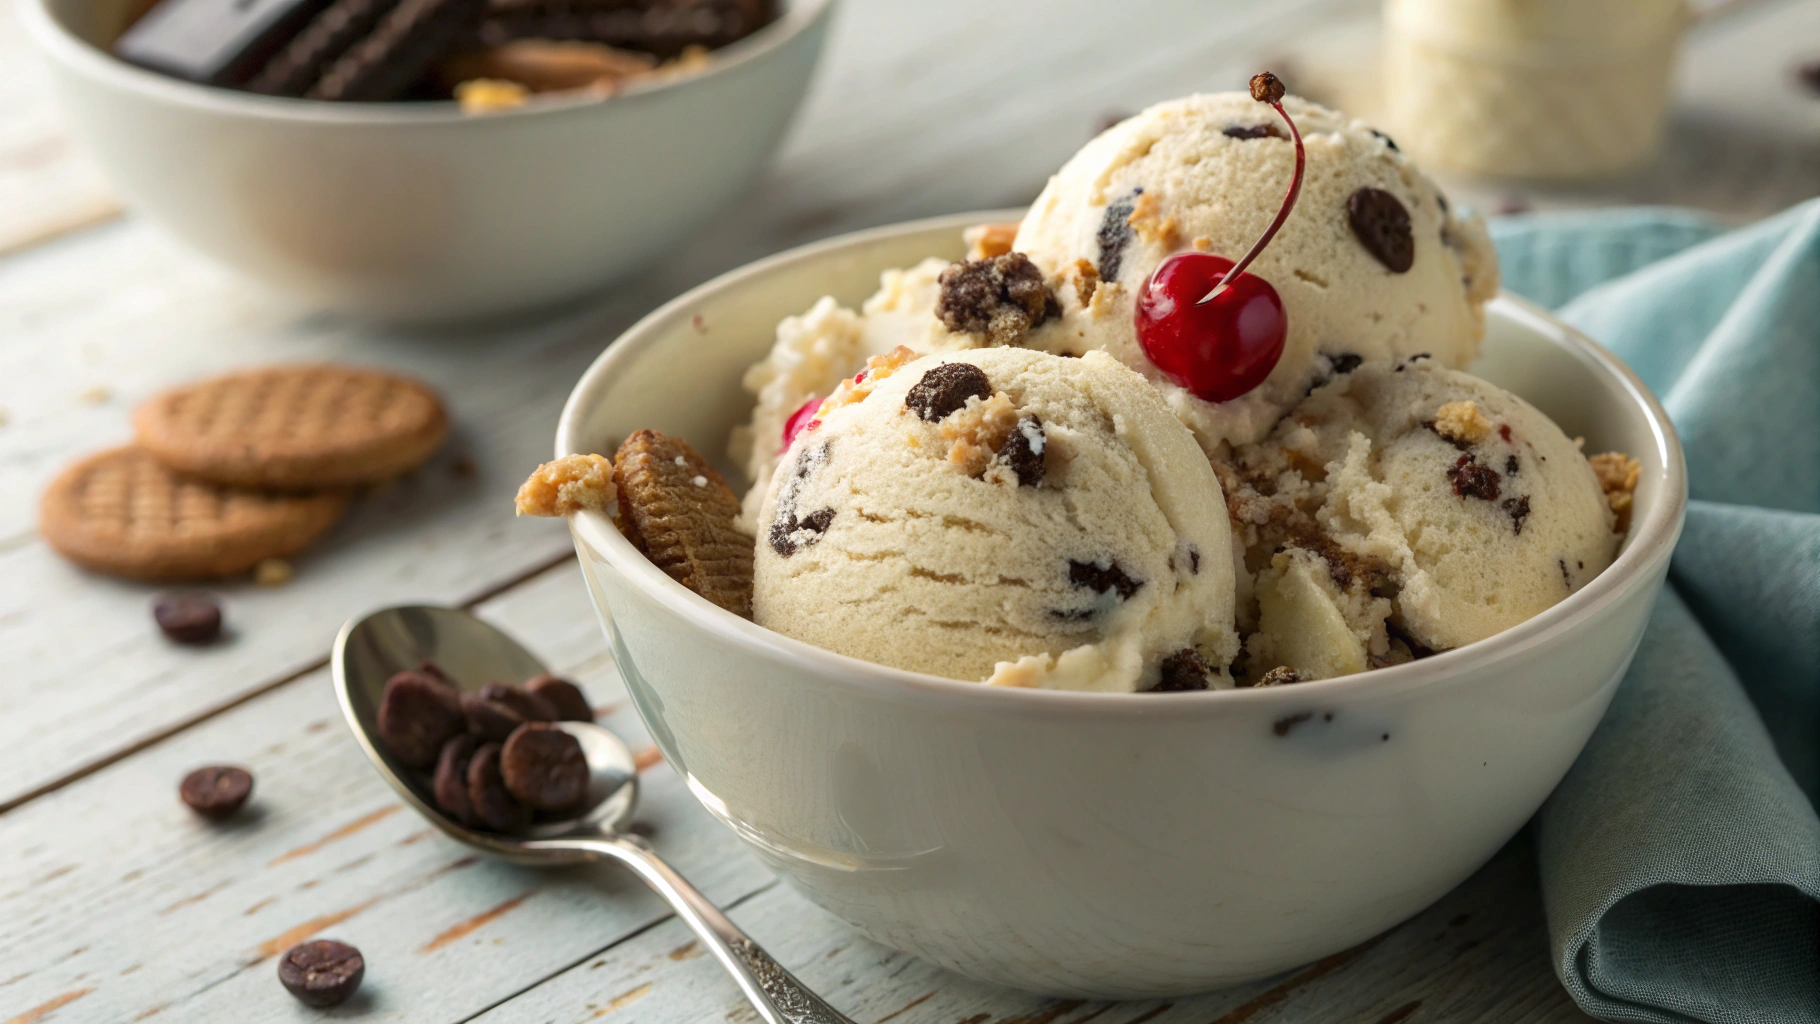
Scoop the ice cream into your favorite serving bowls or dessert dishes. The texture should be smooth and scoopable, similar to premium store-bought ice cream.
-
Garnish your masterpiece with additional crushed Oreo cookies on top for extra texture and visual appeal.
-
Serve immediately for the best texture and flavor experience, or store any leftovers in the pint container with the lid securely fastened.
Pro tip: For an extra special touch, drizzle with chocolate sauce or add a dollop of whipped cream alongside your Oreo garnish!
Preparing Your Cookies and Cream Base
Before you start making your cookies and cream Ninja Creami ice cream, there are a few tips to ensure the best results:
-
Pre-chill your ingredients: Using cold heavy cream and milk helps achieve a better texture.
-
Cookie preparation: For the best cookies and cream experience, crush most of the Oreos into small pieces but leave some slightly larger chunks for texture variety.
-
Proper filling: Never fill the Ninja Creami pint container beyond the fill line marked on the container.
-
Freeze properly: Make sure your base freezes completely solid for at least 24 hours. The temperature of your freezer should be 0°F (-18°C) or colder.
-
Avoid air pockets: Tap the container gently on the counter a few times before freezing to remove any air bubbles trapped in the mixture.