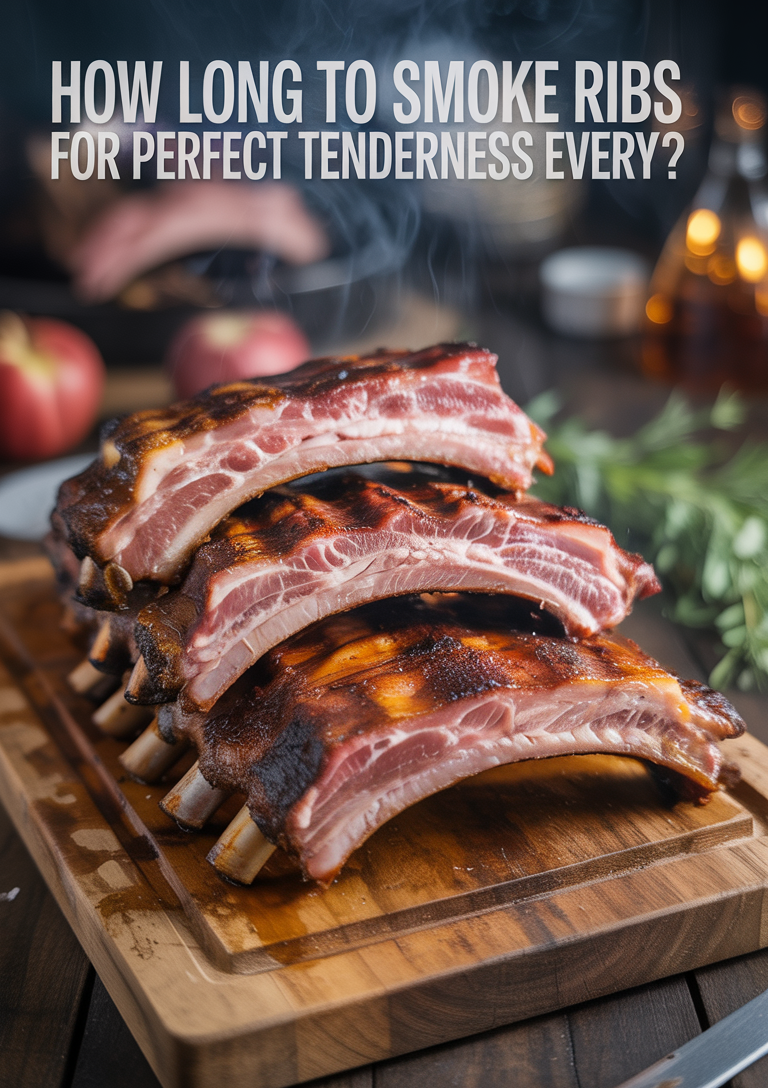
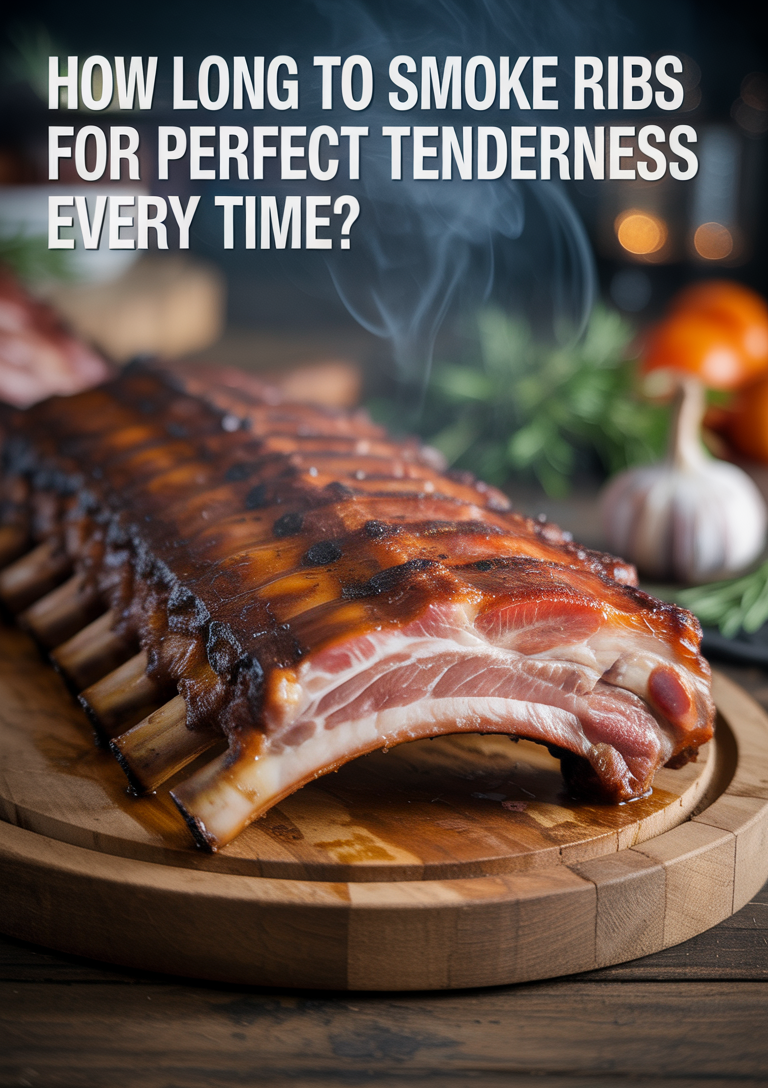
Smoking ribs is an art form that requires patience, precision, and the right timing to achieve that perfect fall-off-the-bone tenderness. If you’re wondering how long to smoke ribs, you’ve come to the right place. In this guide, we’ll walk through the exact timing needed for different types of ribs, temperatures, and techniques to ensure your next barbecue is a hit. Whether you’re a beginner or a seasoned pitmaster looking to refresh your skills, understanding the proper smoking duration is crucial for that mouthwatering rack of ribs everyone will rave about.
Understanding Different Types of Ribs and Their Smoking Times
Before diving into specific smoking times, it’s important to understand the different types of ribs available, as each requires slightly different treatment:
- Baby Back Ribs: Smaller, leaner, and quicker to cook
- Spare Ribs: Larger, fattier, and require longer cooking times
- St. Louis Style Ribs: Trimmed spare ribs with a more uniform shape
Smoking Time Overview
| Type of Ribs | Smoking Temperature | Approximate Time |
|————–|———————|——————|
| Baby Back Ribs | 225°F | 5-6 hours |
| Spare Ribs | 225°F | 6-7 hours |
| St. Louis Style | 225°F | 5-7 hours |
Ingredients for Perfect Smoked Ribs
- 2 racks of ribs (baby back, spare ribs, or St. Louis style)
- 1/4 cup yellow mustard or olive oil (as a binder)
- 1/3 cup rib rub or dry seasoning
- 1 cup apple juice or cider (for spritzing)
- 1 cup barbecue sauce (optional, for glazing)
Equipment Needed
- Smoker (electric, pellet, offset, or charcoal)
- Wood chunks or chips (hickory, apple, cherry, or oak)
- Meat thermometer
- Aluminum foil or butcher paper
- Spray bottle for spritzing
- Tongs
- Basting brush
- Sharp knife
Prep Time and Cook Time
Prep Time: 30 minutes
Cook Time: 5-7 hours (depending on rib type)
Servings: 4-6 people
Difficulty: Intermediate
Instructions
Step 1
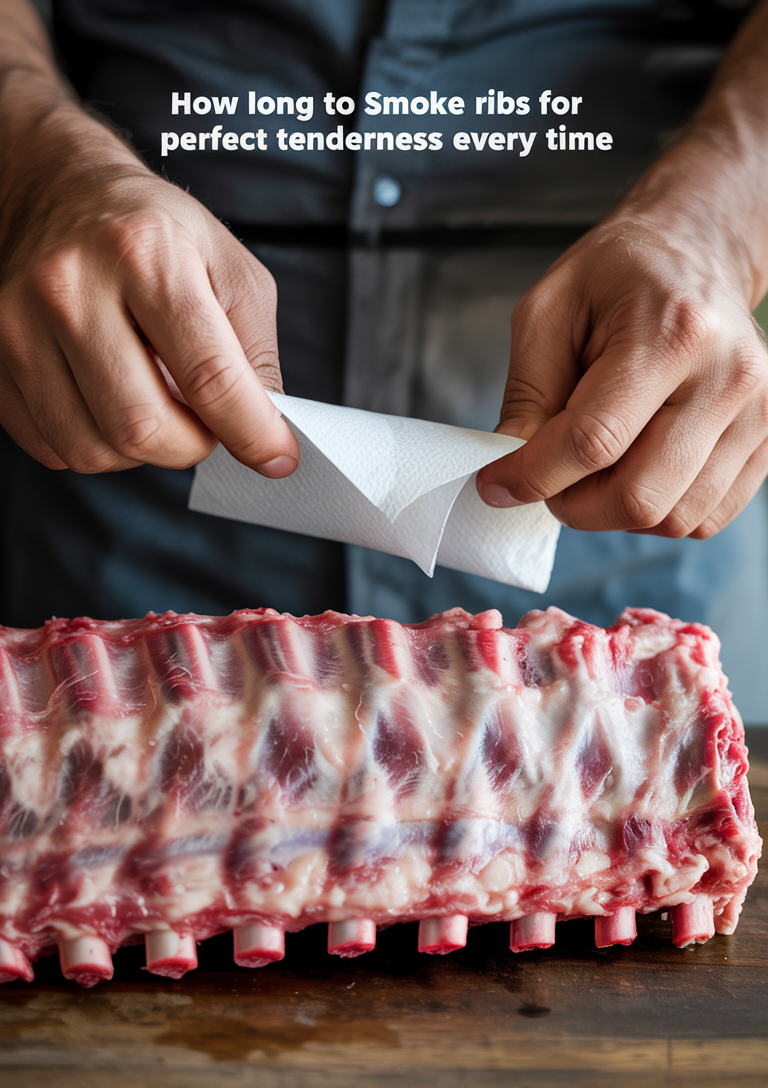
Begin by preparing your ribs through proper membrane removal, which is crucial for tender results. Place the rack bone-side up on your cutting board and locate the thin, silvery membrane covering the bones. Insert a butter knife under the membrane at one corner of the rack, working it back and forth to create enough space to grip the membrane with your fingers.
Once you have a small section loosened, grab the membrane with a paper towel for better grip – the membrane can be slippery and difficult to handle with bare hands. Pull steadily and firmly across the entire rack to remove the membrane in one piece if possible. If it tears, simply repeat the process with the remaining sections.
Trim excess fat if desired, leaving about ¼ inch for flavor and moisture. Remove any loose bone fragments or cartilage pieces that may have been exposed during the membrane removal process. This preparation step ensures even seasoning penetration and prevents the tough membrane from creating a barrier that would result in chewy, less tender ribs.
Step 2
Apply a thin layer of yellow mustard or olive oil to all surfaces of the ribs as a binder. This crucial step serves two purposes:
• Adhesion: The moisture helps your dry rub stick to the meat instead of falling off during cooking
• Bark formation: Creates a better foundation for developing that coveted crispy exterior
Once your binder is applied, generously coat both sides of the ribs with your dry rub. Work the seasoning into the meat by pressing it firmly with your hands, ensuring every crevice and surface is well-covered. Pay special attention to the bone side, which is often overlooked but benefits greatly from proper seasoning.
Pro tip: Don’t worry about the mustard flavor – it will cook out completely, leaving only the enhanced bark and better rub adherence.
Step 3
Preheat your smoker to 225°F (107°C) and prepare your wood for smoking. This temperature provides the ideal balance between cooking the ribs thoroughly and allowing enough time for the smoke to penetrate the meat.
Add your chosen wood chunks or chips according to your smoker’s specific instructions:
- For electric or gas smokers: Use the designated wood chip tray or smoker box
- For charcoal smokers: Place 3-4 wood chunks directly on the hot coals
- For pellet smokers: Ensure your hopper is filled with the appropriate wood pellets
Choose the right wood for flavor. For ribs, fruitwoods provide the best results:
- Apple wood: Delivers a sweet, mild smoke that complements pork beautifully
- Cherry wood: Adds a subtle fruity flavor and creates an appealing reddish color on the meat
- Peach or pear wood: Offer similar mild, sweet characteristics
Avoid using too much wood initially – you can always add more during the cooking process. Start with a moderate amount to prevent overwhelming the meat with smoke flavor.
Step 4
Position the ribs bone-side down directly on the smoker grates, ensuring adequate spacing between each rack for proper airflow. Close the smoker lid and adjust your vents or dampers to maintain a steady 225°F temperature.
During this initial hour, resist the urge to open the lid or check on the ribs. Every time you lift the lid, you’ll lose valuable heat and smoke, which can extend your cooking time by 15-30 minutes. Use this period to:
- Monitor your smoker’s temperature gauge
- Add wood chunks if needed for sustained smoke production
- Prepare your spritz solution (if using one)
- Set a timer for the next phase
The ribs should start developing a light smoke ring and begin taking on color during this undisturbed smoking period.
Step 5
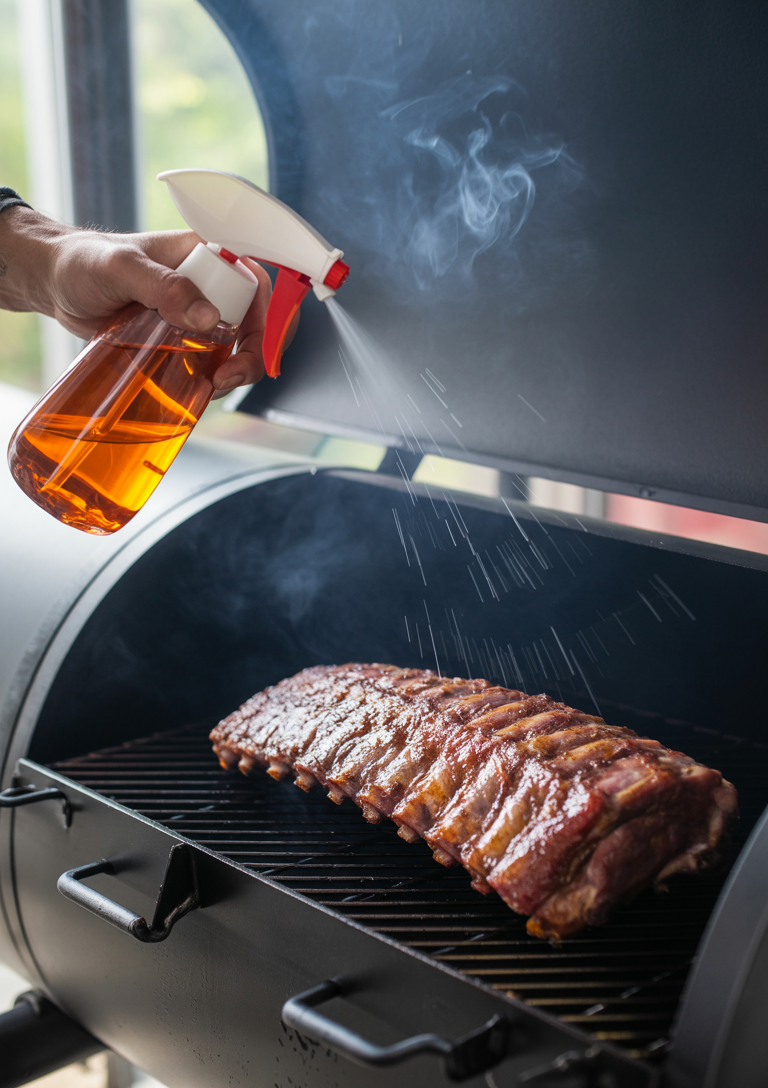
After the first hour, begin spritzing the ribs with apple juice or apple cider every 45 minutes to maintain moisture and enhance bark development. Use a spray bottle to apply an even, light coating across the entire surface of the meat – avoid over-saturating, which can wash away your rub or prevent proper bark formation.
Key spritzing tips:
- Work quickly to minimize heat loss when opening the smoker
- Continue this process throughout the unwrapped smoking phase
- The sugars in apple juice help create a beautiful mahogany color
- Stop spritzing once you wrap the ribs (if using the wrap method)
This technique keeps the meat surface moist while allowing the bark to develop properly, creating that perfect balance of texture and flavor that makes great barbecue ribs.
Step 6
Wrap the Ribs (The “Wrap” Phase)
After completing the initial smoking period, carefully remove the ribs from the smoker. This is where the 3-2-1 method for spare ribs or 2-2-1 method for baby back ribs transitions into the crucial wrapping phase.
Wrapping Process:
- Choose your wrap material: Use either heavy-duty aluminum foil or butcher paper
- Aluminum foil: Creates a tighter seal and steams the meat more aggressively
- Butcher paper: Allows some breathability while still accelerating the cooking process
- Add flavor enhancers before sealing:
- Apple juice or apple cider: Adds sweetness and helps tenderize
- Butter pats: Creates rich, savory moisture
- Honey: Provides natural sweetness and helps with caramelization
- Brown sugar: Enhances the bark and adds molasses notes
- Combination approach: Try butter + brown sugar + a splash of apple juice
- Wrap tightly: Ensure the package is completely sealed to trap steam and moisture
Pro Tip: Use about 2-3 tablespoons of liquid total—too much will make the ribs soggy and wash away your carefully developed bark.
Return the wrapped ribs to the smoker immediately to maintain consistent cooking temperature and continue the tenderizing process.
Step 7

Return the wrapped ribs to the smoker for the second phase of cooking, maintaining the same 225°F temperature. This phase will take approximately 2 hours and serves a crucial purpose in the smoking process.
The wrapping creates a braising effect that fundamentally changes how the meat cooks. The trapped moisture and steam work to break down tough connective tissues and collagen, transforming them into gelatin that makes the ribs incredibly tender. During this phase:
- Monitor the internal temperature – you’re aiming for around 195-203°F in the thickest part of the meat
- Resist the urge to unwrap – opening the foil releases the steam needed for proper braising
- Check your smoker’s fuel – ensure you have enough wood or charcoal for the remaining cook time
The wrapped ribs will cook faster than during the first phase due to the steam environment, so keep a close eye on both time and temperature. The meat should feel tender when gently pressed through the foil, indicating the connective tissues are properly breaking down.
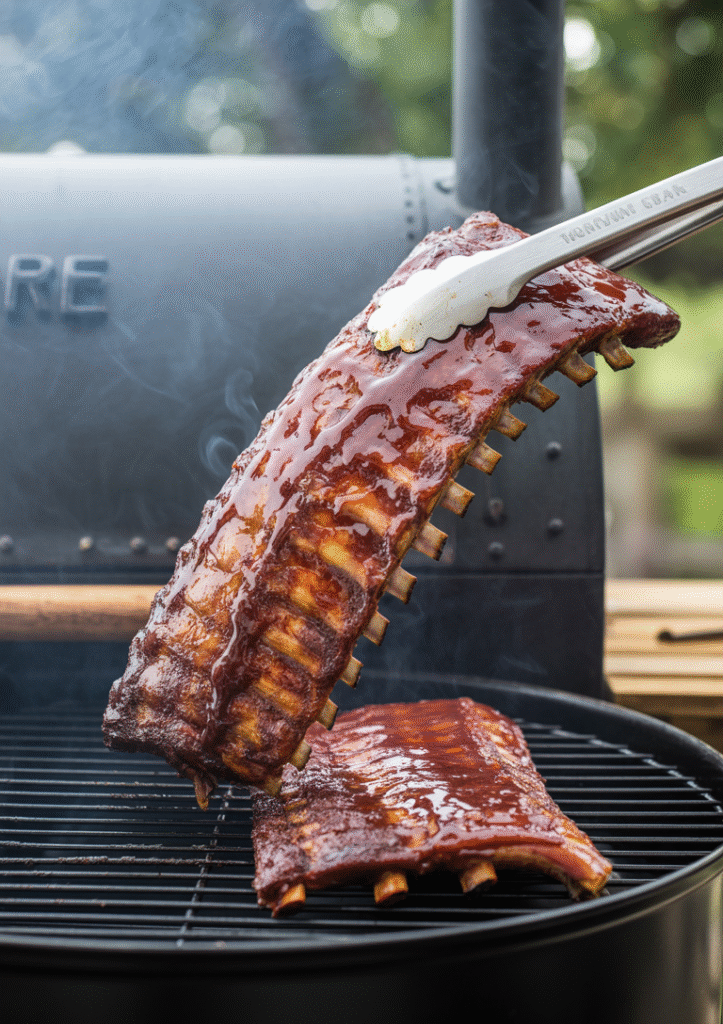
Step 8
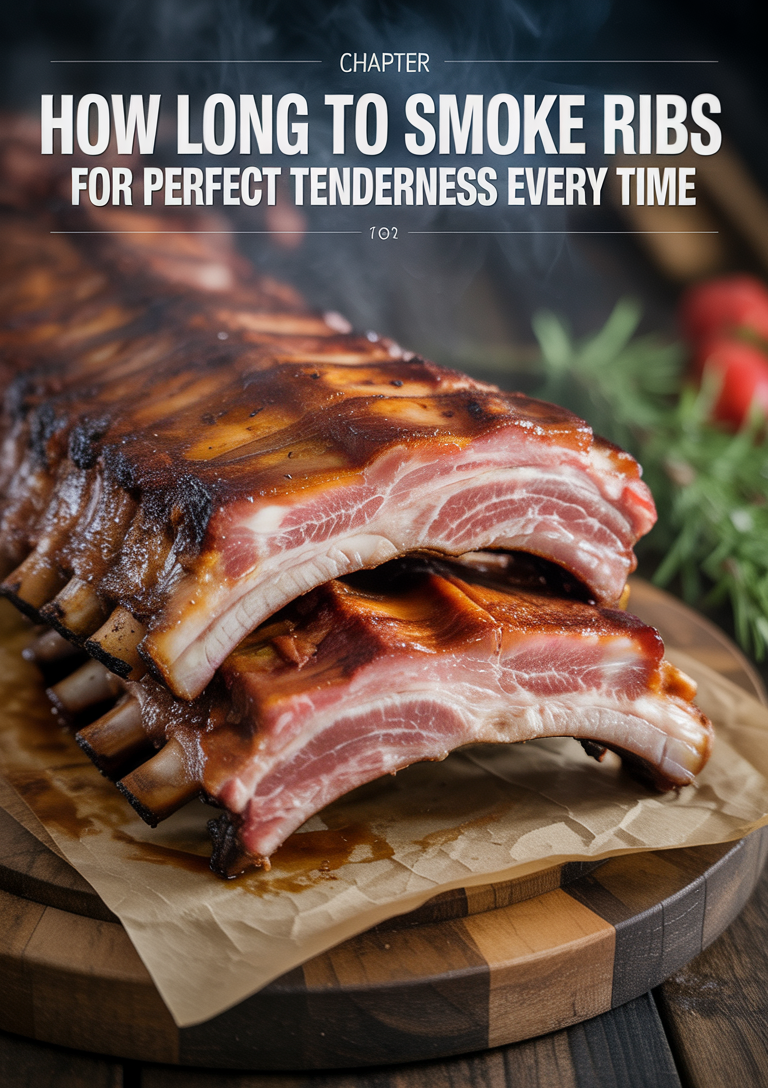
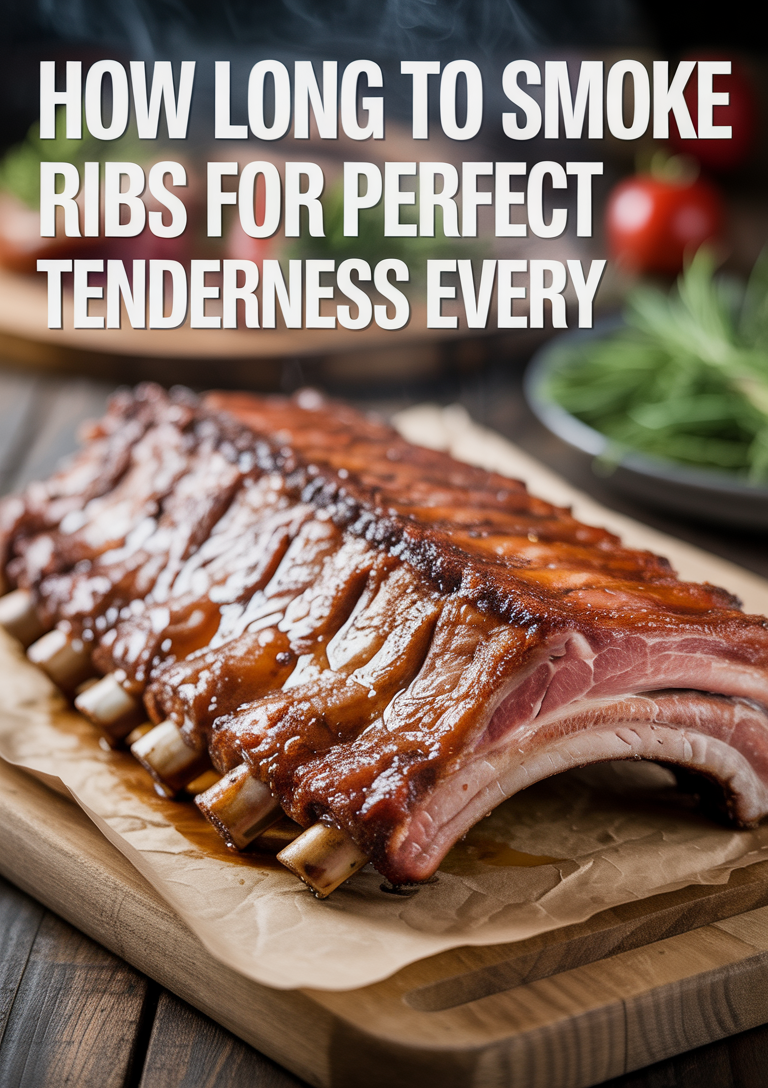
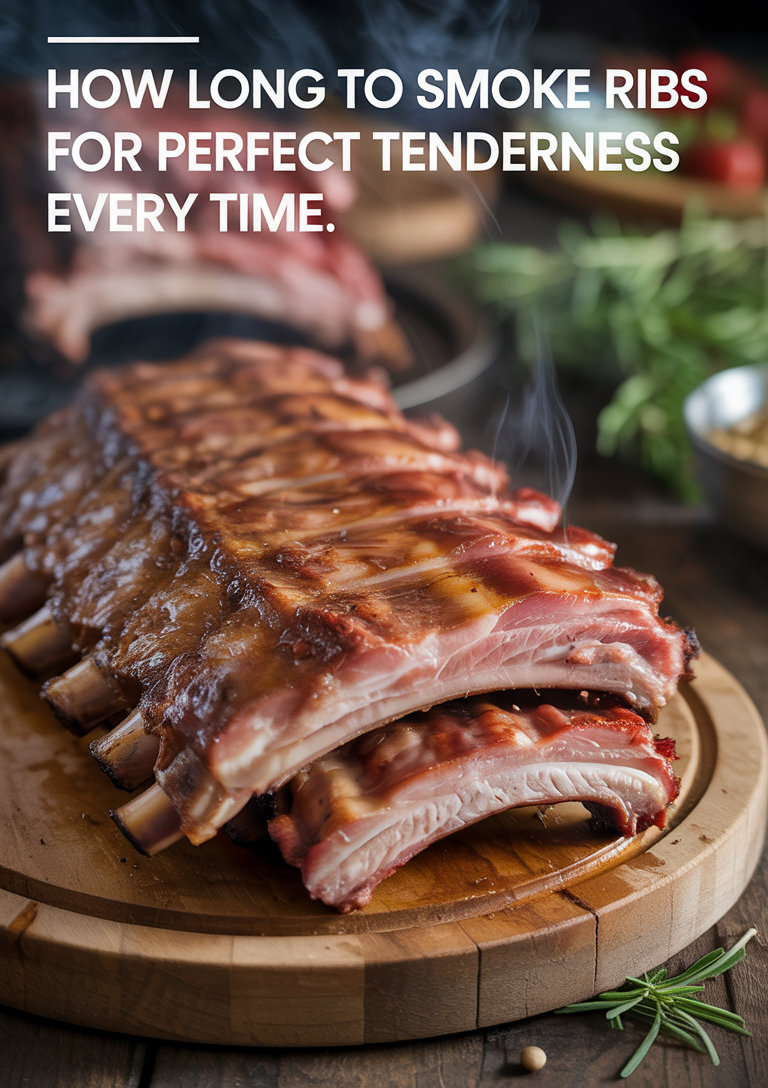
For the final phase, carefully unwrap the ribs and place them back on the smoker, bone-side down. This is where you’ll achieve that perfect bark – the coveted crispy exterior that contrasts beautifully with the tender meat inside.
If you want to add barbecue sauce, now is the time to brush it on lightly. Apply sauce to the meat side only, using a silicone brush to create an even coat. Avoid drowning the ribs – you want the sauce to complement, not mask, all the smoky flavors you’ve built up.
Smoke for the final 60-90 minutes at your target temperature, allowing the sauce to caramelize and set. The bark will firm up during this time, creating that satisfying textural contrast.
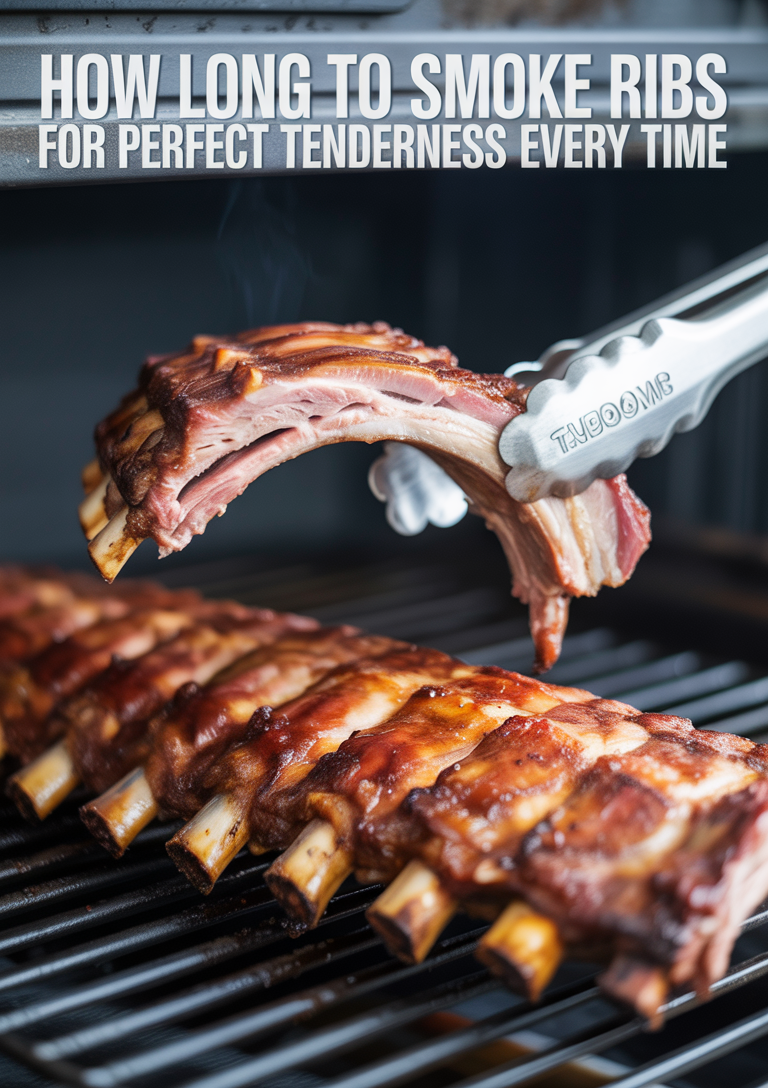
Test for doneness using the bend test: pick up the ribs with tongs at the center – they should bend easily and the meat should start to crack on the surface, but not fall apart completely. The internal temperature should reach 195-203°F for optimal tenderness.
Step 9
Test for Doneness and Rest the Ribs
Once your ribs have been smoking for the calculated time, it’s crucial to verify they’re properly cooked before serving. Use one of these reliable doneness tests:
The Bend Test: Pick up the rack with tongs at the center. The ribs should bend easily, and the meat may start to crack slightly on the surface – but it shouldn’t fall apart completely.
The Pull-Back Test: Look for the meat to have pulled back from the ends of the bones by about ¼ to ½ inch. This visual cue indicates the connective tissues have broken down properly.
The Twist Test: Grab an end bone and gently twist it. On perfectly cooked ribs, the bone should turn easily with minimal resistance, and you might even be able to pull it out cleanly.
When your ribs pass these tests, immediately remove them from the smoker. Resist the urge to slice right away – instead, tent the ribs loosely with aluminum foil and let them rest for 10-15 minutes. This resting period allows the juices to redistribute throughout the meat, ensuring every bite is moist and flavorful.
After resting, place the ribs meat-side down on a cutting board and slice between the bones using a sharp knife. Serve immediately while still warm.
The 3-2-1 Method for Smoking Ribs
One of the most popular techniques for smoking ribs is the 3-2-1 method, which provides consistent results:
For Spare Ribs (3-2-1):
- 3 hours of smoking unwrapped at 225°F
- 2 hours wrapped in foil or butcher paper (often with liquid)
- 1 hour unwrapped, often with sauce applied
For Baby Back Ribs (2-2-1):
- 2 hours of smoking unwrapped at 225°F
- 2 hours wrapped in foil or butcher paper
- 1 hour unwrapped with optional sauce
How to Tell When Ribs Are Done
Proper doneness is about more than just time—here are the indicators of perfectly smoked ribs:
- The Bend Test: Pick up the rack with tongs in the middle. The ribs should bend significantly, and the meat may crack slightly on the surface.
- The Pull-Back: The meat should have pulled back from the end of the bones by about 1/4 to 1/2 inch.
- The Twist Test: Grab an exposed bone and twist gently—it should move with little resistance.
- Internal Temperature: While not as reliable for thin cuts like ribs, the meat should reach approximately 195-203°F for optimal tenderness.
Smoking Ribs at Different Temperatures
| Temperature | Baby Back Ribs | Spare Ribs |
|————-|—————-|————|
| 225°F (classic) | 5-6 hours | 6-7 hours |
| 250°F (medium) | 4-5 hours | 5-6 hours |
| 275°F (hot & fast) | 3-4 hours | 4-5 hours |
Panda Express Gluten Free Menu Options
While enjoying your homemade smoked ribs, you might be curious about gluten-free options at popular restaurants like Panda Express. The panda express gluten free menu has become more accommodating over the years.
Some gluten free options at panda express include:
- Super Greens (broccoli, kale, and cabbage)
- Steamed rice
- Grilled Teriyaki Chicken (without the sauce)
However, it’s important to note that cross-contamination is possible in their kitchens, so those with celiac disease should exercise caution when considering the panda express gluten free menu.