The Ninja blender is a versatile kitchen appliance that can revolutionize your cooking and food preparation experience. Whether you’re looking to make smoothies, soups, sauces, or even dough, learning how to use your Ninja blender properly will help you maximize its potential. This guide will walk you through everything you need to know about how to use Ninja blender models effectively, from basic setup to creating delicious recipes. With its powerful motor and sharp blades, the Ninja blender can handle almost any ingredient you throw at it, making it an essential tool for both amateur and experienced home cooks.
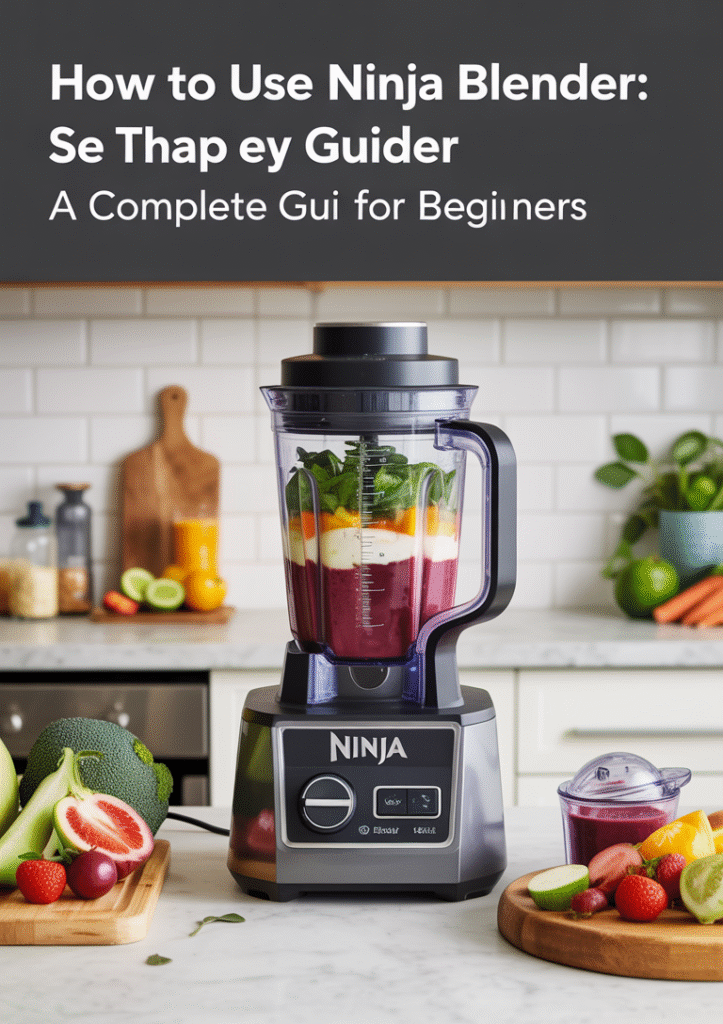
How to Use Ninja Blender: A Complete Guide for Beginners
The Ninja blender is a versatile kitchen appliance that can revolutionize your cooking and food preparation experience. Whether you’re looking to make smoothies, soups, sauces, or even dough, learning how to use your Ninja blender properly will help you maximize its potential. This guide will walk you through everything you need to know about how to use Ninja blender models effectively, from basic setup to creating delicious recipes. With its powerful motor and sharp blades, the Ninja blender can handle almost any ingredient you throw at it, making it an essential tool for both amateur and experienced home cooks.
Understanding Your Ninja Blender
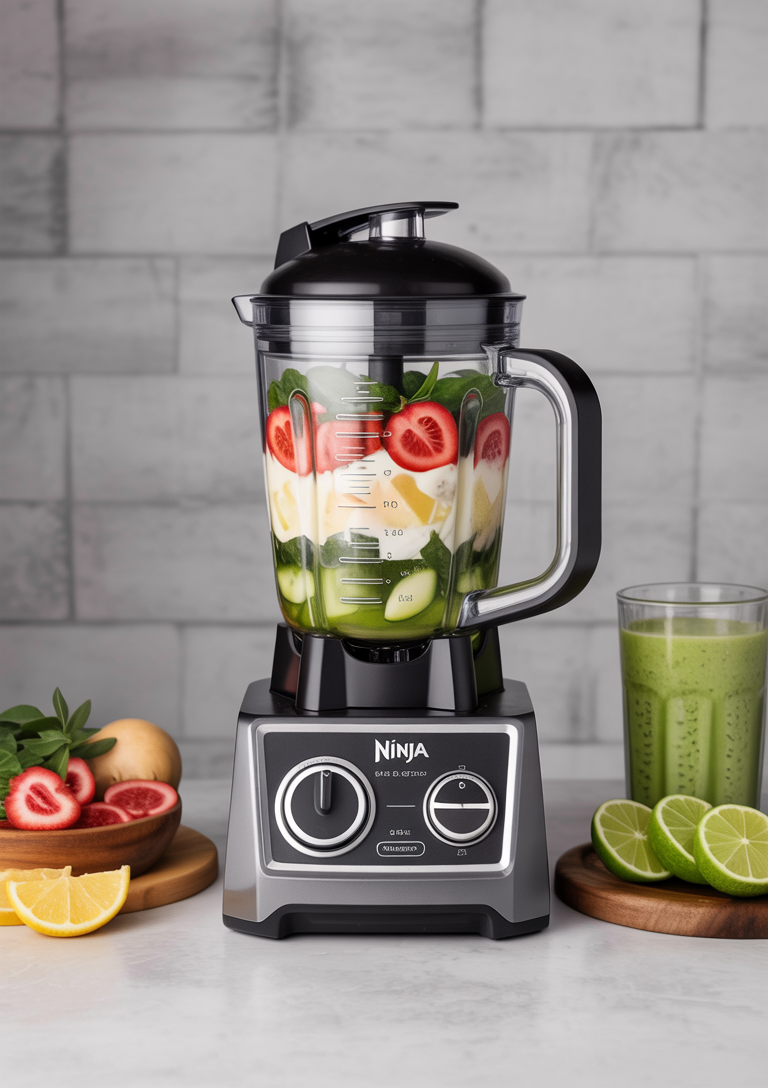
Before diving into how to operate a Ninja blender, it’s important to understand its components:
- Base/Motor Housing: This is where the power comes from. It contains the motor and control buttons.
- Blender Jar/Pitcher: This is where you put your ingredients to be blended.
- Blade Assembly: Ninja blenders typically have a unique stacked blade design that creates a vortex for thorough blending.
- Lid: Securely locks in place to prevent spills during blending.
- Control Panel: Depending on your model, this may include various speed settings, preset programs, and power buttons.
How to Work a Ninja Blender: Initial Setup
Setting up your Ninja blender correctly is the first step to successful blending:
- Place the motor base on a clean, dry, level surface
- Position the pitcher onto the motor base, ensuring it sits properly
- Insert the blade assembly (handle it carefully as blades are sharp)
- Add your ingredients to the pitcher
- Secure the lid by pressing down until you hear it click
- Plug the power cord into an electrical outlet
How Do You Turn On Ninja Blender?
Turning on your Ninja blender varies slightly depending on the model, but the general process is:
- Ensure the blender is properly assembled and plugged in
- Press the power button to turn the unit on
- Select your desired speed or preset program
- Press the start button or the selected program button to begin blending
- To stop blending, press the same button again or the dedicated stop button
Most Ninja blenders have indicator lights that show when the unit is powered on and which setting is selected.
A Simple Berry Smoothie Recipe for Your Ninja Blender
Recipe Overview
- Prep Time: 5 minutes
- Blend Time: 1 minute
- Servings: 2
- Difficulty: Easy
Ingredients
- 1 cup frozen mixed berries
- 1 ripe banana
- 1 cup Greek yogurt
- 1/2 cup milk (dairy or plant-based)
- 1 tablespoon honey or maple syrup (optional)
- 1/2 cup ice cubes
Equipment Needed
- Ninja blender
- Measuring cups
- Spatula
- Serving glasses
Instructions
Step 1
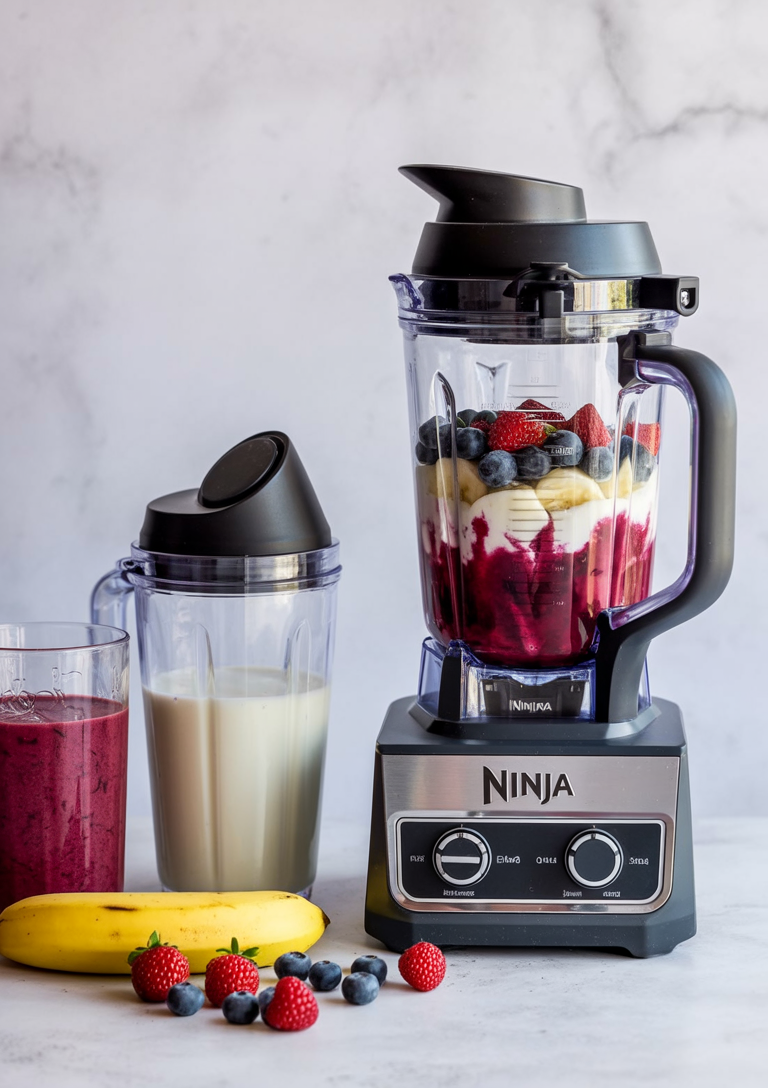
Proper ingredient preparation and layering is crucial for achieving the best blending results. Start by gathering all your ingredients and measuring them according to your recipe.
Layering Order:
- Liquids first – Pour milk, yogurt, or any liquid base into the bottom of the blender jar
- Soft ingredients – Add fresh fruits like bananas, soft berries, or leafy greens
- Frozen items last – Place frozen fruits, ice cubes, or frozen vegetables on top
This layering technique ensures that the blades can move freely and create a proper vortex. The liquid at the bottom helps the blades start moving smoothly, while the weight of frozen ingredients on top pushes everything down toward the blades as blending begins.
Pro tip: Cut larger fruits into smaller chunks (about 1-2 inches) to reduce strain on the motor and achieve more consistent results.
Step 2

Secure the lid properly by pressing it down firmly until you hear a distinct click sound. This audible confirmation ensures the lid is locked in place and prevents any spillage during blending.
Check the pour spout – make sure it’s completely closed to avoid leaks. The spout should sit flush against the lid.
Position the pitcher on the motor base by:
- Aligning the pitcher with the base markings
- Gently turning the pitcher clockwise until it locks securely in place
- Ensuring the pitcher sits flat and stable on the base
Important: Never attempt to operate the blender if the pitcher isn’t properly locked. The safety mechanisms will prevent the motor from starting if components aren’t correctly assembled.
Step 3
Locate the power cord attached to your Ninja blender base and plug it into a standard electrical outlet. Once connected, you’ll notice the power button on the front or side of the base unit.
Press the power button to turn on your blender. Most Ninja models feature an illuminated power button that will light up when the unit is ready for operation. You may hear a brief startup sound or see additional LED lights activate, indicating the blender is now powered on.
Important safety note: Always ensure your hands are dry when plugging in the blender and pressing the power button. The blender should be placed on a stable, level surface before powering on.
If the power button doesn’t illuminate or respond, check that:
- The outlet is functioning (test with another device)
- The power cord is securely connected to both the outlet and blender base
- The pitcher is properly seated on the base (some models won’t power on without proper assembly)
Step 4
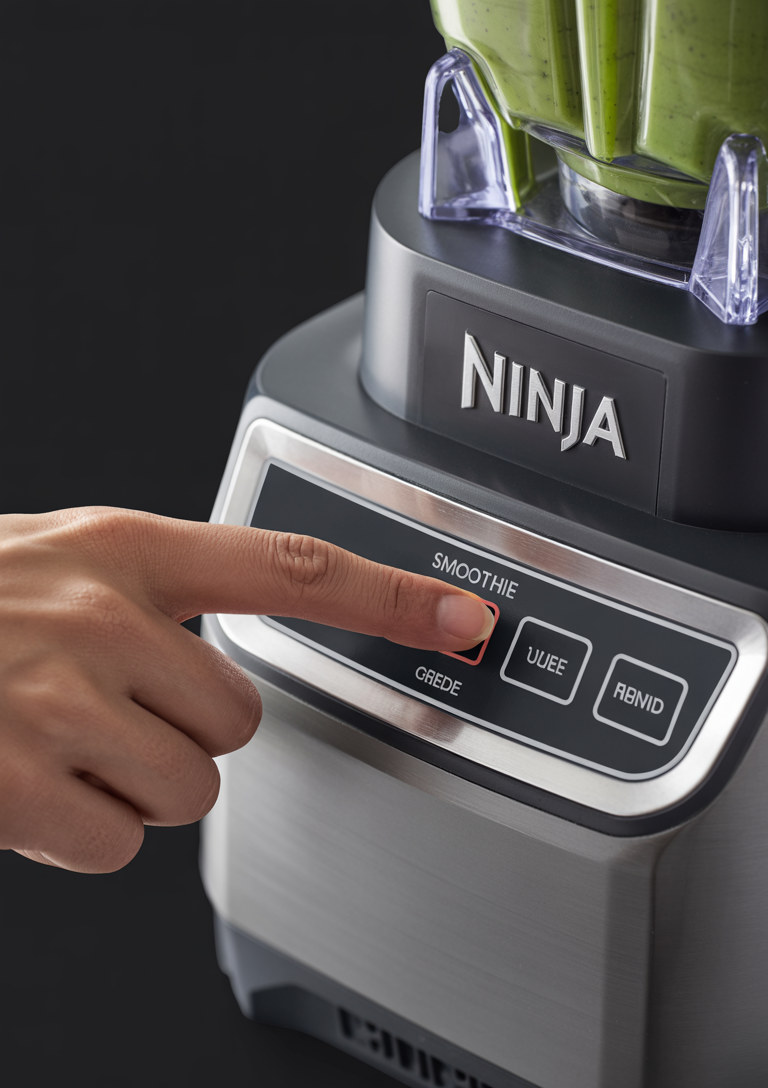
Select your blending speed based on what you’re making. For smoothies, start with a low speed for 10-15 seconds to help incorporate all ingredients without creating air pockets or splattering. Once the ingredients begin to combine, gradually increase to high speed to achieve that smooth, creamy texture.
Many Ninja blender models come with preset programs that take the guesswork out of blending. If your model has a “Smoothie” preset, simply press that button and let the blender do the work for you. These presets are programmed with optimal speed patterns and timing.
Speed guidelines for different recipes:
- Smoothies: Low speed first, then high speed
- Crushing ice: High speed in short bursts
- Chopping vegetables: Pulse function or low speed
- Nut butters: Start low, gradually increase to high
Remember that pulsing (short bursts) gives you more control over texture, especially when you want chunky results rather than completely smooth blends.
Step 5
Start blending for 30-60 seconds until you achieve a smooth, consistent texture. The Ninja’s powerful blades work quickly, so monitor the progress to avoid over-blending.
If you notice any stubborn chunks or uneven pieces:
- Stop the blender and use the pulse function in short 2-3 second bursts
- This helps break down remaining pieces without overprocessing the mixture
- Continue pulsing until all ingredients are evenly incorporated
Pro tip: The high-speed blades generate heat during extended blending, so shorter intervals often produce better results than one long blend cycle. You should see a smooth, uniform consistency once properly blended.
Step 6
Once blending is complete, press the power button to turn off the blender immediately. This prevents unnecessary wear on the motor and ensures safe operation.
Important safety note: Always wait for the blades to come to a complete stop before attempting to remove the pitcher from the base. The blades may continue spinning for several seconds after the motor stops, and removing the pitcher prematurely could cause injury or damage.
You’ll know it’s safe to proceed when:
- The motor sound has completely stopped
- No movement is visible from the blades
- The blender has been off for at least 3-5 seconds
Once the blades have stopped completely, you can safely lift the pitcher straight up from the motor base.
Step 7
Unlock the lid by pressing the release button (usually located near the handle) and lifting upward. The lid should come off smoothly without resistance.
Important safety tip: Always ensure the blender has come to a complete stop before removing the lid to prevent any splashing or injury.
Once the lid is removed:
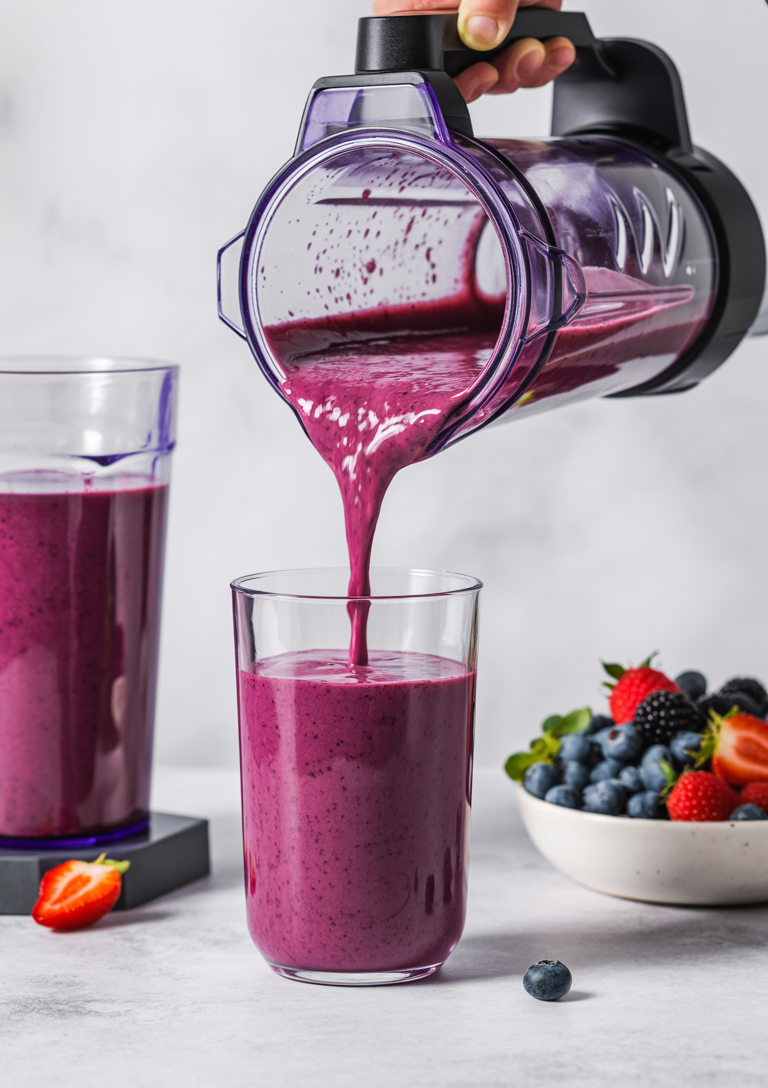
- Pour immediately – Transfer your smoothie into glasses right away for the best texture and temperature
- Use the spout – If your Ninja blender pitcher has a pour spout, use it to minimize drips and ensure clean pouring
- Scrape if needed – Use a spatula to get every last bit from the pitcher walls
Serve your freshly blended smoothie immediately for optimal taste and consistency. The longer smoothies sit, the more they tend to separate and lose their creamy texture.
Tips for Using Different Ninja Blender Models
Ninja offers various blender models, each with unique features:
Ninja Professional Blender
- Features high-powered blending with multiple speed settings
- Great for smoothies, frozen drinks, and food processing
- Use the pulse feature for controlled chopping and processing
Ninja Nutri Blender
- Personal-sized blender perfect for individual servings
- Blend directly in the to-go cup for convenience
- Best for smoothies and protein shakes
Ninja Foodi Power Blender
- Multi-functional with heating capabilities
- Can make hot soups, sauces, and even extract juice
- Uses smart preset programs for different recipes
Common Troubleshooting When Using a Ninja Blender
- Blender Won’t Turn On
- Check if it’s properly plugged in
- Ensure the pitcher is correctly seated on the base
- Verify that the lid is securely locked
- Ingredients Aren’t Blending Well
- Add some liquid to help create a vortex
- Cut ingredients into smaller pieces before adding
- Don’t overfill the blender jar (respect the max fill line)
- Blender Makes Unusual Noises
- Stop blending immediately
- Check for any foreign objects or large food pieces
- Ensure blade assembly is properly installed
- Motor Seems Stuck or Overheating
- Turn off and unplug the blender
- Allow the motor to cool down for 15-30 minutes
- Reduce the amount of ingredients in future blends
You can find more tips for using and maintaining your blender in our article on whether Ninja blenders are dishwasher safe.