If you own a Ninja blender or are considering purchasing one, you might be wondering: is Ninja blender dishwasher safe? The good news is that most Ninja blender components are dishwasher safe, which makes cleanup considerably easier. However, there are important details to know about which parts can go in the dishwasher, how to place them properly, and what parts should always be hand-washed. In this guide, we’ll walk through everything you need to know about safely cleaning your Ninja blender in the dishwasher to keep it in optimal working condition for years to come.
Can You Put Ninja Blender in Dishwasher?
Many people purchase a Ninja blender because of its powerful performance and versatility in the kitchen. Whether you’re making berry blast smoothies or other blended creations, cleanup is an important consideration. The short answer is yes, most Ninja blender parts are dishwasher safe, but there are important exceptions and guidelines to follow.
Which Ninja Blender Parts Are Dishwasher Safe?
Most Ninja blender models allow for dishwasher cleaning of these components:
- Pitcher/Containers – The main blending jars, cups, or containers
- Lids – Both regular lids and pour spouts
- Blade Assemblies – The removable blade units
- Attachments – Such as to-go cups and specific accessories
Which Parts Should NOT Go in the Dishwasher?
Always keep these components away from your dishwasher:
- Motor Base/Power Unit – Never immerse in water or put in dishwasher
- Certain Specialized Parts – Some models have specific non-dishwasher safe components (always check your user manual)
Are Ninja Blenders Dishwasher Safe? Model-Specific Information
While most Ninja blender components are dishwasher safe, there are some variations between models:
Ninja Professional Blenders (BL610, BL660, etc.)
- Pitchers, lids, and blade assemblies are top-rack dishwasher safe
Ninja Nutri Blender/Ninja Fit
- Cups, lids, and blade assemblies are top-rack dishwasher safe
Ninja Foodi Power Blender & Processor
- Pitchers, lids, tamper, and blade assemblies are dishwasher safe
Ninja Blender Duo with Auto-iQ
- Pitchers, cups, lids, and blade assemblies are top-rack dishwasher safe
EQUIPMENT NEEDED FOR CLEANING
- Dishwasher
- Dish soap
- Soft cloth or sponge (for hand washing when necessary)
- Bottle brush (for hard-to-reach areas)
- Toothbrush (for cleaning around blade assemblies)
Instructions
Step 1
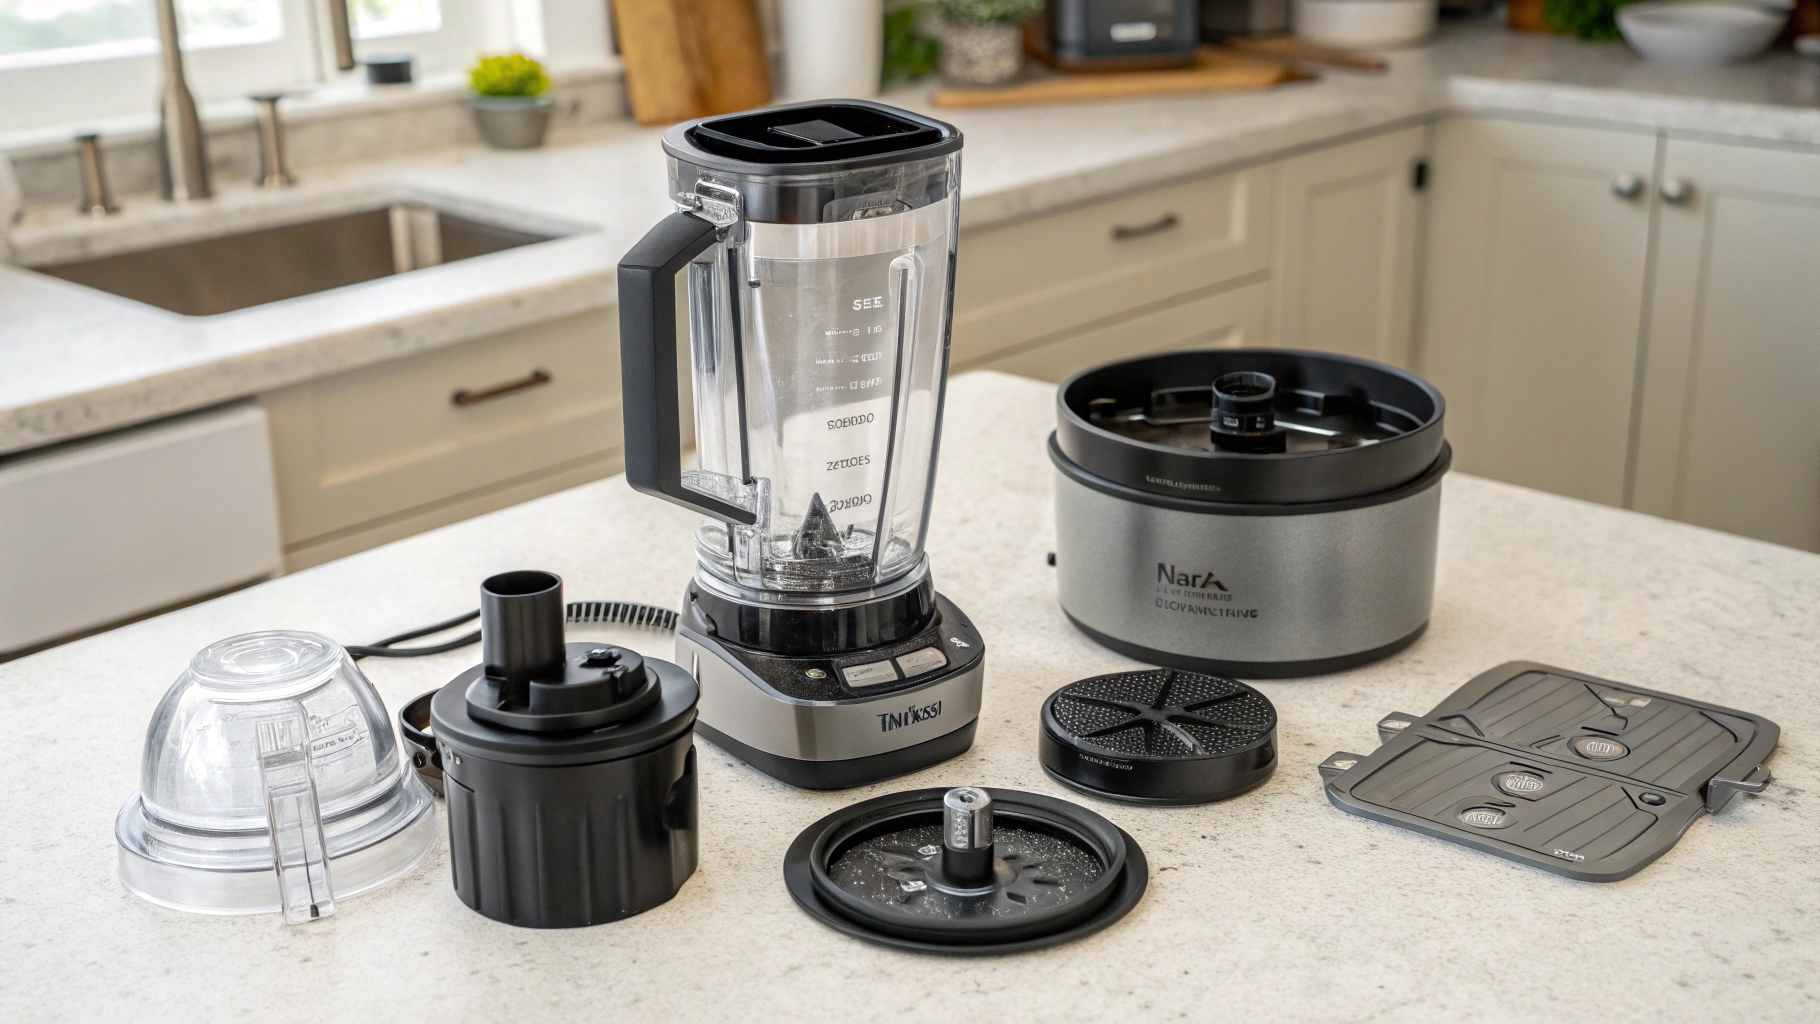
Disassemble Your Ninja Blender Completely
Before placing any components in the dishwasher, it’s essential to properly disassemble your Ninja blender:
-
Remove the pitcher or cup from the base – Always disconnect the container portion from the motorized base unit.
-
Unscrew the blade assembly carefully – The sharp blades require cautious handling to prevent injury.
-
Separate all components – This includes:
- Lids and caps
- Rubber gaskets
- Blade assemblies
- Pitchers or cups
- Any attachments or accessories
IMPORTANT: The motor base should NEVER be submerged in water or placed in the dishwasher as this will damage the electrical components. Only wipe the base with a damp cloth when needed.
Thorough disassembly ensures each component can be properly cleaned and prevents potential damage to parts that aren’t dishwasher safe.
Step 2
Pre-Rinse Components Immediately
To maintain your Ninja Blender in optimal condition, it’s essential to rinse all components promptly after each use. This simple habit prevents food particles and liquids from drying and adhering to surfaces, which significantly reduces cleaning effort later.
Quick rinsing tips:
- Use warm water for smoothies, protein shakes, and sticky substances
- Hold blades carefully by their base to avoid cuts
- Pay special attention to crevices where food tends to get trapped
- For thicker mixtures like nut butters, a soft brush can help dislodge residue
This pre-rinsing step is particularly important for smoothies containing berries or turmeric, which can cause staining if left sitting on plastic components. Even just 30 seconds of rinsing makes your dishwasher’s job much more effective and extends the aesthetic lifespan of your blender parts.
Step 3: Proper Loading Techniques for Dishwasher-Safe Parts
Proper Loading Techniques for Dishwasher-Safe Parts
Loading your Ninja blender parts correctly in the dishwasher is crucial for effective cleaning and long-term durability. Follow these specific techniques to ensure your components remain in optimal condition:
Top Rack Positioning
- Top rack only – Always place all dishwasher-safe Ninja blender components on the top rack where water pressure is gentler and temperature is lower
- Position the pitcher or cup upside down to allow proper water drainage and prevent water pooling
- Leave adequate space between parts for thorough cleaning and rinsing
Blade Assembly Placement
- Position the blade assembly with cutting edges pointing upward
- This prevents the blades from dulling by avoiding contact with other dishwasher items
- Ensure blades aren’t touching other components to prevent scratching
Securing Small Parts
- Place lids, caps, and other small components securely in a dishwasher basket if available
- Alternatively, position small parts between tines of the top rack to prevent movement
- Avoid overcrowding which can restrict water flow and reduce cleaning effectiveness
Remember that proper loading not only ensures thorough cleaning but also significantly extends the lifespan of your Ninja blender components.
Step 4
Selecting the Right Dishwasher Cycle
The dishwasher cycle you choose plays a crucial role in maintaining your Ninja blender parts’ longevity. Follow these guidelines for optimal results:
-
Use gentle settings: Select a normal or gentle cycle with mild detergent to prevent unnecessary wear on your blender components.
-
Temperature considerations: Avoid high-heat sanitizing cycles as excessive heat can warp plastic components and potentially damage seals over time.
-
Skip heated drying: The heated dry setting can be particularly harmful to Ninja blender parts. For best preservation, either turn off the heated dry option or remove your blender components before this cycle begins.
-
Top rack placement reminder: Remember that your blender parts should remain on the top rack during the selected cycle to minimize exposure to the dishwasher’s heating element.
Pro tip: If your dishwasher has a “glassware” or “delicate” setting, these options are ideal for dishwasher-safe Ninja blender parts as they typically use lower temperatures and gentler water pressure.
Step 5

Thorough Drying Before Reassembly
After cleaning your Ninja blender components, it’s crucial to ensure they are completely dry before putting everything back together:
- Allow sufficient air-drying time – typically 2-4 hours depending on humidity levels
- Pay special attention to the blade assembly and gaskets where water can easily become trapped
- Check recessed areas by running your finger along edges and crevices to detect any lingering moisture
- Use a clean, dry cloth to wipe down components that still show signs of moisture
Proper drying prevents several potential issues with your blender:
- Mold and mildew prevention – moisture trapped in sealed components creates perfect conditions for microbial growth
- Odor elimination – stagnant water leads to unpleasant smells that can transfer to your food
- Extended appliance lifespan – preventing moisture-related corrosion on metal parts
Only reassemble your Ninja blender when you’re confident all components are bone dry. This simple but vital step ensures both the hygiene and longevity of your appliance.
How to Properly Clean Ninja Blender Parts in Dishwasher
Following these guidelines will ensure your Ninja blender components stay in great condition when cleaned in the dishwasher:
Preparation Before Dishwashing
- Disassemble completely – Always separate the pitcher/cup from the blade assembly and remove lids/caps
- Rinse immediately after use – Don’t let smoothie or food residue dry on components
- Pre-soak if necessary – For stuck-on food, soak in warm soapy water before dishwashing
Proper Dishwasher Placement
Top Rack Only
Almost all dishwasher-safe Ninja components should be placed on the top rack only. This is critical because:
- The top rack is further from the heating element
- Water pressure is usually gentler
- Temperature exposure is more moderate
Blade Assemblies
When washing blade assemblies:
- Place them blade-side up to prevent damage
- Ensure they aren’t touching other items that could cause nicks or dulling
- Some models recommend removing the gasket ring before dishwashing
Pitchers and Cups
For containers:
- Place them upside down to allow thorough drainage
- Position them so they won’t collect dirty water from the upper spray arm
- Ensure they’re secure and won’t move during the cycle
Dishwasher Settings
For optimal cleaning and longevity:
- Use the normal or light cycle when possible
- Avoid sanitize or high-heat drying cycles
- Use mild dish detergent rather than harsh cleaners
Hand Washing vs. Dishwasher: What’s Best for Ninja Blenders?
While dishwasher cleaning is convenient, hand washing offers certain advantages:
Benefits of Hand Washing:
- Less potential for discoloration over time
- More thorough cleaning around gaskets and crevices
- Lower risk of blade dulling
- Greater control over water temperature and cleaning agents
Quick Hand Washing Method:
- Fill the blender container halfway with warm water
- Add a drop of dish soap
- Pulse for 30 seconds (if the base is attached)
- Rinse thoroughly
- Allow components to air dry completely
For the best balance, consider hand washing blades and using the dishwasher for containers and lids.
Common Issues When Dishwashing Ninja Blender Parts
Be aware of these potential problems when using the dishwasher:
Clouding and Discoloration
- High heat can cause plastic components to become cloudy over time
- Certain foods (especially turmeric or tomato-based recipes) may cause staining
Blade Dulling
- Repeated dishwashing can potentially dull blades faster than hand washing
- Blades knocking against other items during the wash cycle accelerates dulling
Gasket/Seal Degradation
- Rubber seals may degrade faster with repeated dishwashing
- Some users report leaking issues after extensive dishwasher use
Water Spots
- Hard water can leave spots on plastic components
- Using rinse aid can help prevent this issue