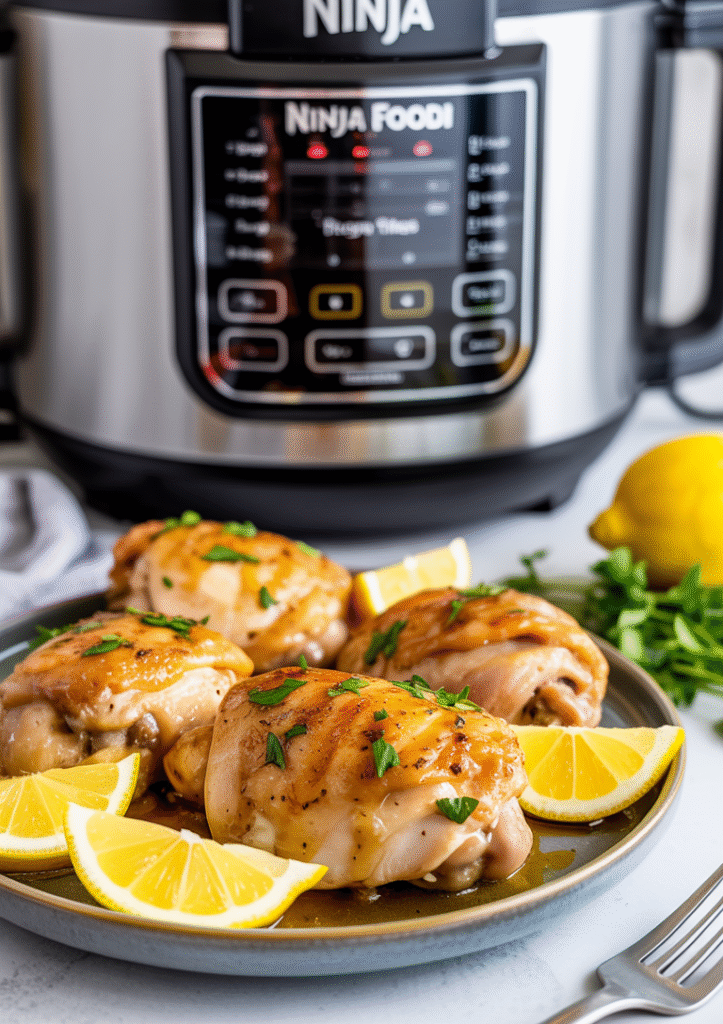
Are you looking for delicious Ninja Foodi recipes that deliver restaurant-quality meals with minimal effort? The Ninja Foodi pressure cooker and air fryer combo is a game-changer in the kitchen, allowing you to create tender, juicy, and crispy dishes all in one pot. Today, I’m excited to share my favorite lemon garlic chicken thighs recipe that showcases the versatility of this amazing kitchen appliance. This dish combines the speed of pressure cooking with the crispy finish of air frying to create succulent chicken thighs with a flavorful lemon garlic sauce. Whether you’re new to using your Ninja Foodi or looking to expand your recipe collection, this simple yet impressive dish will become a regular in your meal rotation.
Lemon Garlic Chicken Thighs: Easy Ninja Foodi Recipes for Beginners
The Ninja Foodi has revolutionized home cooking with its ability to pressure cook, air fry, sear, and more—all in one convenient appliance. This lemon garlic chicken thigh recipe showcases the best features of your Ninja Foodi, creating tender, juicy chicken with perfectly crispy skin and a delicious sauce.
Recipe Overview
- Prep Time: 10 minutes
- Cook Time: 20 minutes
- Total Time: 30 minutes
- Servings: 4
- Difficulty: Easy
Ingredients
- 6-8 bone-in, skin-on chicken thighs (about 2 lbs)
- 2 tablespoons olive oil
- 4 cloves garlic, minced
- 1 tablespoon fresh thyme leaves (or 1 teaspoon dried)
- Zest of 1 lemon
- Juice of 2 lemons (about 1/4 cup)
- 1/2 cup chicken broth
- 1 tablespoon honey
- 2 tablespoons butter
- 1 teaspoon salt
- 1/2 teaspoon black pepper
- 1/4 teaspoon red pepper flakes (optional)
- Fresh parsley, chopped (for garnish)
- Lemon slices (for garnish)
EQUIPMENT NEEDED
- Ninja Foodi Pressure Cooker with Air Fryer Lid
- Measuring cups and spoons
- Tongs
- Cutting board and knife
- Microplane or zester (for lemon zest)
Instructions
Step 1: Prepare and Sear the Chicken
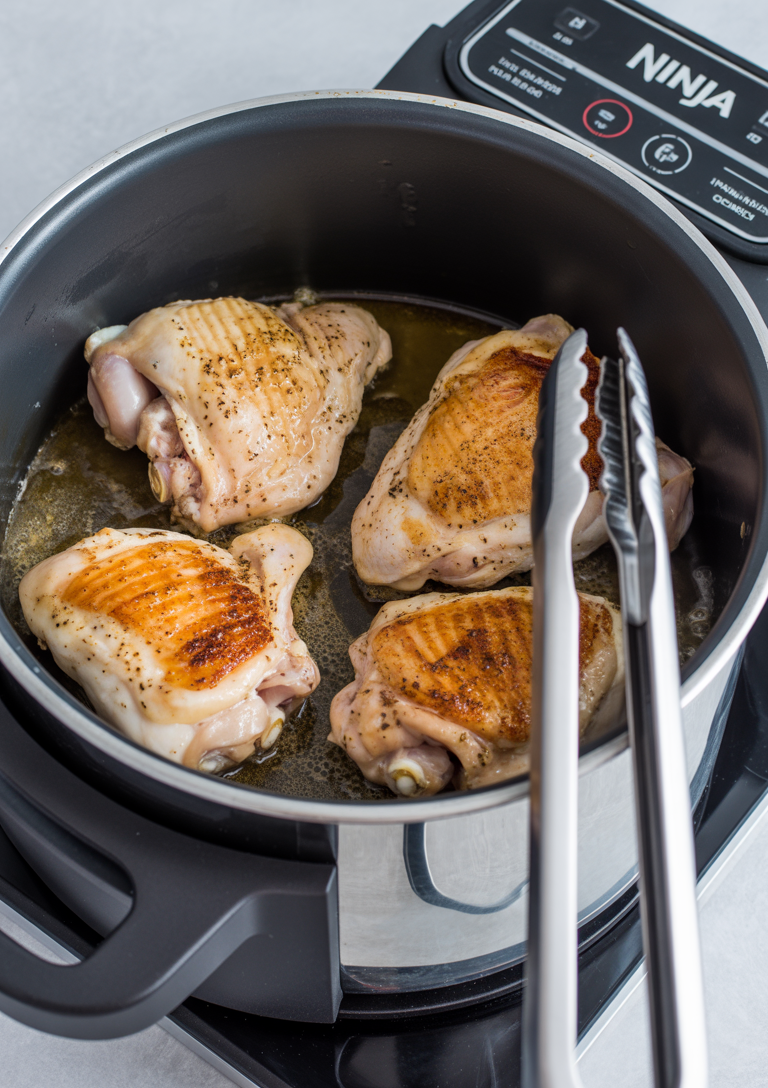
Begin by patting the chicken thighs completely dry with paper towels – this crucial step ensures proper browning and prevents oil splatter. Season both sides generously with salt and pepper, pressing the seasoning gently into the meat.
Turn on your Ninja Foodi and select the ‘SEAR/SAUTE’ function on HIGH. Add 2 tablespoons of olive oil to the pot and allow it to heat for about 1 minute until it shimmers.
Carefully place the chicken thighs skin-side down in the hot oil, ensuring they don’t overlap. Let them sear undisturbed for 3-4 minutes until the skin develops a beautiful golden-brown color. Flip the thighs and sear the other side for an additional 2 minutes.
Pro tip: Don’t move the chicken too early – proper searing creates a flavorful crust that locks in juices.
Once seared, remove the chicken thighs and set them aside on a plate. The rendered fat and browned bits left in the pot will add incredible flavor to your dish in the next steps.
Step 2
With the Ninja Foodi still set to SEAR/SAUTE, add the minced garlic to the hot pot and cook for 30 seconds until fragrant. Be careful not to let the garlic burn, as it can quickly turn bitter.
Next, add the following ingredients to create the flavorful sauce:
- Lemon zest and lemon juice for bright citrus flavor
- Chicken broth to add moisture and depth
- Honey for a touch of sweetness
- Butter for richness
- Fresh thyme for an earthy herb note
Stir everything together to combine all the ingredients. Bring the mixture to a gentle simmer while scraping up any browned bits from the bottom of the pot with a wooden spoon. These caramelized bits add incredible flavor to your sauce, so don’t leave them behind!
Step 3
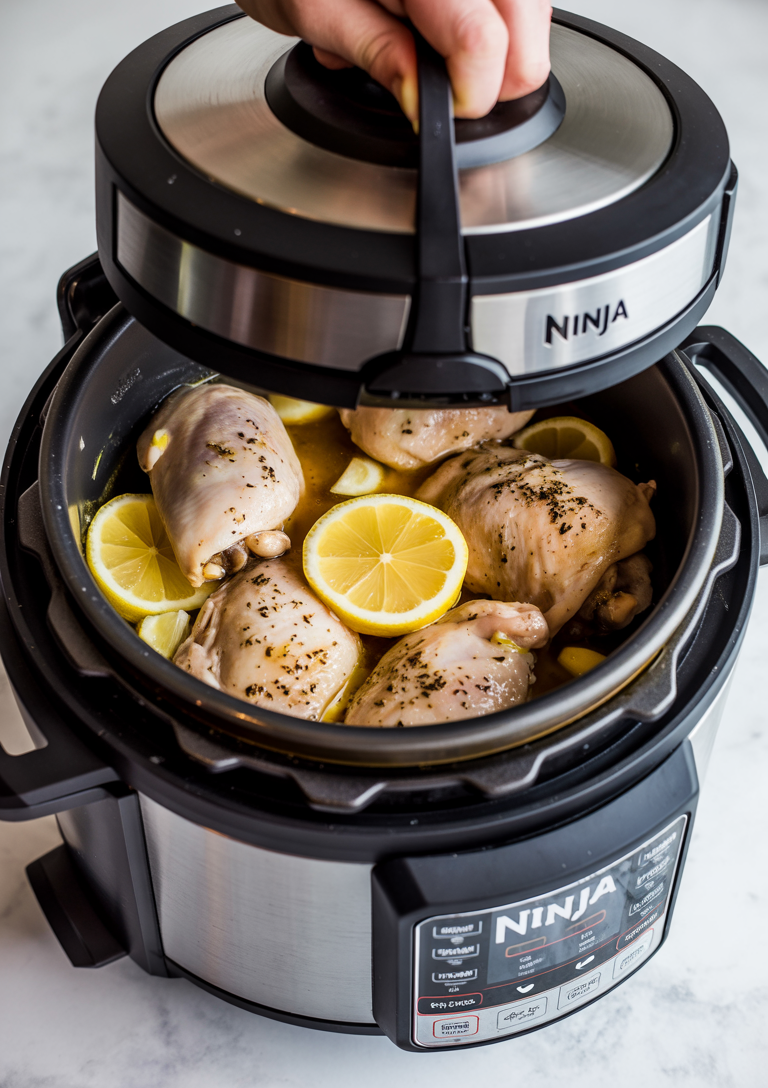
Carefully return the chicken thighs to the pot, arranging them skin-side up on top of the sautéed aromatics. This positioning ensures the skin stays crispy while the meat cooks through.
Close the pressure cooking lid securely and turn the pressure release valve to the ‘SEAL’ position. Select ‘PRESSURE COOK’ on the control panel and set it to HIGH pressure for 5 minutes.
Once the cooking cycle completes:
- Allow natural pressure release for 5 minutes (this helps keep the chicken tender)
- Quick release any remaining pressure by carefully turning the valve to ‘VENT’
- Wait until the float valve drops completely before opening the lid
The internal temperature of the chicken should reach 165°F (74°C) when properly cooked.
Step 4
Once pressure is released, remove the pressure cooking lid and switch to air crisping mode. Select ‘AIR CRISP’ at 400°F and cook for 5-7 minutes until the chicken skin becomes crispy and golden brown.
Pro tip: If you want to add extra flavor, spoon some of the cooking sauce over the meat portion only (avoid the skin to maintain crispiness) halfway through the crisping process. Keep an eye on the chicken during the last few minutes to prevent overcooking – the skin should be beautifully golden and audibly crispy when done.
Step 5
Using tongs, carefully remove the chicken thighs from the Ninja Foodi and place them on a serving platter. The internal temperature should reach 165°F for safe consumption.
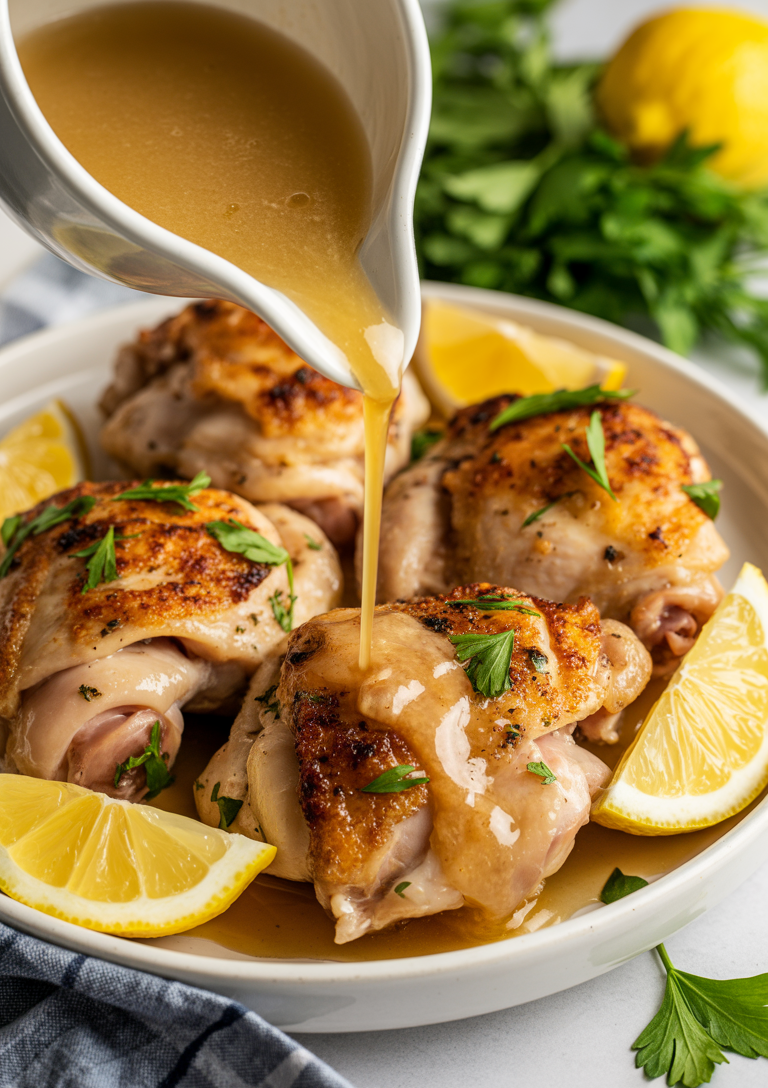
Select ‘SEAR/SAUTE’ on your Ninja Foodi again and allow the remaining sauce in the pot to simmer for 2-3 minutes. This will help the sauce reduce and thicken slightly, concentrating the lemon and garlic flavors.
Pro tip: If you prefer a thicker sauce, you can whisk in a slurry of 1 teaspoon cornstarch mixed with 1 tablespoon cold water during the simmering process.
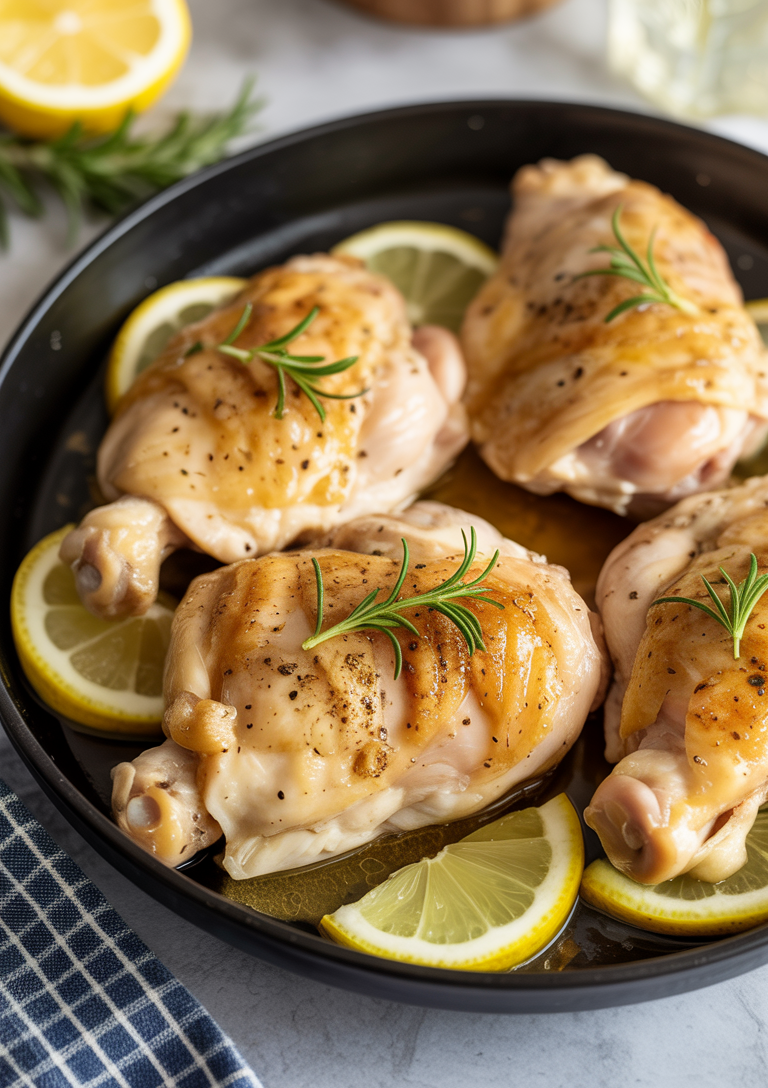
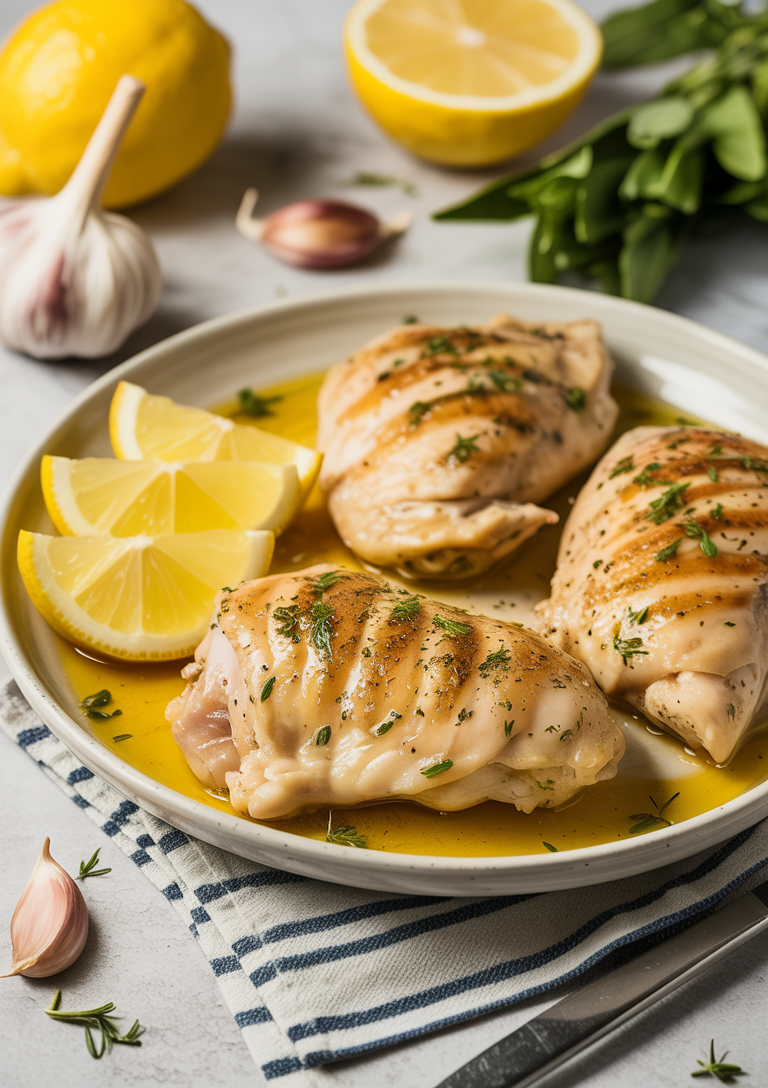
Once the sauce has reached your desired consistency, pour it generously over the chicken thighs. Garnish with:
- Fresh chopped parsley
- Thin lemon slices
- A light sprinkle of black pepper (optional)
Serve immediately while the chicken is still hot and the sauce is at its peak flavor.
Why This Ninja Foodi Pressure Cooker Recipe Works
This recipe harnesses the dual functionality of the Ninja Foodi to create a meal with complex flavors and textures. First, the sear function browns the chicken skin, developing rich flavor compounds. Then, the pressure cooking quickly tenderizes the meat while infusing it with the lemon garlic sauce. Finally, the air crisp function delivers that perfect crispy skin that would typically require a separate appliance or oven finish.
The combination of lemon, garlic, and herbs creates a bright, aromatic sauce that perfectly complements the rich chicken thighs. And the best part? Everything comes together in just 30 minutes with minimal cleanup since you’re using just one pot.
Tips for Perfect Ninja Pressure Cooker Recipes
- Pat the chicken dry before seasoning to help achieve a better sear
- Don’t skip the searing step – it adds tremendous flavor to the final dish
- Natural pressure release for at least 5 minutes helps keep the chicken juicy
- For extra crispy skin, extend the air crisp time by 2-3 minutes, watching carefully to prevent burning