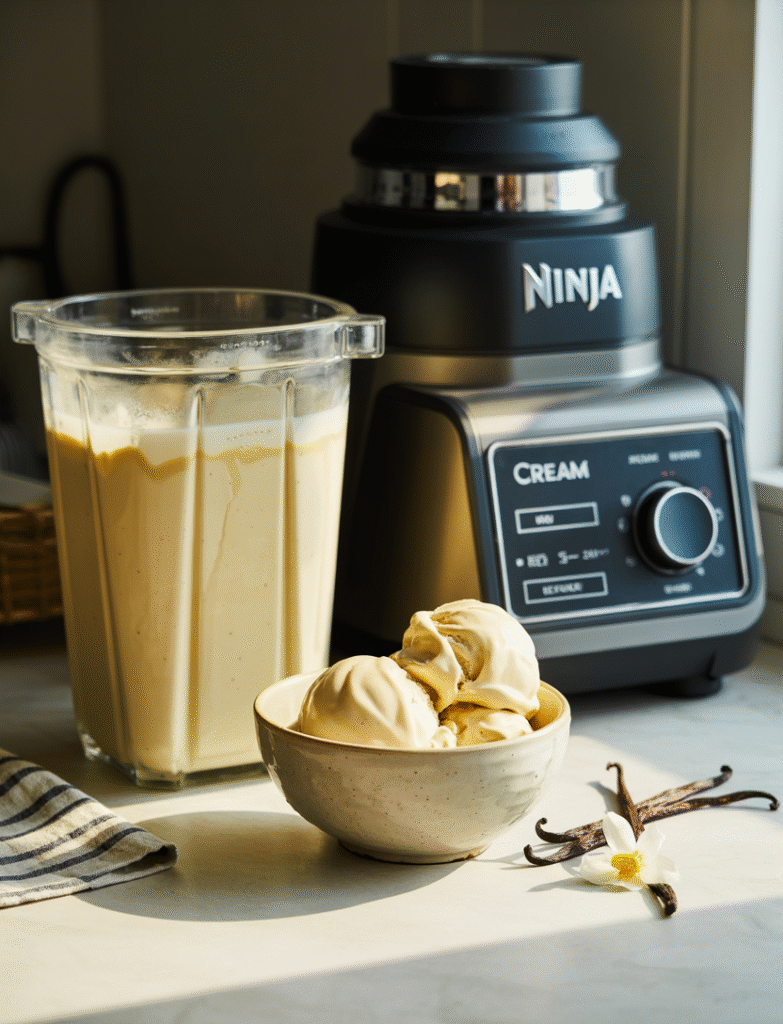
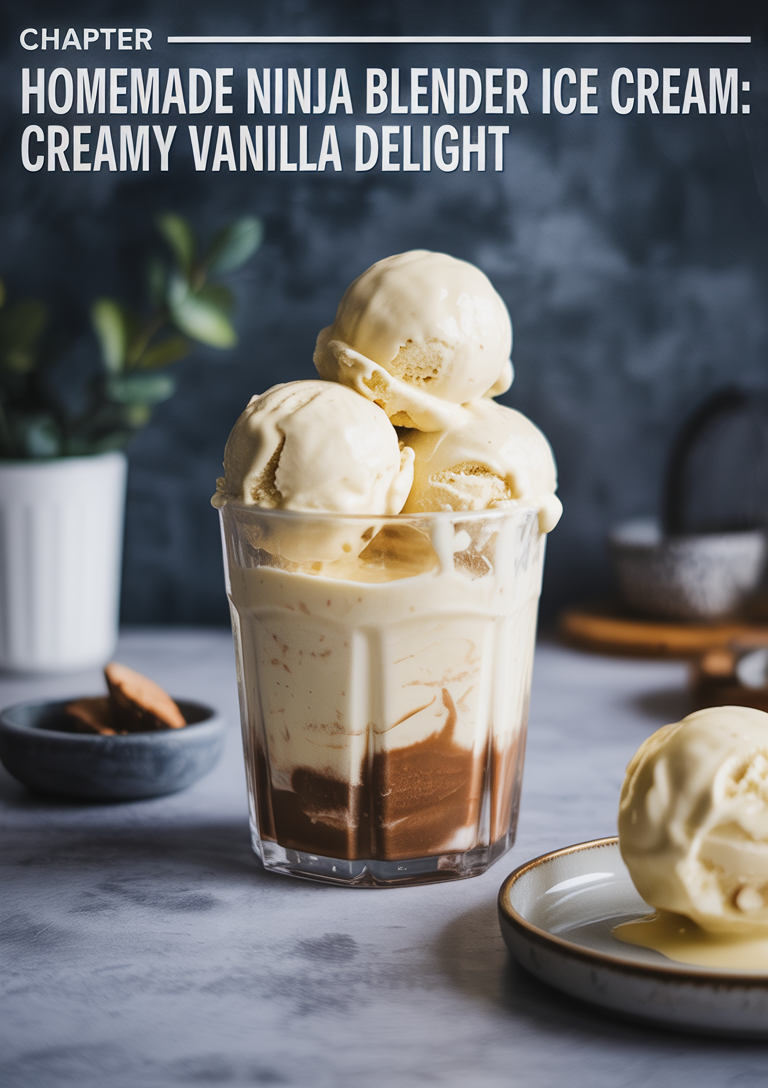
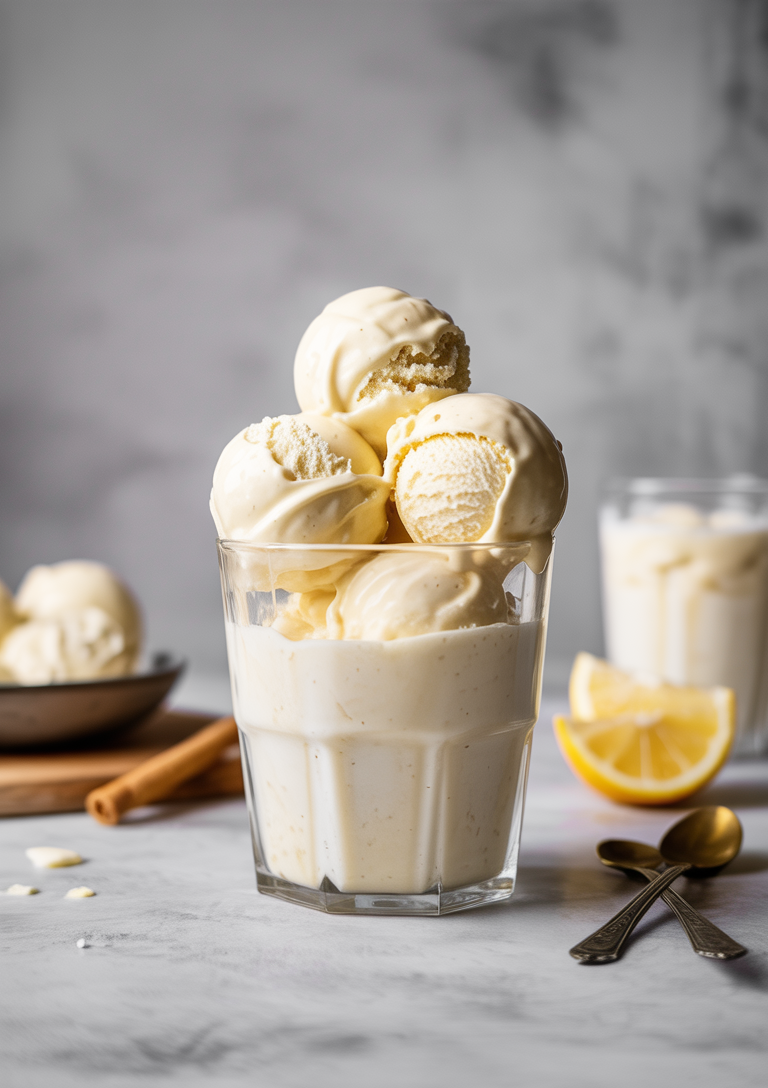
Making ice cream at home has never been easier, thanks to the Ninja Blender system. The Ninja Creami, in particular, has revolutionized homemade frozen treats, allowing you to create smooth, creamy ice cream with minimal effort and maximum flavor. In this guide, we’ll walk through how to make delicious vanilla ice cream using your Ninja blender ice cream maker. Whether you’re new to the Ninja Creami or looking to perfect your technique, this recipe will help you achieve professional-quality results right in your kitchen. Get ready to enjoy a creamy, dreamy dessert that rivals your favorite ice cream shop!
How to Make Vanilla Ice Cream with Your Ninja Creami
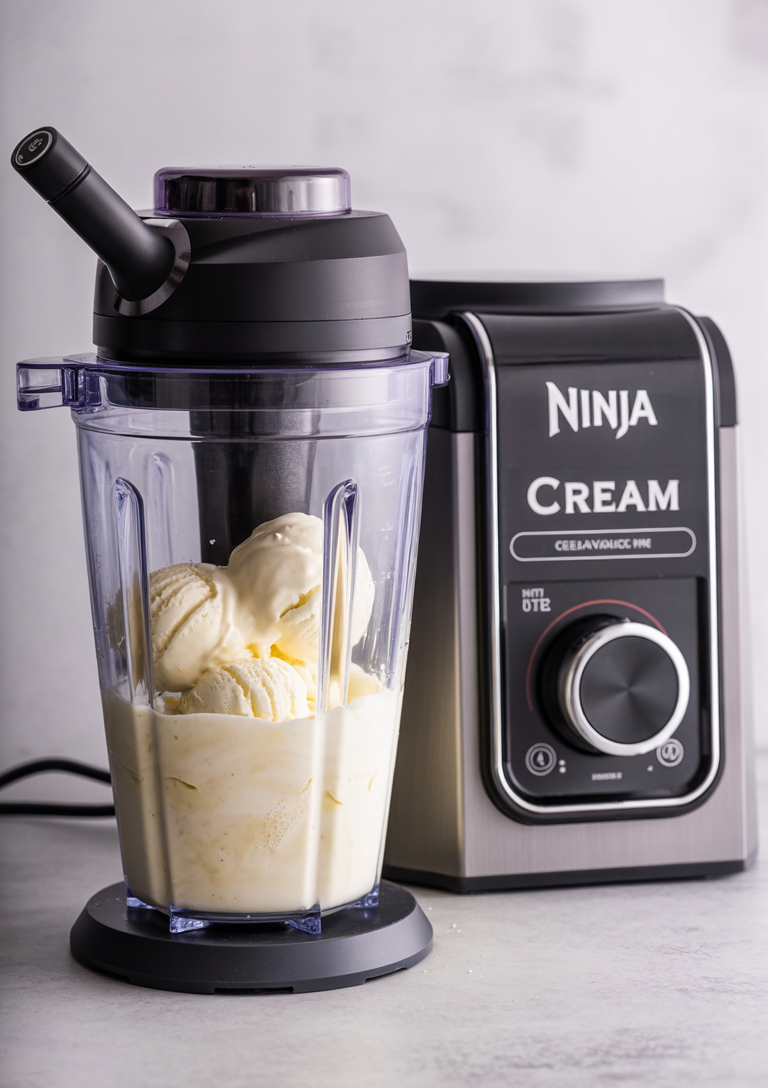
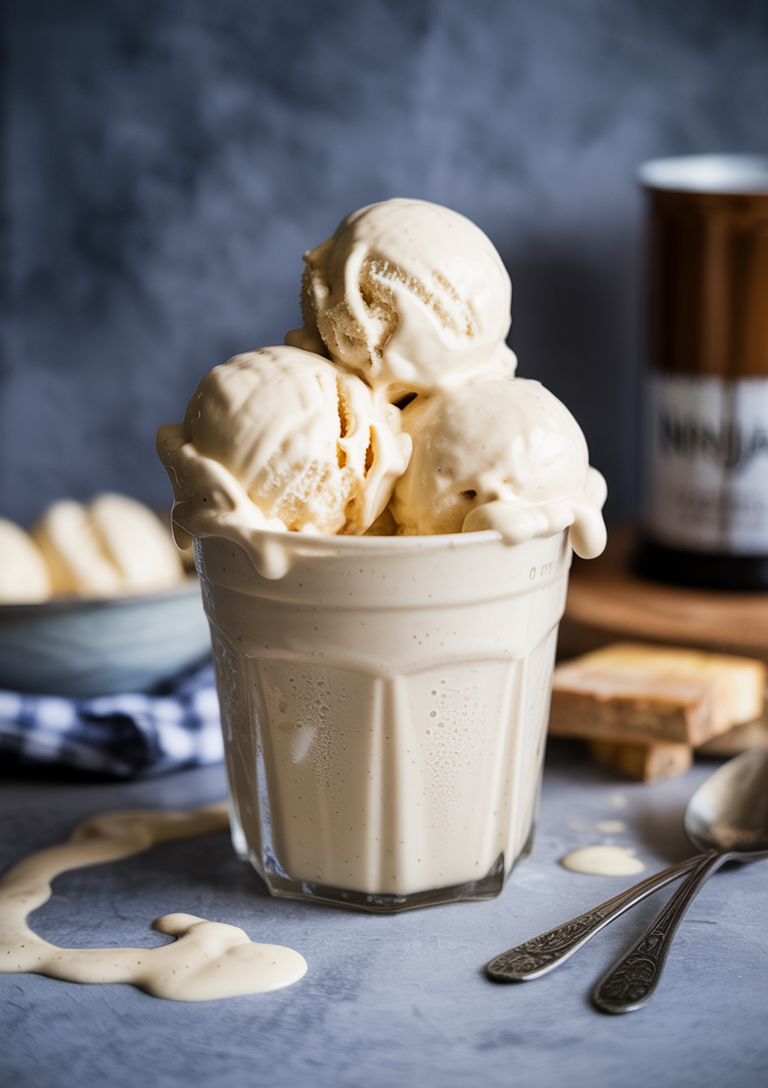
The Ninja Creami is a powerful kitchen tool designed specifically for creating frozen treats. Unlike traditional ice cream makers that churn as they freeze, the Ninja Creami (sometimes called Nutri Creami by fans) works by first freezing the mixture, then processing it with specialized blades that break down the ice crystals into a creamy texture.
Recipe Overview
- Prep Time: 15 minutes
- Freeze Time: 24 hours
- Process Time: 5 minutes
- Total Time: 24 hours 20 minutes (mostly hands-off)
- Servings: 1 pint (approximately 2-3 servings)
- Difficulty: Easy
Ingredients
- 1 cup heavy cream
- 1/2 cup whole milk
- 1/3 cup granulated sugar
- 2 tablespoons light corn syrup (helps prevent ice crystals)
- 1 1/2 teaspoons pure vanilla extract
- 1/8 teaspoon salt
- 1 teaspoon vanilla bean paste (optional, for stronger vanilla flavor)
Equipment Needed
- Ninja Creami ice cream maker
- Ninja Creami pint container with lid
- Measuring cups and spoons
- Whisk
- Mixing bowl
- Rubber spatula
Instructions
Step 1
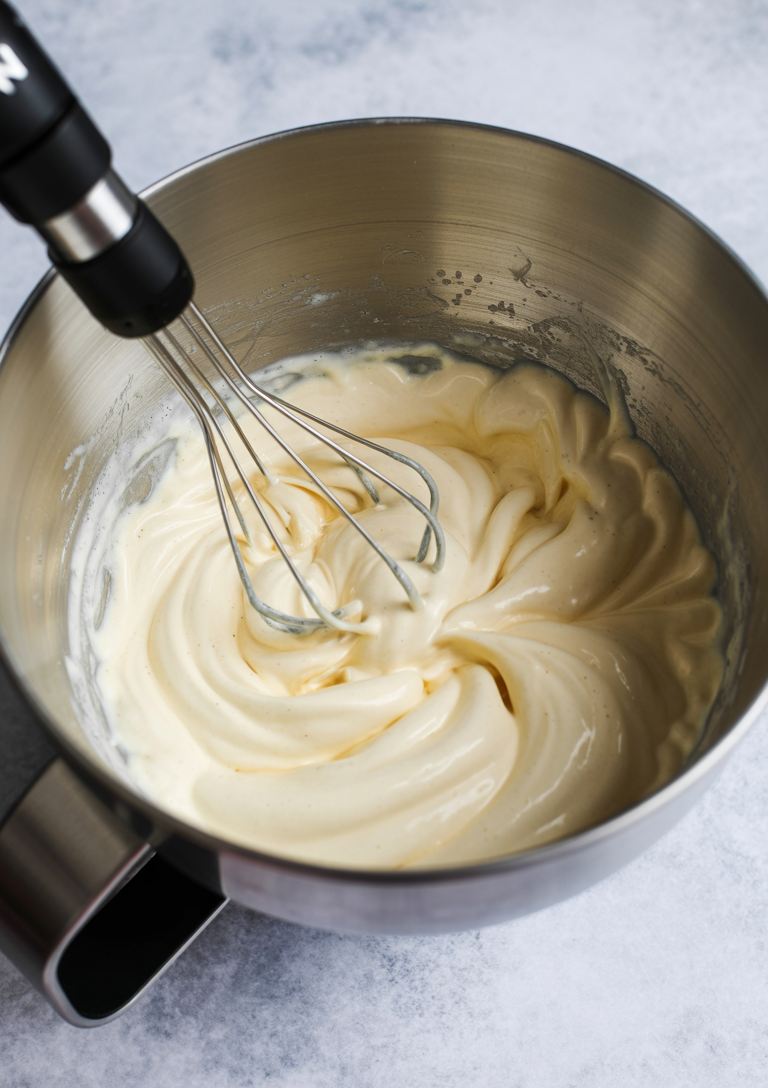
In a medium mixing bowl, whisk together the heavy cream, whole milk, granulated sugar, corn syrup, vanilla extract, vanilla bean paste (if using), and salt until the sugar is completely dissolved. This process takes about 2-3 minutes of active whisking.
Pro tip: To ensure the sugar has fully dissolved, rub a small amount of the mixture between your fingers. If you feel any grittiness, continue whisking until the texture is completely smooth. This step is crucial for achieving that signature creamy texture in your finished ice cream.
Step 2
Transfer the mixture to your Ninja Creami container by pouring it slowly and steadily. Pay close attention to the MAX FILL line marked on the container – this is typically about 1/4 inch from the top, and exceeding this line can cause spillage during the freezing process.
Pro tip: After filling, gently tap the container on your counter 3-4 times. This simple technique helps release trapped air bubbles that could create unwanted ice crystals in your final product.
Once you’ve eliminated the air bubbles, secure the lid tightly by pressing down firmly and giving it a quarter turn. A properly sealed container prevents freezer burn and maintains the mixture’s quality during the freezing phase.
Step 3
Place the sealed container in the freezer in an upright position, ensuring it sits on a completely level surface. This positioning prevents uneven freezing and maintains the smooth texture you’ve worked to achieve.
Freeze for a minimum of 24 hours to allow the ice cream to reach the proper consistency. The extended freezing time is crucial for developing that creamy, scoopable texture that rivals store-bought varieties.
Pro tip: Position the container toward the back of the freezer where temperature fluctuations are minimal. The consistent cold temperature in this area prevents ice crystals from forming and ensures your vanilla ice cream maintains its silky smooth texture throughout the freezing process.
Step 4
After 24 hours, remove the pint from the freezer. The mixture should be completely frozen solid at this point – this is crucial for achieving the proper texture.
Carefully remove the lid from the pint container, taking care not to let any condensation drip onto the frozen mixture.
Following your Ninja Creami’s directions:
- Install the pint in the outer bowl of the machine
- Lock it securely into the base of the Ninja Creami
- Ensure the container is properly aligned and seated before proceeding
The frozen mixture should appear solid and uniform in color. If you notice any liquid areas or soft spots, return it to the freezer for an additional 2-4 hours before attempting to process.
Step 5
Select the ICE CREAM button on your Ninja Creami and press START to begin the processing cycle. The machine will automatically run for approximately 2 minutes, using its powerful dual-blade system to break down the frozen mixture.
During this time, you’ll hear the motor working as the blades carefully scrape and blend the frozen base into a smooth, creamy texture. The Ninja Creami’s unique processing action transforms the solid frozen mixture into authentic ice cream consistency without the need for traditional churning.
Important: Do not open the lid or interrupt the cycle once it has started. Allow the machine to complete the full processing time for optimal results.
Step 6
Once processing is complete, carefully remove the pint container from the Ninja Blender. Examine the texture of your ice cream – it should have a smooth, creamy consistency. If the mixture appears crumbly or grainy, don’t worry! Simply return the container to the machine and use the RE-SPIN function for an additional 30 seconds.
Pro tip: The RE-SPIN feature is perfect for achieving that silky-smooth texture that makes homemade ice cream irresistible. This extra processing time helps break down any remaining ice crystals and creates the perfect creamy consistency you’re looking for.
Step 7
For the creamiest texture, transfer the ice cream to a chilled bowl and gently stir it with a rubber spatula for about 30 seconds. This helps to fully incorporate any remaining ice crystals and creates a smoother consistency.
Serving Options:
- Soft-serve consistency: Serve immediately directly from the bowl
- Firmer texture: Transfer to an airtight container and freeze for an additional 1-2 hours
Pro tip: If you prefer a firmer scoop, use a shallow, wide container rather than a deep one – this allows for more even freezing and easier scooping later.
Understanding the Ninja Creami Directions
Before we dive into the step-by-step instructions, it’s helpful to understand how the Ninja Creami works. The machine comes with several pre-programmed settings that are designed for different frozen desserts:
- Ice Cream: Creates a rich, creamy ice cream texture
- Lite Ice Cream: Makes a lighter version with less fat
- Sorbet: Perfect for fruit-based desserts without dairy
- Smoothie: Blends frozen ingredients into a drinkable consistency
- Milkshake: Creates a thinner, drinkable frozen treat
- Mix-ins: Used to incorporate add-ins like chocolate chips or cookie pieces
- Re-spin: Used when more processing is needed for optimal creaminess
For our vanilla ice cream recipe, we’ll be using the basic Ice Cream setting, with the possibility of using Re-spin if needed.
Tips for Perfect Ninja Blender Ice Cream
- Freezing Time: The base mixture must be frozen solid (24 hours minimum) before processing.
- Container Filling: Do not fill the pint container beyond the max fill line to allow proper processing.
- Temperature: For best results, let the frozen pint sit at room temperature for 5 minutes before processing.
- Mix-ins: Add these after the initial processing using the Mix-in setting.
- Re-spinning: If your ice cream is crumbly after the first spin, use the Re-spin function for a creamier texture.
Now let’s dive into the detailed instructions to create your perfect ice cream with the Ice Creami blender!