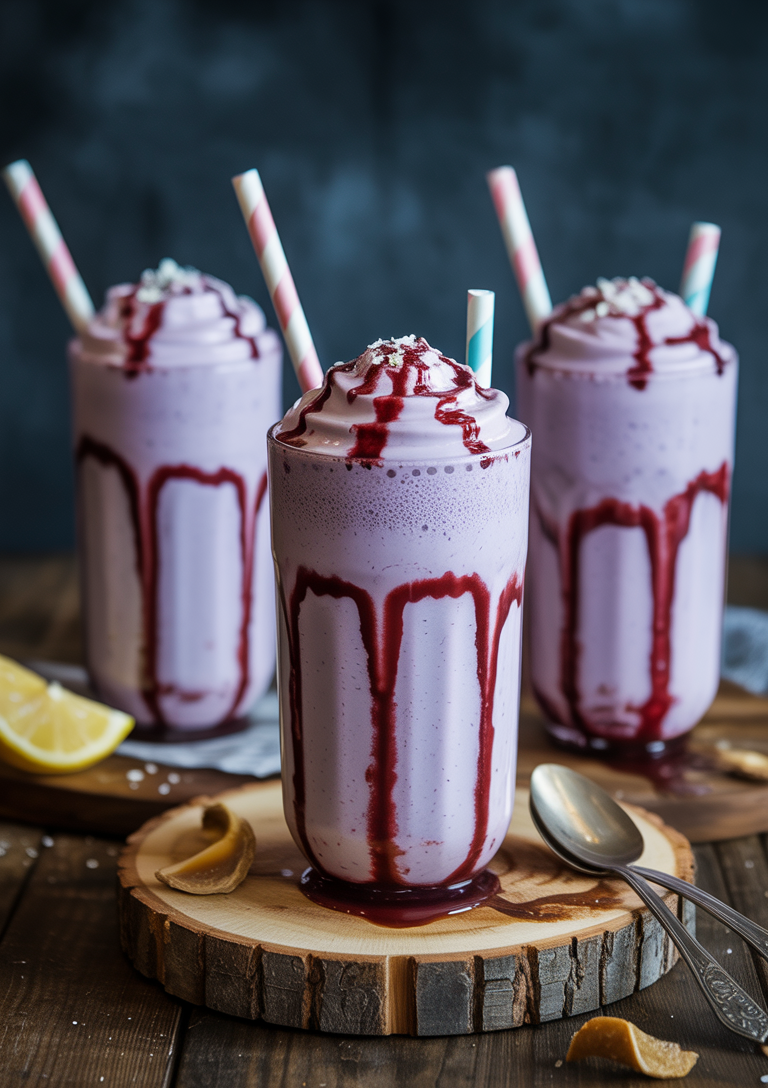
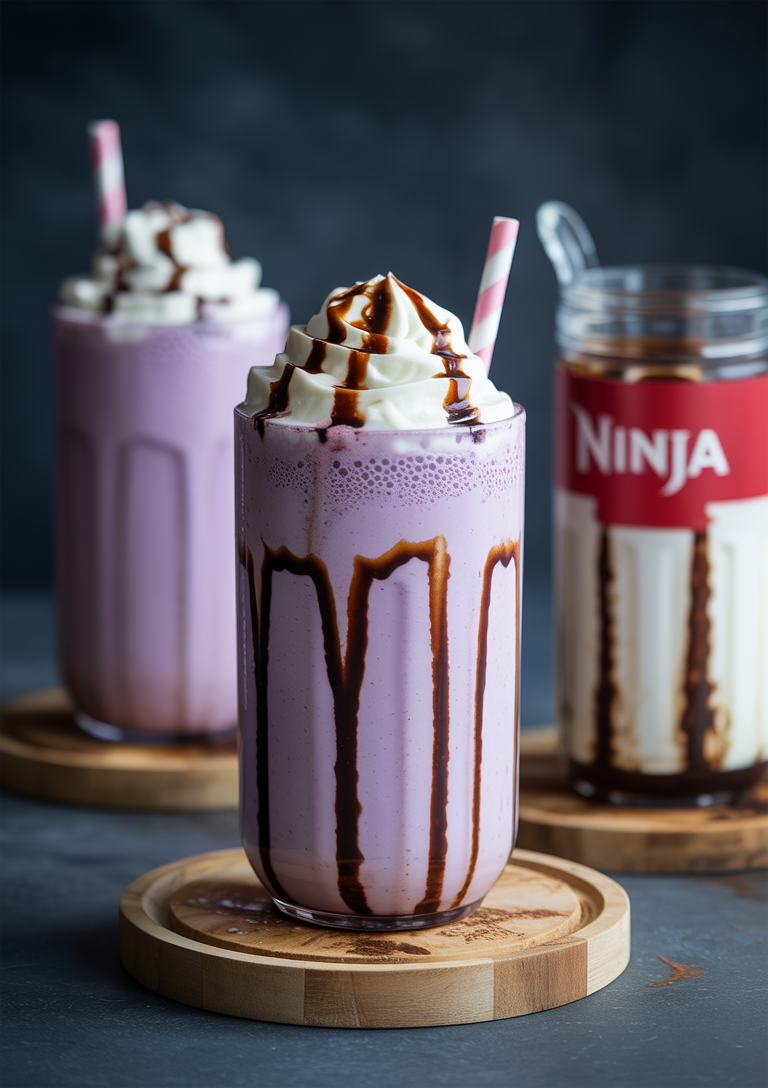
Craving a thick, creamy milkshake? The Ninja Creami is here to revolutionize your homemade milkshake game! This incredible kitchen gadget transforms frozen ingredients into silky smooth, indulgent treats with minimal effort and maximum flavor. In this recipe, I’ll guide you through creating the perfect Ninja Creami milkshake that rivals any premium ice cream shop. The Ninja Creami milkshake combines simple ingredients with powerful technology to deliver restaurant-quality results right in your kitchen. Whether you’re looking to satisfy a sweet tooth or impress guests with a delicious dessert, this recipe will become your new go-to treat!
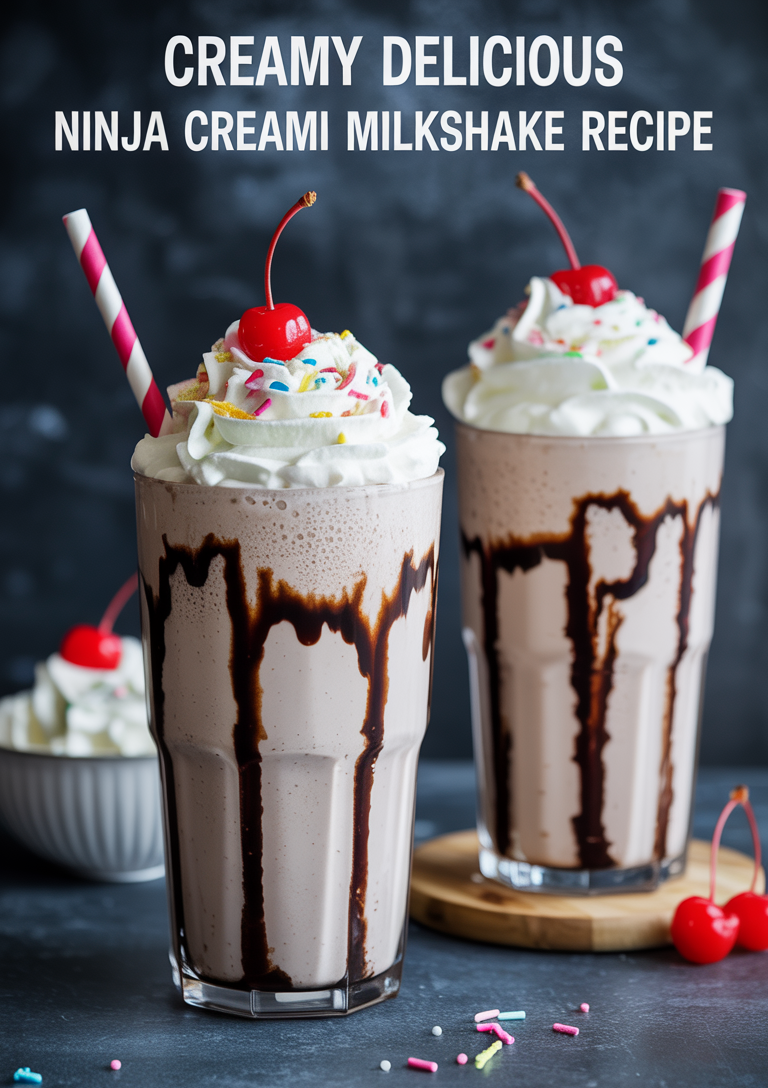
Perfect Ninja Creami Milkshake Recipe
If you’ve been curious about making a milkshake in a Ninja Creami, you’re in for a treat! The Ninja Creami is designed to transform frozen ingredients into perfectly textured frozen treats, and milkshakes are no exception. Let’s dive into creating the most delicious, creamy milkshake you’ve ever tasted.
Recipe Overview
- Prep Time: 5 minutes (plus 24 hours freezing time)
- Processing Time: 2-3 minutes
- Total Time: 5-10 minutes (not including freezing time)
- Servings: 2 milkshakes
- Difficulty: Easy
Ingredients for Ninja Creami Milkshake
- 2 cups whole milk
- 1/4 cup granulated sugar
- 2 tablespoons heavy cream
- 2 teaspoons vanilla extract
- Pinch of salt
- Optional mix-ins: chocolate syrup, strawberry puree, or cookie crumbles
For Serving (Optional)
- Whipped cream
- Sprinkles
- Maraschino cherry
- Chocolate chips or cookie crumbles
Equipment Needed
- Ninja Creami machine
- Ninja Creami pint container with lid
- Measuring cups and spoons
- Whisk
- Tall serving glasses
If you’re looking for more frozen treats to make, check out our Cookies and Cream Ninja Creami Recipe for another delicious option!
Instructions
Step 1
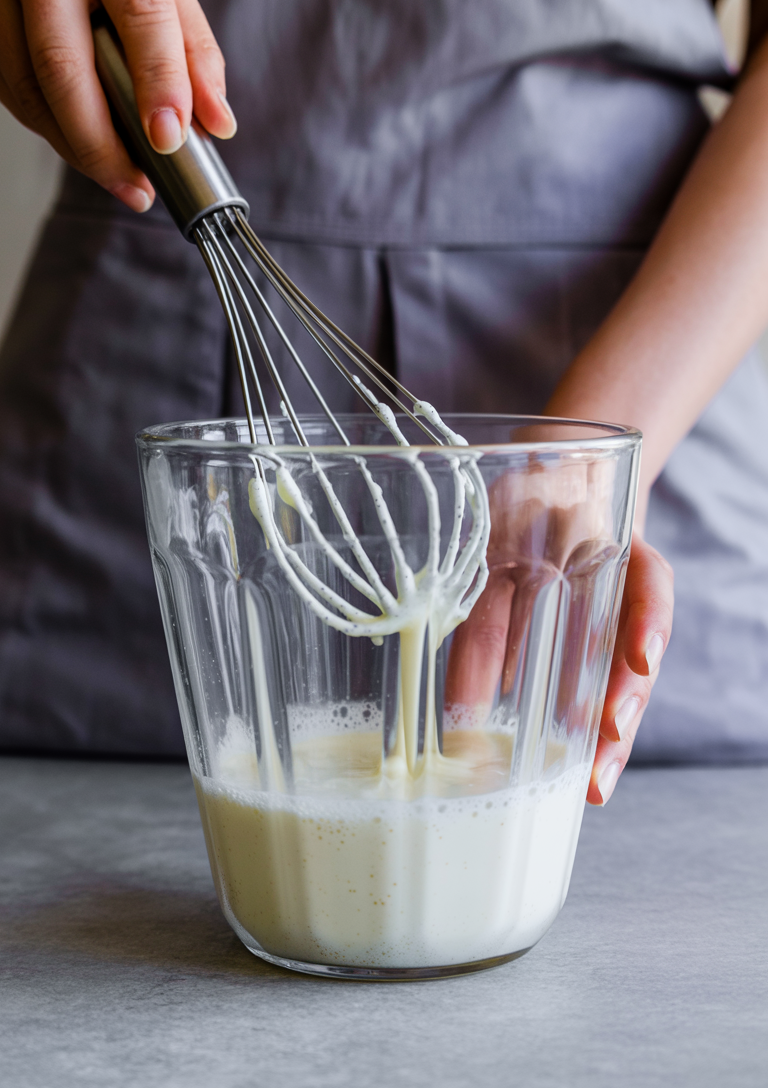
In a medium mixing bowl, whisk together the following ingredients until the sugar completely dissolves:
- 2 cups whole milk (cold)
- 1/4 cup granulated sugar
- 2 tablespoons heavy cream
- 2 teaspoons vanilla extract
- Pinch of salt
Whisk vigorously for about 1-2 minutes to ensure the sugar granules are fully incorporated and the mixture is smooth. The base should have a slightly creamy consistency and sweet vanilla aroma when properly combined.
Step 2
Pour the mixture into a clean Ninja Creami pint container, leaving approximately 1/2 inch of space at the top. This headspace is crucial as it allows for natural expansion that occurs during the freezing process.
Important tips for this step:
- Use a funnel or pour slowly to avoid spills
- Tap the container gently on the counter to release any air bubbles
- Secure the lid tightly to prevent freezer burn and maintain optimal texture
Once sealed, the container is ready for the freezing stage that will transform your liquid mixture into the perfect base for churning.
Step 3
Place your prepared mixture in the freezer for at least 24 hours until it becomes completely solid throughout. This extended freezing time is crucial for achieving the perfect milkshake consistency when processed in your Ninja Creami.
Important freezing tips:
- Ensure your freezer is set to 0°F (-18°C) or below
- Place the container on a flat, stable surface in the freezer
- Avoid opening the freezer door frequently, as temperature fluctuations can affect the freezing process
- For best results, freeze for up to 48 hours – the longer freeze time creates a more uniform texture
The mixture should be rock-solid before processing. If you can still press into the surface with your finger, it needs more time to freeze completely.
Step 4

Remove the lid from your frozen pint container and carefully place the container into the outer bowl of the Ninja Creami machine. Make sure the container sits flush and level within the bowl.
Secure the container according to your Ninja Creami’s manufacturer instructions:
- Align the container with the machine’s locking mechanism
- Twist or press down until you hear a click or feel it lock into place
- Ensure the container cannot move or wiggle once secured
Double-check that the container is properly positioned before proceeding to the blending phase. A secure fit is essential for optimal mixing and safety during operation.
Step 5
Select the “Milkshake” function on your Ninja Creami control panel and press the start button. The machine will begin its processing cycle, which typically takes 2-3 minutes to complete. During this time, you’ll hear the motor running as the Ninja Creami transforms your frozen mixture into a smooth, creamy milkshake consistency.
Pro tip: Avoid opening the lid or stopping the machine mid-cycle, as this can affect the final texture of your milkshake. The Ninja Creami will automatically stop once the cycle is finished.
Step 6
If you want to add mix-ins such as chocolate chips, cookie pieces, or candy, use the Mix-in function. Add your desired mix-ins to the processed milkshake, then press the Mix-in button to incorporate them evenly throughout.
Popular mix-in options include:
- Mini chocolate chips
- Crushed Oreo cookies
- Brownie pieces
- Caramel chips
- Chopped nuts
- Sprinkles
Note: Add mix-ins gradually to avoid overloading the machine, and pulse the Mix-in function in short bursts for optimal distribution without over-processing your creamy milkshake.
Step 7
If your milkshake appears powdery or has unprocessed sections, don’t worry—this is easily fixable with the Ninja Creami’s Re-spin function. Simply:
• Press the Re-spin button on your machine
• Allow the device to process for an additional 30-60 seconds
• Check the consistency through the clear lid
• Repeat if necessary until you achieve a smooth, creamy texture
The Re-spin function uses the same blade action but gives your frozen mixture additional processing time to break down any remaining ice crystals or unmixed ingredients. This step is particularly helpful when working with denser ingredients or when your base mixture was especially solid.
Step 8
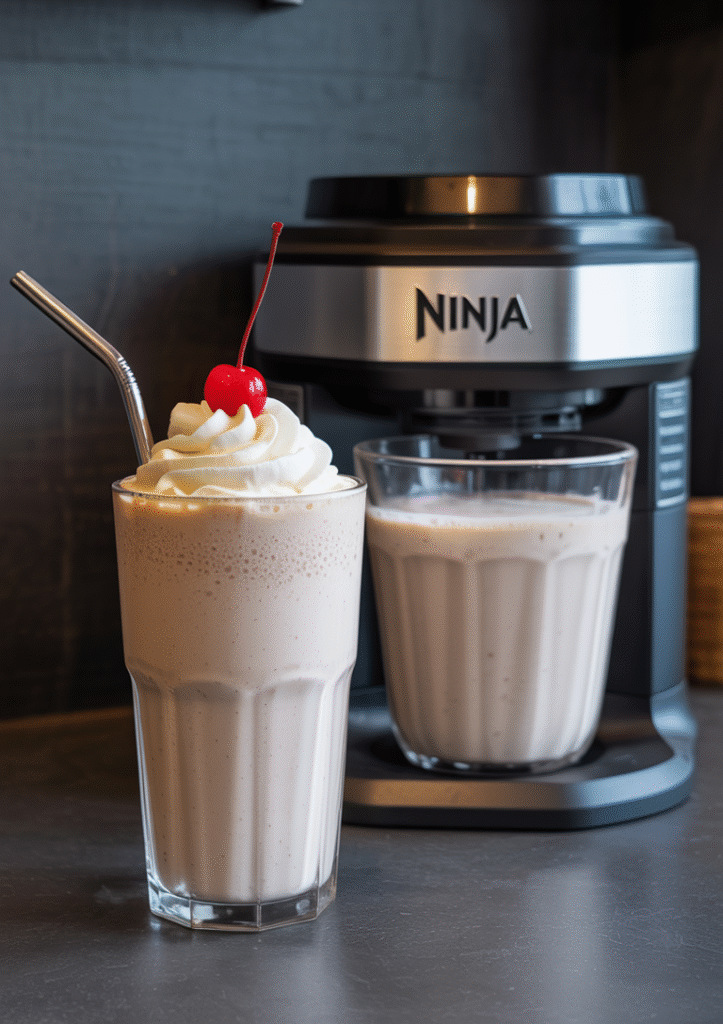
Pour the finished milkshake into tall glasses, filling them about three-quarters full to leave room for toppings. Gently tap the glasses on the counter to eliminate any air bubbles and create a smooth surface.
For the perfect finishing touches:
- Add a generous swirl of whipped cream on top
- Sprinkle with colorful sprinkles or your favorite toppings
- Crown with a maraschino cherry for a classic milkshake presentation
Serve immediately while the milkshake maintains its creamy, thick consistency. Provide both a wide straw and a long spoon to ensure your guests can enjoy every last drop of this delicious treat.
Why Make Milkshakes in a Ninja Creami?
The Ninja Creami offers several advantages when making milkshakes compared to traditional methods:
- Perfect Texture: The Creami’s powerful technology breaks down ice crystals for an ultra-smooth consistency.
- Customization: You control exactly what goes into your milkshake—no artificial ingredients or preservatives.
- Versatility: Create dairy or non-dairy versions with the same great results.
- Consistency: Get the same perfect results every time you make your milkshake.
Ninja Creami Milkshake Variations
Chocolate Ninja Creami Milkshake
Add 3 tablespoons of unsweetened cocoa powder and an extra tablespoon of sugar to the base mixture before freezing.
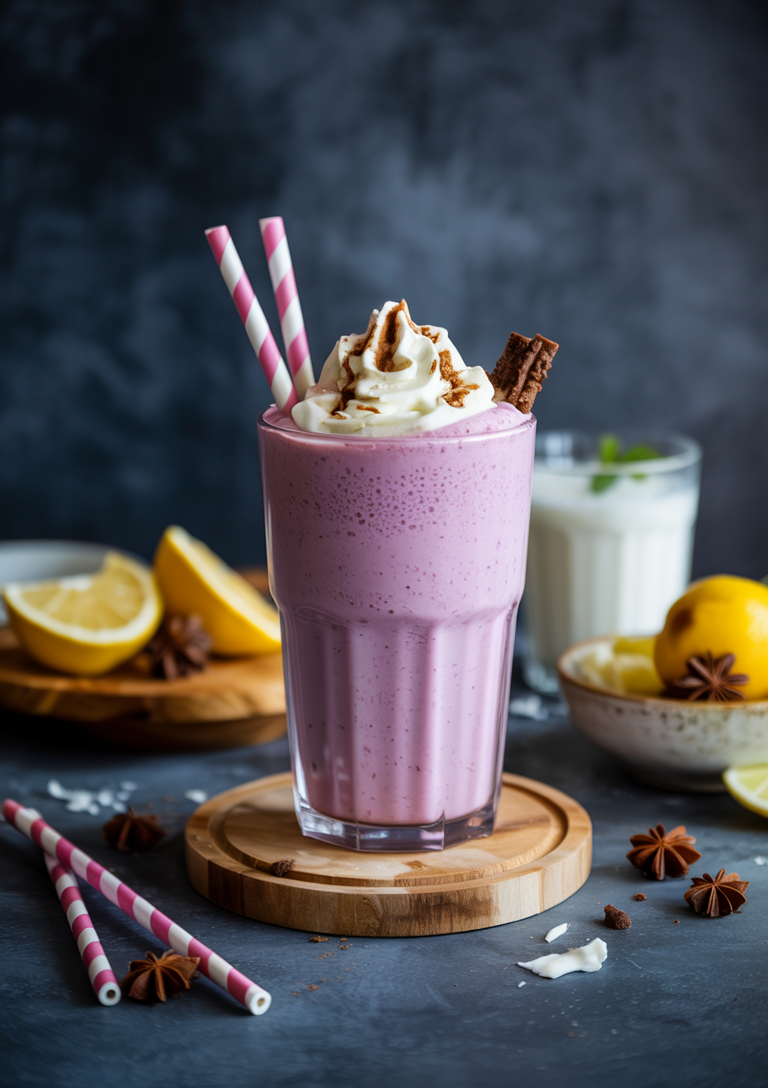
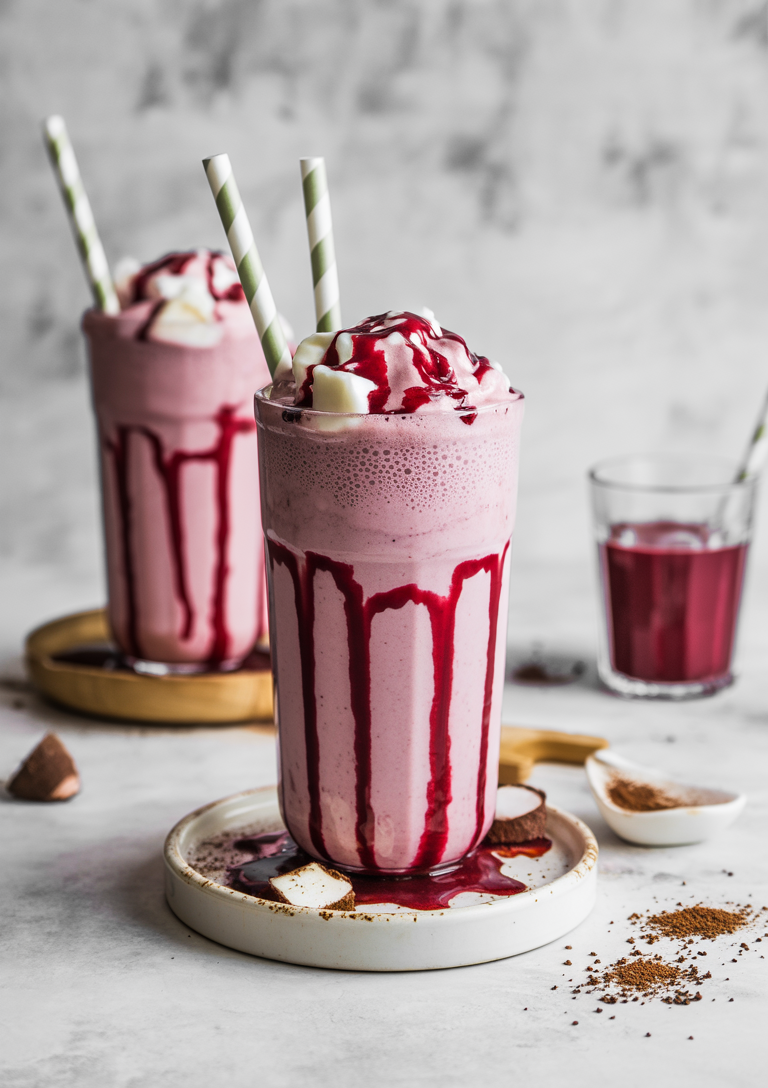
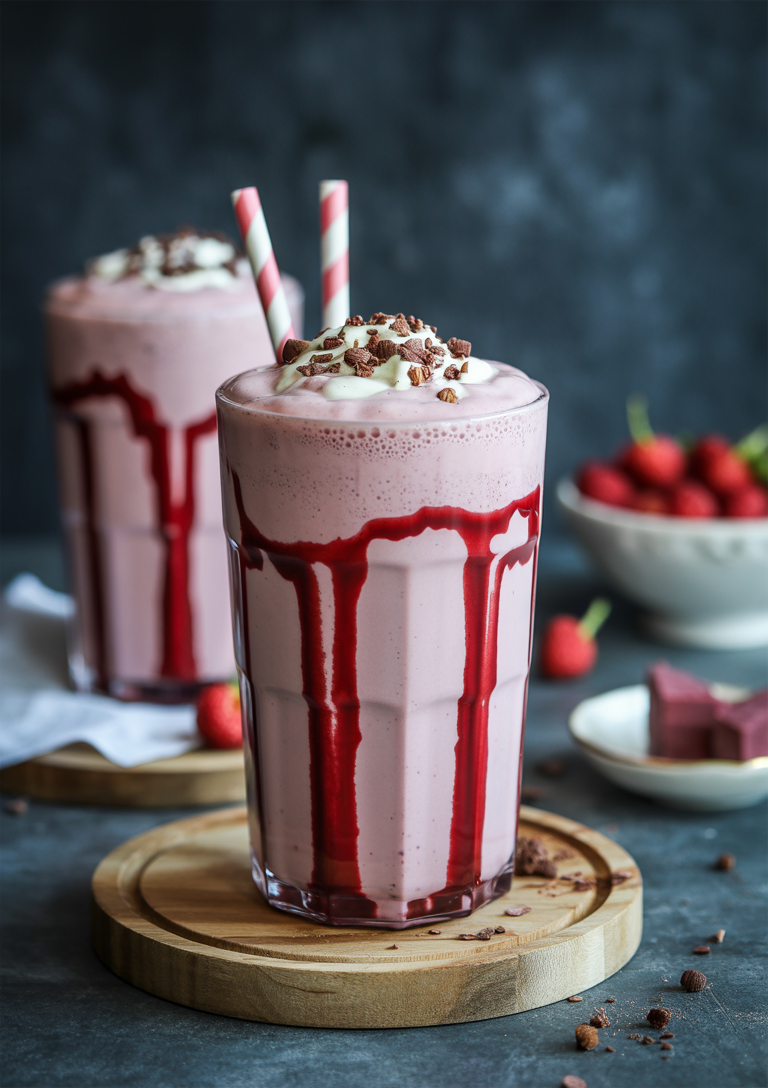
Strawberry Ninja Creami Milkshake
Add 1/2 cup fresh strawberry puree (about 1 cup of strawberries blended) and reduce the milk by 1/4 cup before freezing.
Cookies and Cream Ninja Creami Milkshake
After processing, use the Mix-in function with 1/3 cup crushed chocolate sandwich cookies.
Peanut Butter Ninja Creami Milkshake
Add 3 tablespoons of creamy peanut butter to the base mixture before freezing.
Tips for the Perfect Milkshake in a Ninja
- Ensure your pint is frozen solid for at least 24 hours for best results.
- Let the frozen pint sit at room temperature for 5 minutes if it’s too hard for the machine to process.
- If your milkshake is too thick after processing, add a splash of milk and use the Re-spin function.
- To achieve a thicker milkshake, use the Ice Cream function first, then the Milkshake function.
For more creative ways to use your Ninja appliances, don’t miss our guide on How to Use a Ninja Blender.