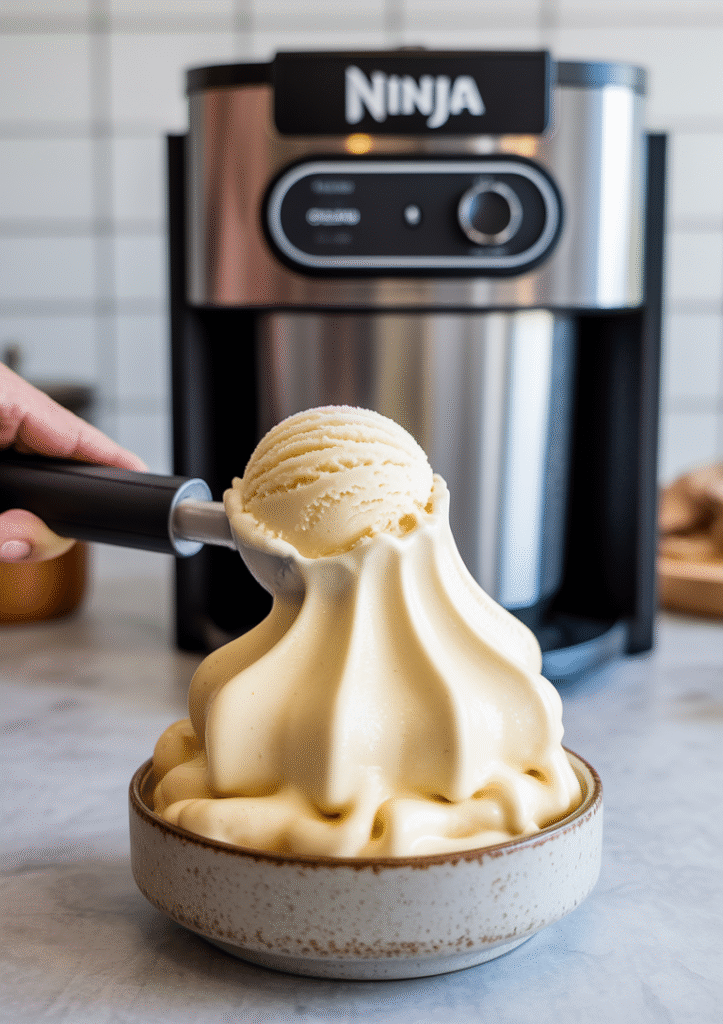
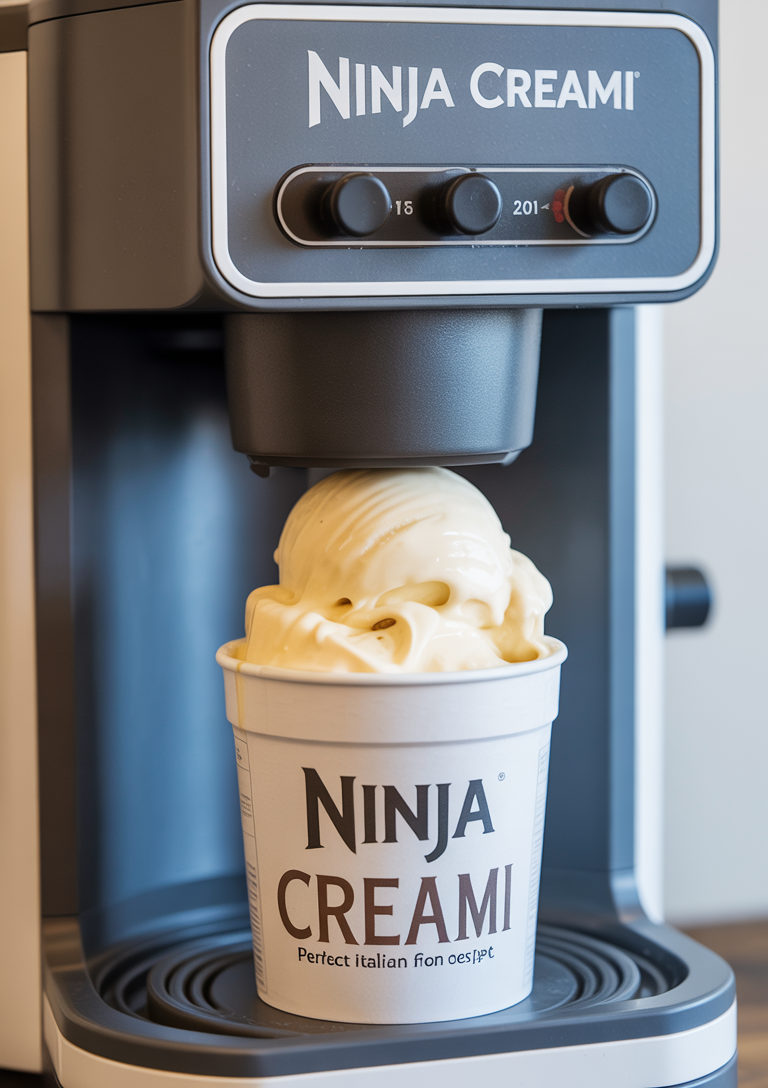
Creating authentic Italian gelato at home has never been easier than with the Ninja Creami. This innovative kitchen appliance takes the complexity out of making gelato, offering that signature dense, creamy texture that sets gelato apart from regular ice cream. Today, I’m sharing my favorite Ninja Creami gelato recipe that delivers rich, velvety vanilla gelato with that authentic Italian mouthfeel. Unlike traditional ice cream, gelato contains less air and fat, resulting in more intense flavors and a silkier texture. Whether you’re new to your Ninja Creami or looking to perfect your gelato technique, this recipe will guide you through creating a dessert that rivals what you’d find in the finest gelateria in Italy.
Ninja Creami Gelato: The Homemade Italian Dream
Gelato has been a beloved Italian dessert for centuries, known for its intensely creamy texture and bold flavors despite having less fat than traditional American ice cream. The Ninja Creami makes it possible to recreate this Italian specialty right in your kitchen without specialized equipment or techniques.
Before diving into the Ninja Creami gelato recipe, let’s understand what makes gelato different from ice cream. Gelato typically contains:
- Less fat (usually 4-9% compared to ice cream’s 14-25%)
- Less air incorporated during churning (lower overrun)
- A warmer serving temperature that enhances flavor perception
- A denser, silkier mouthfeel
Recipe Overview
- Prep Time: 10 minutes
- Freeze Time: 24 hours
- Processing Time: 5 minutes
- Total Time: 24 hours 15 minutes
- Servings: 2 (makes one Ninja Creami pint)
- Difficulty: Easy
Ingredients
- 1 cup whole milk
- 1/2 cup heavy cream
- 1/3 cup granulated sugar
- 2 tablespoons corn syrup (helps prevent crystallization)
- 1 tablespoon milk powder (optional, for creamier texture)
- 2 large egg yolks
- 1 tablespoon vanilla extract or 1 vanilla bean, scraped
- 1/8 teaspoon salt
- 1/4 teaspoon xanthan gum (optional, helps with texture)
Equipment Needed
- Ninja Creami machine
- Ninja Creami pint container with lid
- Medium saucepan
- Whisk
- Measuring cups and spoons
- Fine mesh strainer
- Rubber spatula
- Airtight container for storage
Instructions
Step 1
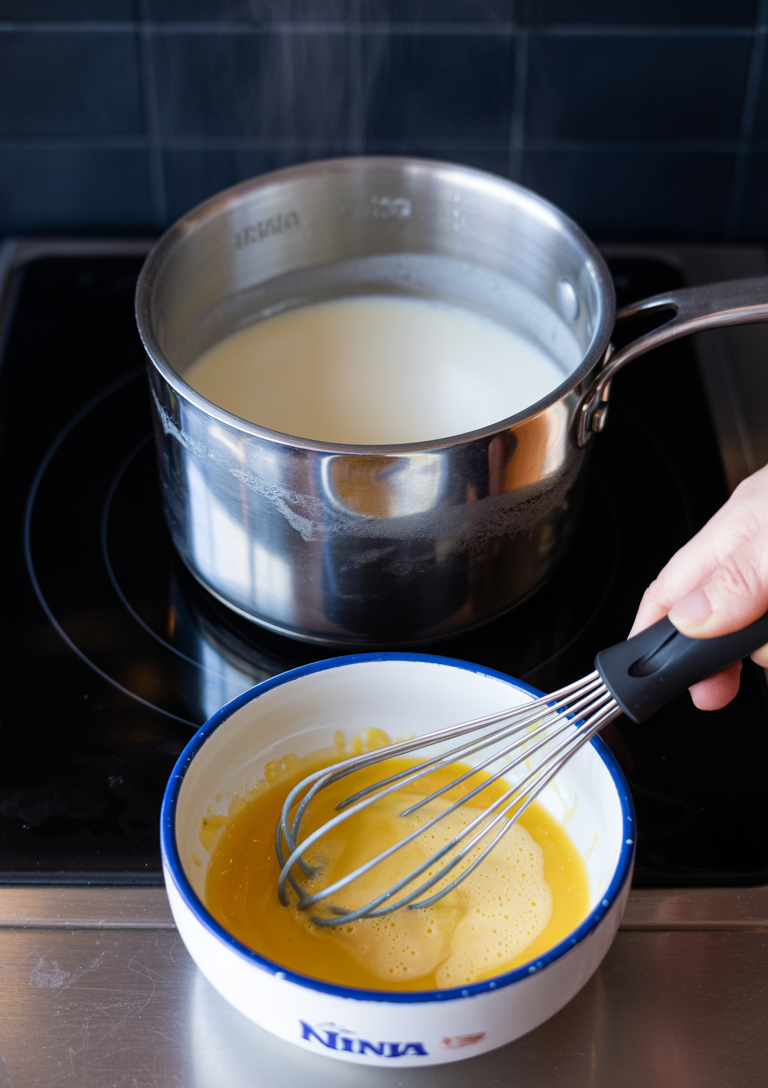
In a medium saucepan, combine the whole milk, heavy cream, and corn syrup. Heat over medium heat until the mixture begins to steam, but avoid letting it reach a full boil – you’ll see small bubbles forming around the edges when it’s ready.
Meanwhile, in a separate bowl, whisk together the egg yolks, sugar, milk powder (if using), and salt until the mixture becomes pale yellow and slightly thickened. This process typically takes 2-3 minutes of vigorous whisking and creates the foundation for your gelato’s rich, creamy texture.
Pro tip: Keep the milk mixture at a gentle simmer while you prepare the egg mixture – this timing ensures both components are ready for the next step.
Step 2

Begin the tempering process by slowly pouring about 1/2 cup of the warm milk mixture into the egg mixture while whisking constantly. This gradual addition prevents the eggs from scrambling by slowly raising their temperature.
Once properly tempered, pour the egg mixture back into the saucepan with the remaining milk mixture, continuing to whisk constantly to maintain a smooth consistency.
Cook over medium-low heat while stirring continuously with a rubber spatula. The mixture will gradually thicken as it heats – you’ll know it’s ready when it coats the back of a spoon and reaches 170-175°F. This process typically takes 5-7 minutes.
Important: Keep the heat at medium-low and never stop stirring. Do not let the mixture boil, as this will cause the eggs to curdle and ruin the smooth texture of your gelato base.
Step 3
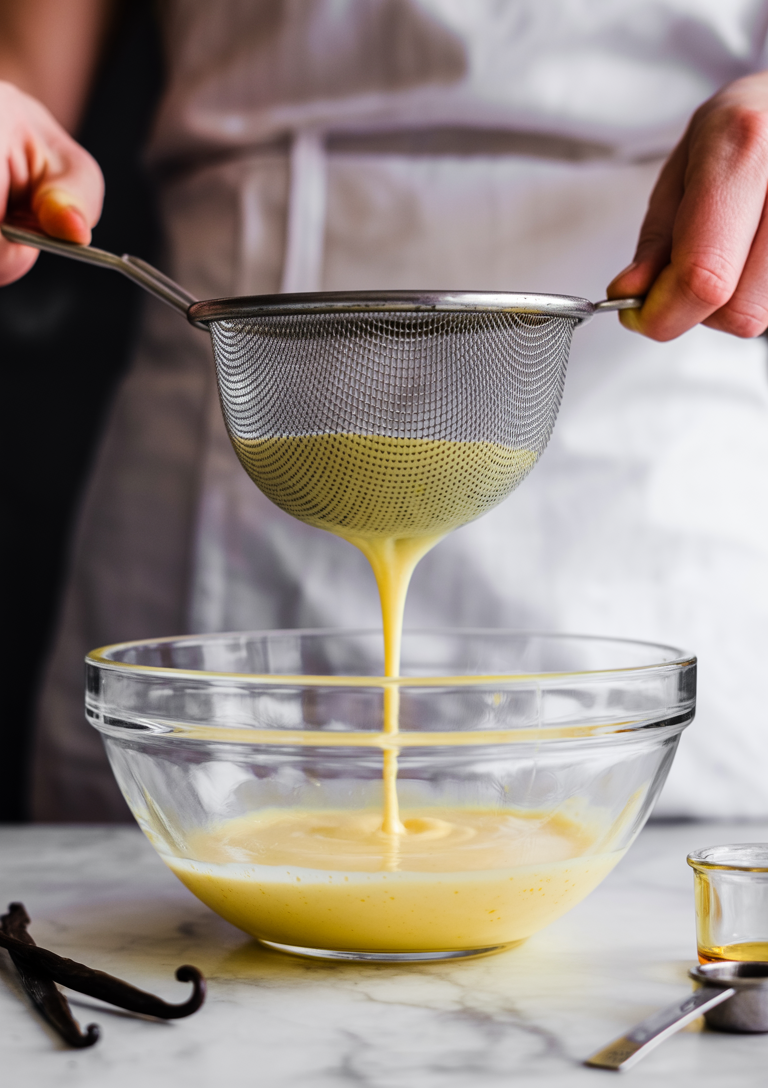
Remove the saucepan from heat and immediately stir in the vanilla extract until fully incorporated. If you’re using xanthan gum for extra smoothness, sprinkle it evenly over the surface of the mixture and whisk vigorously to prevent any clumping.
Next, strain the custard mixture through a fine-mesh sieve into a clean bowl. This crucial step removes any bits of cooked egg that may have formed during heating, ensuring your gelato base is silky smooth.
Allow the mixture to cool to room temperature, which typically takes about 30 minutes. Once cooled, cover the bowl with plastic wrap, pressing it directly onto the surface of the custard to prevent a skin from forming. Refrigerate until completely cold, at least 4 hours or preferably overnight.
Pro tip: The longer chilling time allows the flavors to meld and ensures optimal texture when processing in your Ninja Creami.
Step 4
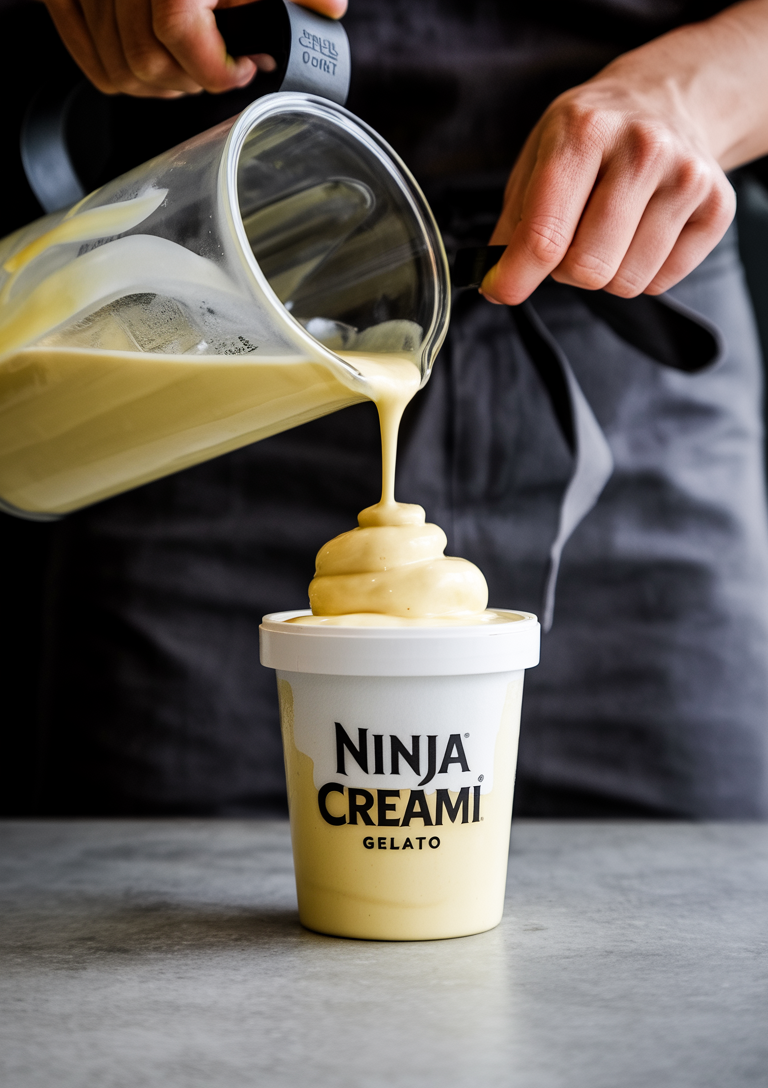
Once your gelato mixture has completely chilled in the refrigerator, give it a gentle stir to ensure all ingredients are well combined. Pour the mixture into a clean, dry Ninja Creami pint container, making sure to leave approximately 1/2 inch of space at the top to allow for expansion during freezing.
Carefully secure the lid on the container, ensuring it sits level and forms a proper seal. This prevents ice crystals from forming and maintains the smooth texture of your gelato base.
Freeze for at least 24 hours until the mixture is completely solid throughout. The gelato base needs to be frozen solid for the Ninja Creami to process it properly and achieve that perfect creamy consistency.
Step 5
After 24 hours of freezing, remove the pint from the freezer and take off the lid. The mixture should be completely solid and frozen throughout.
Insert the pint into the outer bowl of your Ninja Creami, ensuring it sits securely in place. Attach the outer bowl to the Ninja Creami base, then secure the Gelato paddle and lock the lid into position.
Select the GELATO function and allow the machine to complete its full cycle. You’ll hear the motor working as the paddle processes the frozen mixture into a smooth, creamy texture.
Once the cycle completes, assess the texture by examining the gelato through the clear lid or by gently stirring with a spoon. The gelato should have a smooth and creamy consistency typical of authentic Italian-style gelato – denser than ice cream but perfectly scoopable.
Step 6
Perfecting the Texture and Final Serving
If your gelato appears powdery or hasn’t achieved complete smoothness, utilize the RE-SPIN function to achieve that perfect creamy consistency. For an even softer, more luxurious texture, engage the MIX-IN function – this works wonderfully even without adding actual mix-ins, as it further processes the gelato to silky perfection.
Once your gelato reaches the ideal consistency, transfer it to a chilled bowl and allow it to rest for 2-3 minutes. This brief resting period is crucial as it allows the gelato to reach the optimal serving temperature, ensuring each spoonful delivers that authentic Italian gelato experience.
Your homemade vanilla gelato is now ready to enjoy immediately! For future indulgence, transfer any remaining gelato to an airtight container and store in the freezer for up to one week, maintaining its creamy texture and rich vanilla flavor.
What Makes This Ninja Creami Gelato Recipe Special
This gelato recipe is specifically formulated for the Ninja Creami to achieve that authentic Italian gelato texture. The combination of egg yolks, milk powder, and xanthan gum creates the perfect base that the Ninja Creami can transform into silky gelato.
The corn syrup prevents large ice crystals from forming during freezing, which is crucial for that smooth gelato mouthfeel. The whole milk and cream ratio provides just enough fat for richness without overwhelming the vanilla flavor.
Key Tips for Perfect Ninja Creami Gelato
- Temperature matters: Ensure your mixture is completely cooled before freezing.
- Freeze time: A full 24-hour freeze yields the best results.
- Re-spin if needed: Don’t hesitate to use the Re-spin function if your gelato isn’t perfectly smooth after the first cycle.
- Add mix-ins: After the initial gelato cycle, you can add chocolate chips, fruit, or nuts using the Mix-In function.
- Rest before serving: Let the finished gelato rest for 2-3 minutes before serving for the perfect scoop-able consistency.